The Autumn Checklist: RV Roof Care Tips for the Changing Season
Leaves Are Falling. Is Your RV Roof Ready?
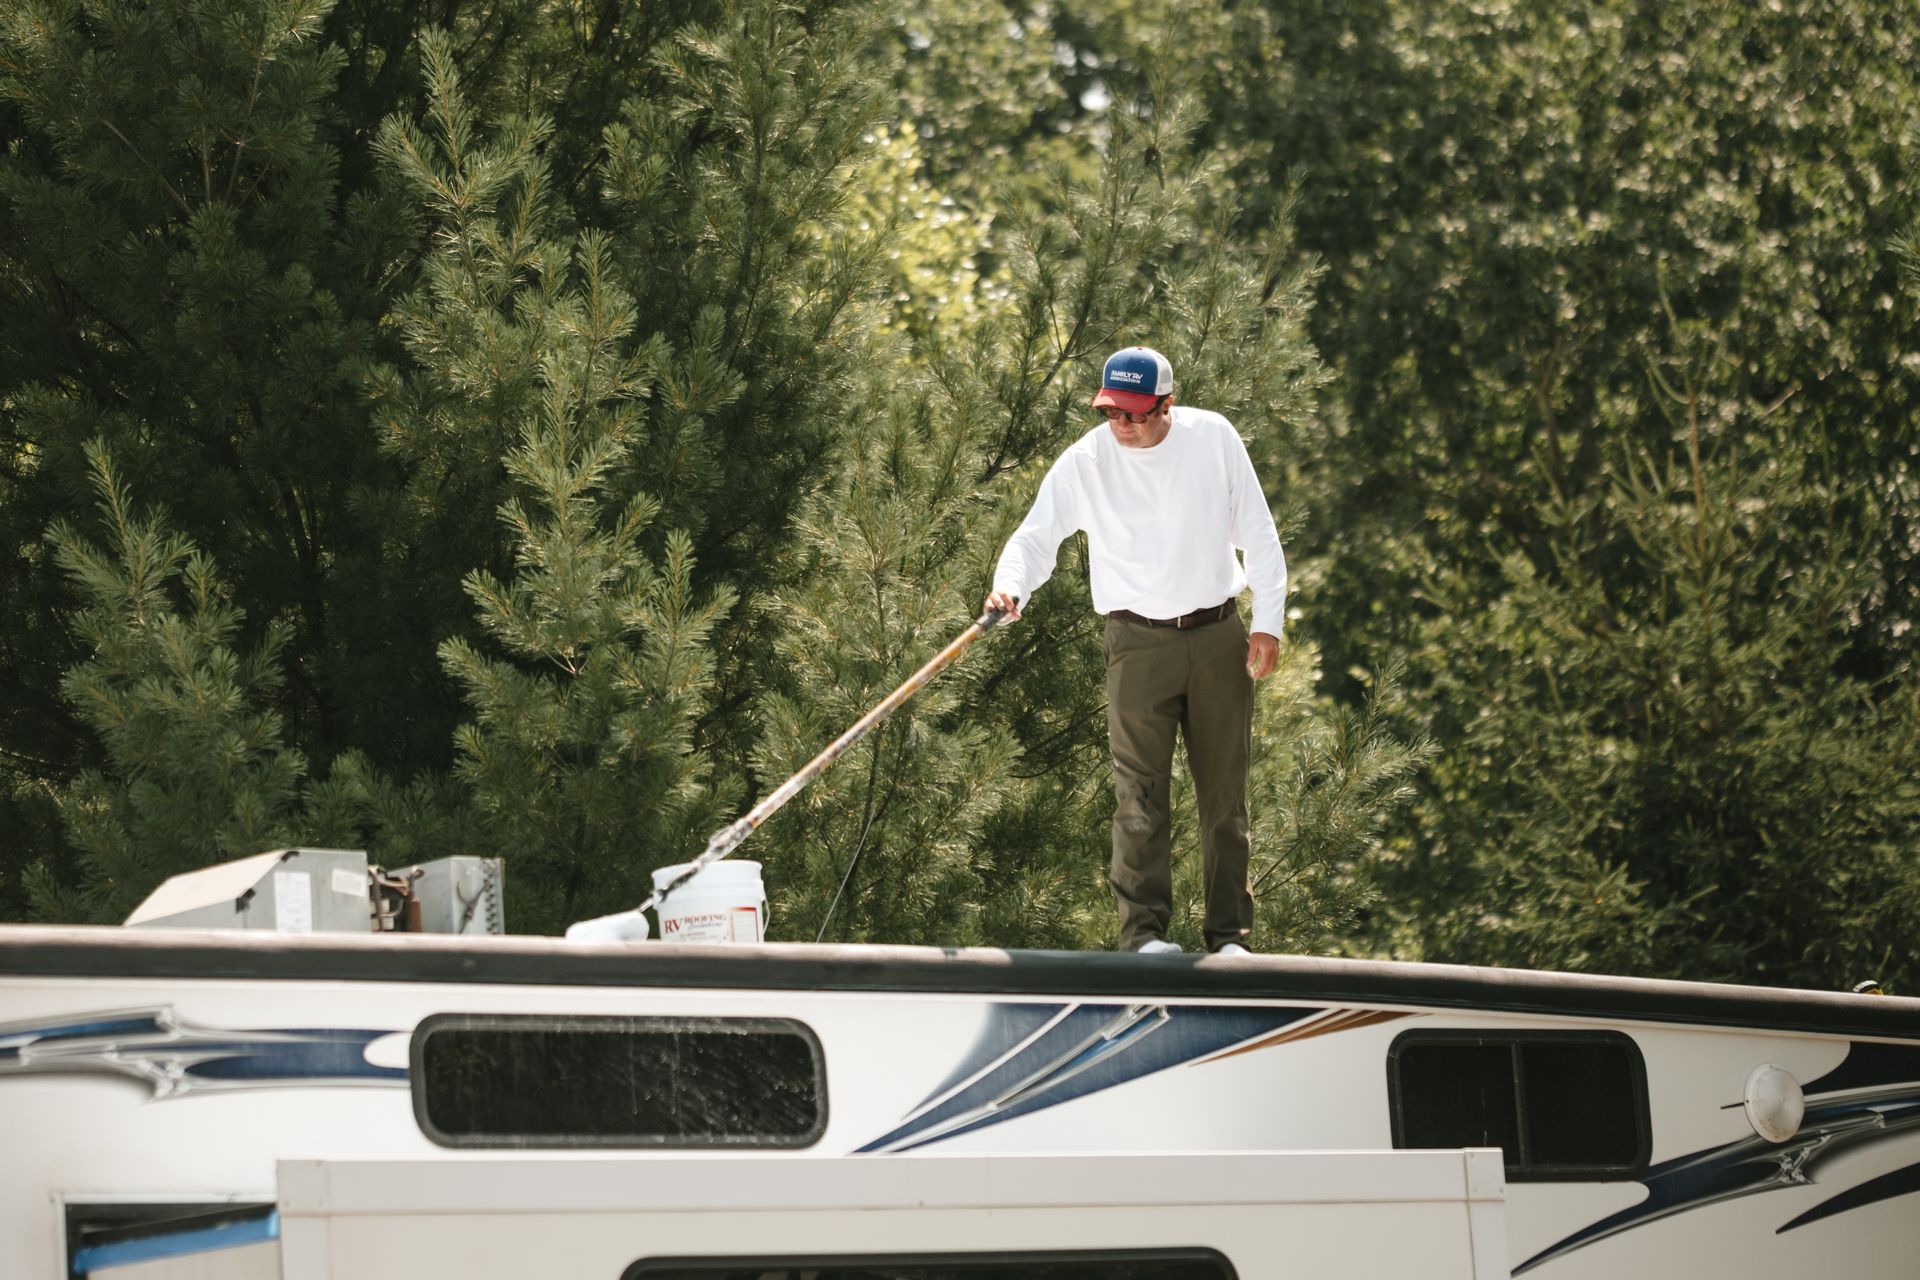
Inspect for Cracks, Chalking, and Soft Spots
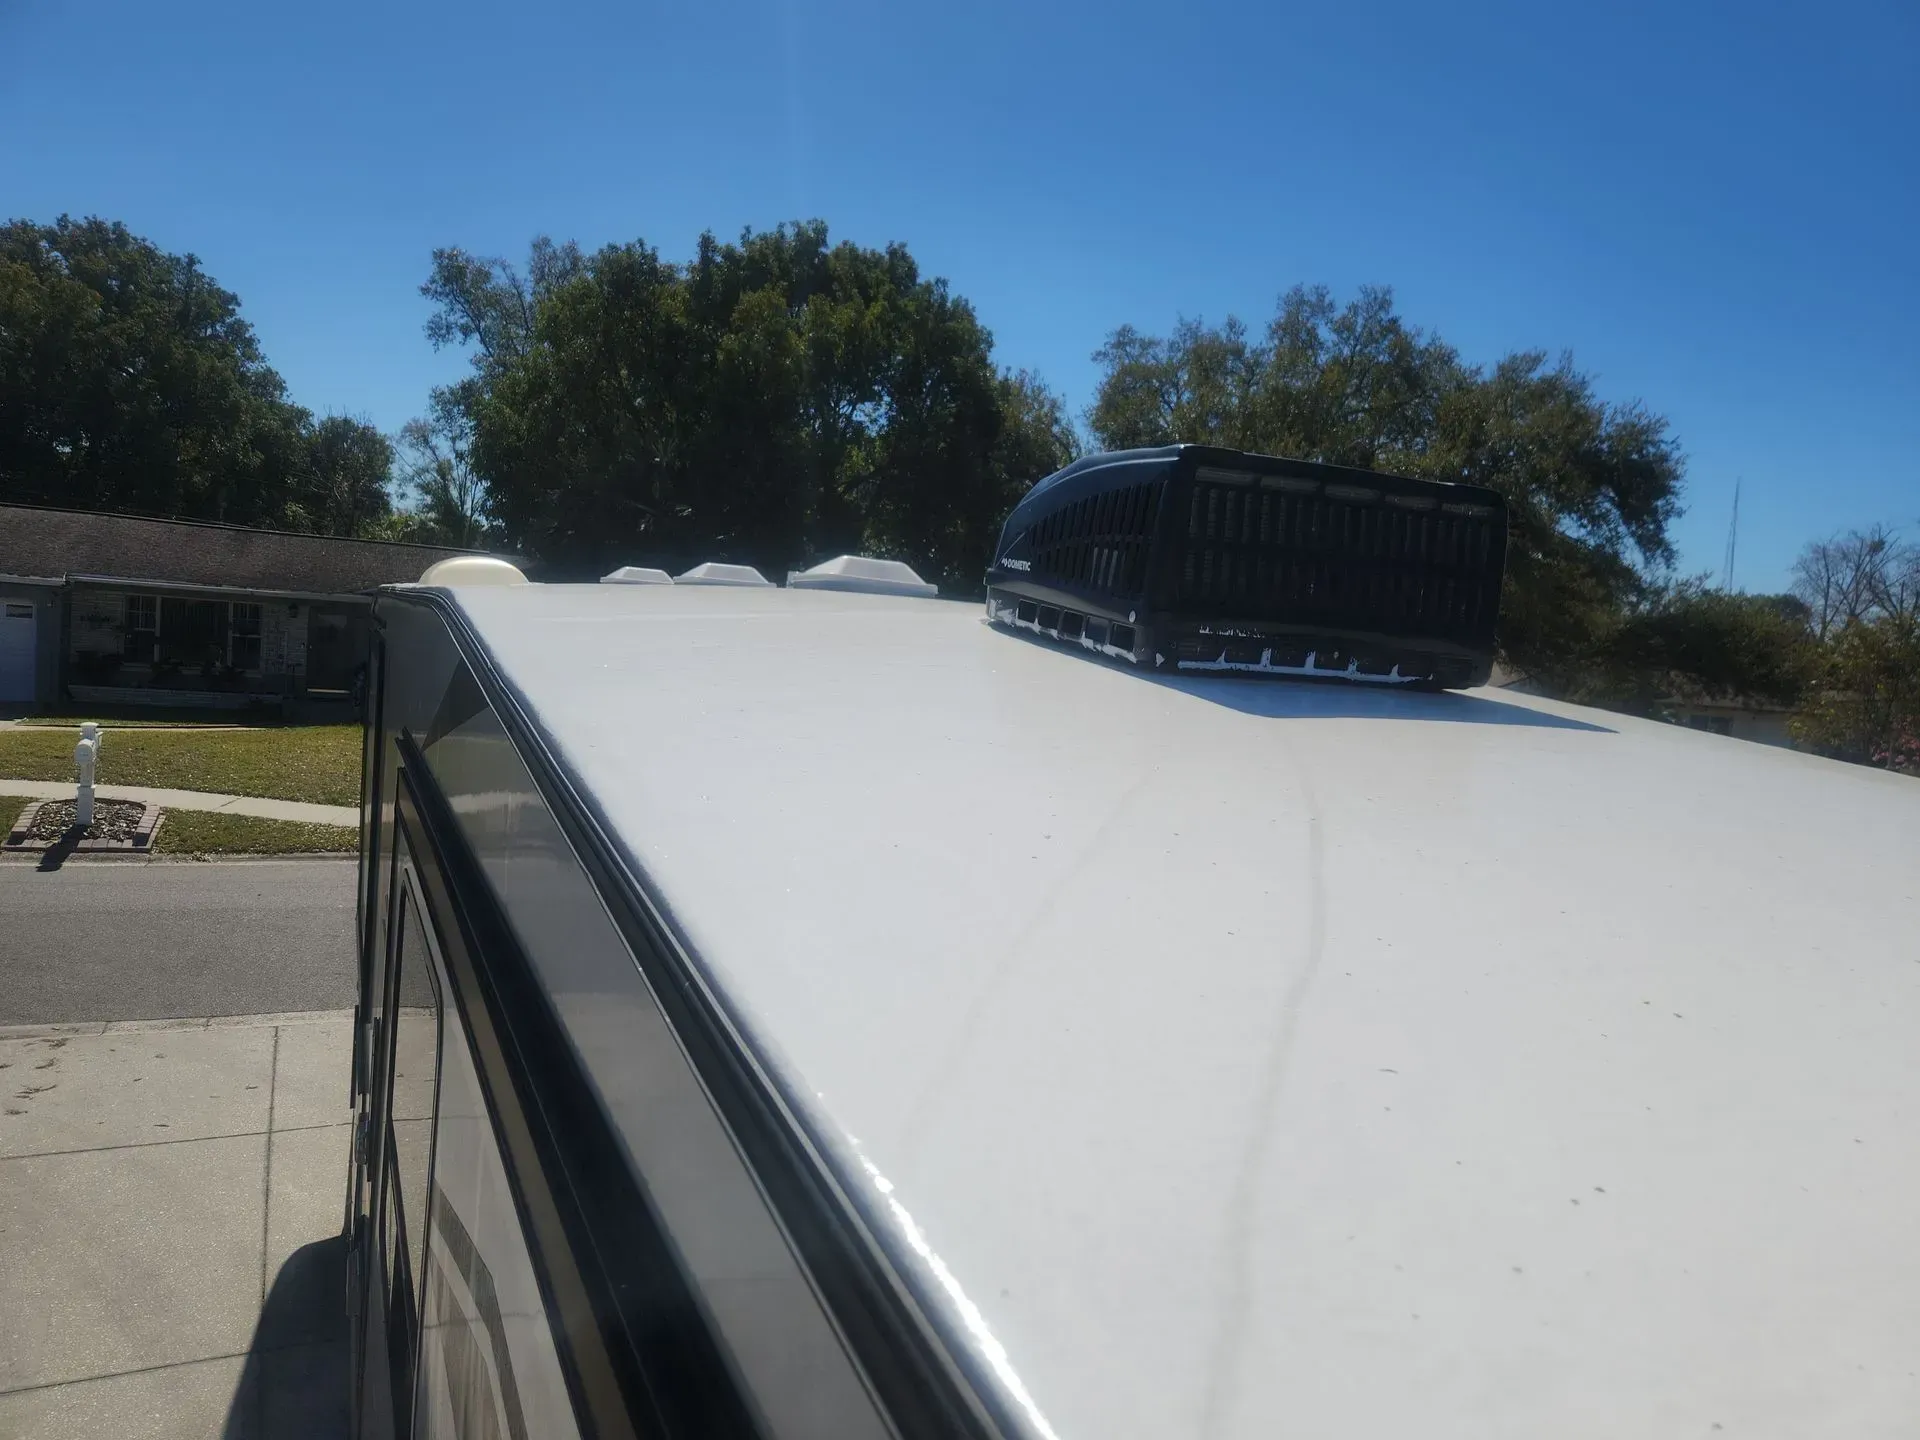
Fall is a great time to give your RV roof a close inspection before winter weather sets in. Start by carefully examining all seams, vents, skylights, and A/C units. These are common entry points for moisture and often the first places to show signs of wear.
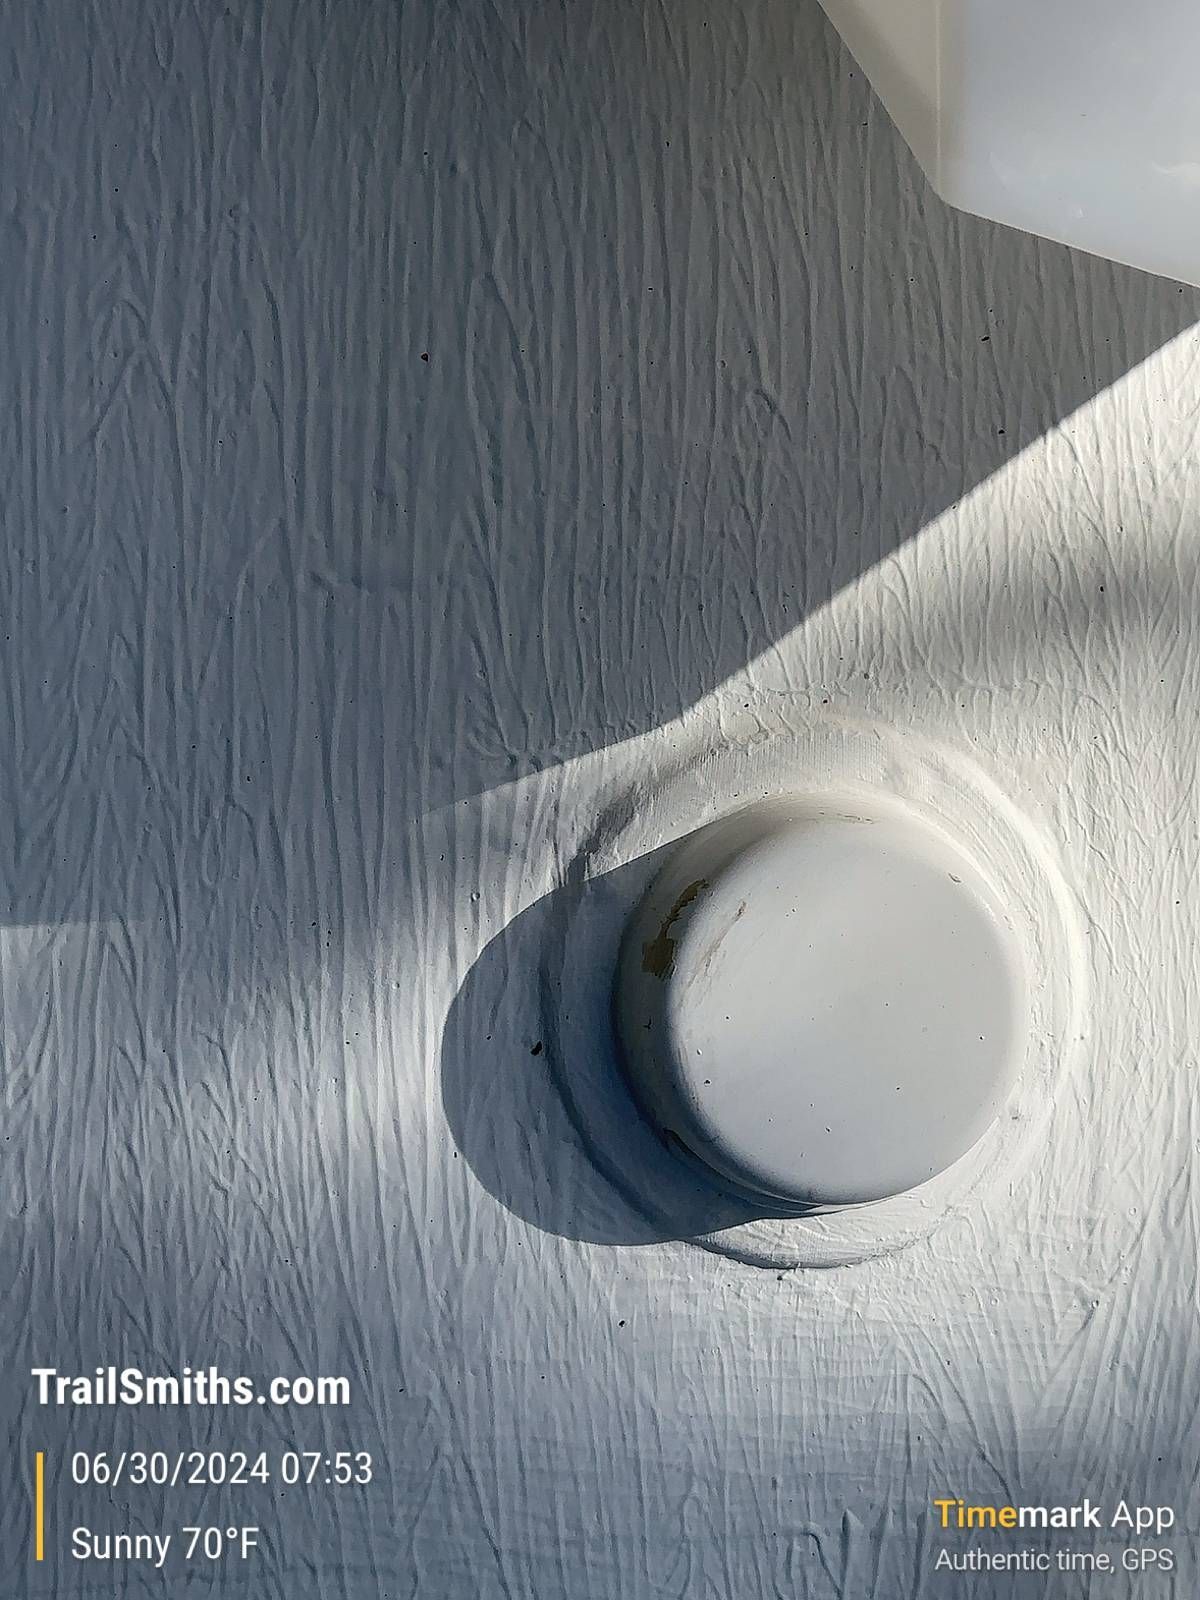
Chalking is a powdery white residue found on a fiberglass roof. This is a clear sign of UV degradation. This means the protective gel coat has broken down, leaving the surface vulnerable to further sun damage, cracking, and water intrusion. Chalking isn't just cosmetic; it's a warning that your roof's defense system is failing.
Next, check for soft or spongy spots by gently pressing on the roof surface, especially around areas where water might pool. Compromised sealants and hidden leaks can leave water damage under your RV's roof. Bubbling or delamination can also point to trapped moisture or failing adhesives. These issues often lead to rot, mold, and costly structural repairs when not treated.
Also, look for cracks or splits in the roof membrane, especially near transition points like edges, corners, and around roof fixtures. Even hairline fractures can expand with temperature changes and allow water to seep in.
A Special Note on Silicone-Coated Roofs
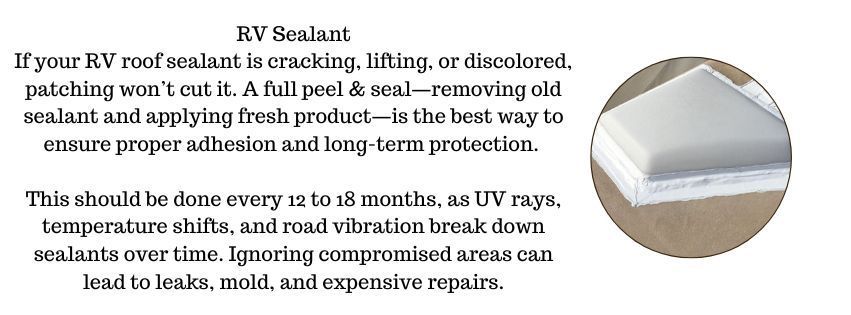
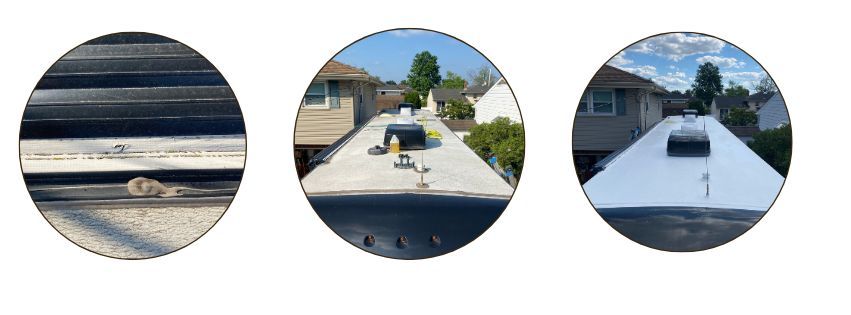
If your RV roof has been coated with silicone, it's critical to understand there are limitations. Nothing adheres to cured silicone — not even more silicone. That means patching, recoating, or upgrading the roof requires complete removal of the existing silicone layer.
This process is labor-intensive and time-consuming, often requiring multiple passes with scrapers, solvents, and heat tools to clear the surface thoroughly. Even small remnants of silicone can prevent new coatings from bonding properly, leading to premature failure of the new roof system.
At RV Roofing Solutions, we take this step seriously. This isn't just about applying a new layer. It's about restoring your roof's integrity from the ground up. Proper removal and surface preparation are essential to the long-term adhesion, durability, and leak protection of your new roof system.
We know silicone coatings are all the rage right now, marketed as quick fixes with long warranties. But when they fail, repairs can be costly and complicated. We've seen firsthand how difficult it is to remove silicone once it's cured and how often RV owners are left with limited options and expensive consequences.
Checking Sealants and Gaskets: Why It Matters More Than You Think
The unsung heroes of RV roofing are your sealants and air conditioning gaskets. They keep water out, maintain insulation, and protect the structural integrity of your rig. Over time, though — and especially under the relentless assault of UV rays, temperature swings, and the constant motion of travel — these materials can degrade.
Ever experienced an earthquake? Your RV has! Think of every mile you drive as a rolling earthquake for your RV. The trip introduces vibration, flexing, and stress to the roof structure. Seams shift, vents settle, and gaskets compress. The more you use your RV, the higher the risk that these critical seals will crack, split, or lose their grip. And once that happens, water intrusion is just a rainstorm away.
High heat and UV exposure accelerate this breakdown. Sealants can dry out, become brittle, or shrink, leaving gaps that aren’t always visible until damage has already begun. Air conditioning gaskets are especially vulnerable. They’re exposed to direct sunlight, constant vibration, and temperature extremes. If they’re showing signs of age, such as cracking, flattening, or discoloration, it’s time to replace them.
At RV Roofing Solutions, we always inspect sealants and gaskets during roof work. If they’re compromised, we recommend replacing them on the spot. It’s a small investment that prevents big problems, like water damage, mold, and costly interior repairs.
Bottom line? A well-sealed roof isn’t just about protecting your RV. It’s about peace of mind. Make sure your roof is ready to handle the journey — whether you’re parked for the season or chasing fall foliage across the country.
Consider a Roofing Upgrade: Fall Savings and Peace of Mind
If your RV roof is showing signs of wear — or if you're simply tired of seasonal caulking, constant inspections, and climbing ladders — this fall is the perfect time to invest in a long-term solution. At RV Roofing Solutions, our system is more than a repair — it's a full upgrade designed for durability, ease, and confidence.
Here's what sets our roofing system apart:
• The application of our seamless system provides leak-free protection
• Built-in UV resistance prevents fiberglass chalking and sun damage
• Say goodbye to year-after-year caulking!
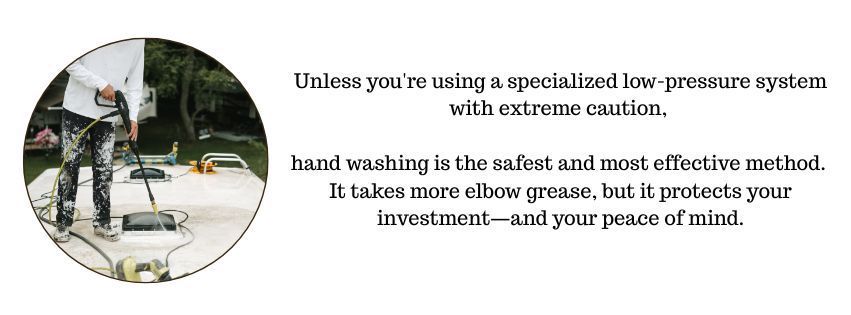
• Low-maintenance care requiring only two roof washes a year
It's Not Just a Roof. It's a Hassle-Free Shield for Your Home on Wheels.
And we're offering you exclusive savings this fall:
• $250 off all installations approved in September
• Additional discounts for FRVA members and Tiffin Allegro Club members
• Special savings opportunities for Veterans, 1st responders, and teachers
• Lock in 2025 rates for 2026 spring or summer installs
Traveling south this winter? We've got you covered. Our teams are active in Florida, Arizona, Texas, and California throughout the colder months, ready to serve snowbirds, full-timers, and seasonal travelers alike.
The RV Roofing Solutions system is primarily designed for durability, waterproofing, and low-maintenance protection, rather than thermal insulation. It offers a seamless, wind-tight membrane that defends against leaks, UV damage, and seasonal wear, but it doesn't include built-in insulation, like spray foam or rigid panels.
That said, the RV Roofing Solutions system uses breathable and lightweight materials, which can help regulate moisture and reduce heat buildup from direct sun exposure. While it won't replace traditional insulation, it can complement your existing setup by sealing out drafts and minimizing heat loss or intrusion through your RV's roof.
Let's protect your rig with a roof that's built to last — so you can focus on the journey, not the maintenance.
Prepping for Winter or Southern Travel: Your Roof’s Role in Seasonal Readiness
Whether you're tucking your rig in for the season or chasing warmer weather, prepping your RV roof is critical in protecting the investment you've made in your rig. Fall is the time to make sure it's ready, because cold snaps, moisture buildup, and falling debris don't care where you're parked.
Do You Store Your RV for Winter?
• Clean and inspect your roof before storage. Sap, leaves, and bird droppings can degrade the surface over time.
• Seal all seams and fixtures to prevent water intrusion during rain or snow.
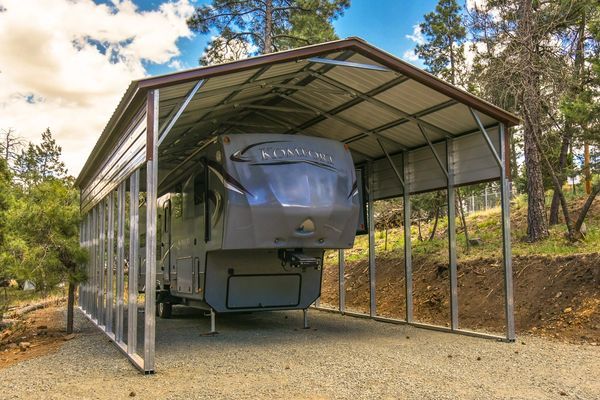
• Storing your RV out of the elements is the best protection; covered or indoor storage is the best.
• If you have to use a cover, be sure it's breathable. Avoid plastic tarps that trap moisture. The right breathable cover protects your roof when parked under trees, shielding it from falling limbs and debris, while avoiding mold.
RVers often consider RV covers as a protective solution, but covers can pose serious risks if not correctly fitted or maintained — especially when your RV is parked in windy conditions. In high winds, even a snug cover tends to shift or flap against the RV roof. This constant movement is like taking sandpaper to your roof. It wears down sealants, loosens seams, and scrapes away your roof membrane.
Over time, the friction leads to leaks, premature aging, and costly repairs. Covers that aren't breathable or properly tensioned may also trap moisture and debris underneath. As grit and dust grind into the roof surface, particularly around skylights, air conditioning units, and antenna mounts, the damage can escalate quickly. Non-breathable materials further increase the risk by trapping condensation. This trapped moisture ultimately leads to mold, mildew, and soft spots.
If you decide to use a cover, there are a steps you can take to help minimize your risks:
• Choose a cover made of high-quality, breathable fabric. Make sure it's designed for your RV's size and roof type.
• Place padding like foam blocks around the sharp edges and fixtures of your RV roof. This padding helps reduce the sandpaper effect we mentioned above on your roof's surface.
• Most importantly, inspect underneath the cover regularly, especially after storms or high winds, to ensure no moisture has pooled and no damage has occurred.
A well-maintained roof is your rig's first line of defense, and thoughtful cover use should support — not compromise — that protection.
Do You Travel Through Winter?
• Add skirting to block cold air from circulating under your rig. Skirting helps protect tanks and improves interior warmth.
• Install heated hoses and tank heaters to prevent frozen lines and burst fittings.
• Check roof insulation and vent seals. Heat loss through the roof is common, especially around poorly sealed skylights and air conditioning units.
Your RV roof faces immense stressors during the winter season, like freezing rain, snow accumulation, ice dams, and rapid temperature swings. These conditions can worsen existing cracks, weaken sealants, and put aging gaskets to the test. And the buildup of snow and ice adds weight and traps moisture, which can get into seams and cause soft spots or mold. Even in southern states, surprise cold snaps and condensation can lead to roof damage if your system isn't properly sealed and insulated.
That's why winter prep isn't just about skirting and heated hoses. It's about ensuring your roof is clean, sealed, and ready to withstand the season. A proactive inspection and maintenance routine in the fall can save you from costly surprises when the frost sets in.
Do You Head South for the Season?
• Don't assume warmer weather requires zero preparation. Hard freezes can hit anywhere, even Texas, Arizona, and Florida.
• Inspect and reseal your roof seams before setting out on the road. Temperature swings and road vibration can worsen existing cracks.
• Monitor condensation in humid southern climates. A well-sealed roof and proper ventilation help prevent the buildup of mold and mildew.
Why Snowbirds Should Rethink the Quick-Fix Approach to RV Roofing
For snowbirds chasing sunshine across Florida, California, Arizona, and Texas, finding a trustworthy RV technician can be a challenge. Not every tech specializes in roofing, and many come with what we call a "taillight guarantee": once their rig pulls away, so does the accountability. And when you do find a skilled, reliable technician, be prepared — labor rates in states like Florida and California can range from $175 to $300 per hour, making even minor repairs a costly endeavor.
That's why quality matters. At RV Roofing Solutions, we believe in doing it right the first time. Our maintenance-free roofing system may appear to be a larger upfront investment, but over the 10-year lifespan of our warranty, it can save you thousands. Think about it. Year-to-year resealing, patching, chasing leaks, and emergency fixes add up — especially when you're relying on mobile techs in high-cost regions.
No more seasonal patch jobs. Never climb another shaky ladder to find a leak. How? Our RV roofing system takes the guesswork out of caring for your RV roof, whether you're a full-timer, snowbird, or weekend warrior. This is about more than convenience. It's about confidence.
We think you deserve a roof that's built to last, installed with precision, and backed by a team that stands behind every job they do. So that's what we bring you.
Whether you're prepping for winter or heading south, now's the time to act. Let RV Roofing Solutions help you protect your rig before the season shifts. Call for a one-on-one consultation, lock in our fall savings, and invest in a roof that's ready for the road ahead.
We're here to make sure your next adventure starts with peace of mind.
You might also like
RV Roofing Solutions' Blog