Extending Your RV Roof’s Life With Regular Inspections

RV Roofing Solutions • December 23, 2024

The open road, the scenery, the freedom—owning an RV is a thrill like no other. However, as any seasoned RV owner knows, maintaining your vehicle is crucial for ensuring its longevity and your continued enjoyment.

Among the most important yet often overlooked aspects of RV maintenance is roof care. A well-maintained roof can extend the life of your RV and save you from costly repairs. Here, we’ll explore how regular roof inspections can extend your RV’s life and keep it adventure-ready for years to come.

Why Roof Inspections Matter

Most RV owners are told that RV roofs can endure quite a bit. Unfortunately, the truth is your RV roof is exposed to harsh conditions like sun, rain, snow, wind, and sometimes even hail—all of which can take a toll over time. Regular inspections help you catch small problems before they become big issues. By maintaining a consistent inspection schedule, you can prevent water damage, mold growth, and structural issues that can compromise your RV’s integrity and safety.

Neglecting roof maintenance can lead to leaks, which are not only inconvenient but can also damage your RV’s interior. A small leak could quickly escalate into a major problem, affecting walls, ceilings, and even electrical systems. Regular roof inspections can help prevent water damage and maintain your RV’s resale value, as a pristine roof is a major selling point.

Routine inspections also give you peace of mind. Knowing your roof is in good condition allows you to focus on enjoying your travels instead of worrying about potential issues. It’s a simple practice that pays off down the road.

Understanding Your RV’s Roof

RV roofs come in various materials, each with its own set of care requirements. Common materials include rubber variations like EPDM, TPO, vinyl, and PVC. Higher-quality RVs have hardened materials such as fiberglass and aluminum. You must know what kind of roof your RV has to determine the appropriate maintenance methods and products.

Rubber roofs are quite popular due to their affordability and flexibility. They are lightweight and offer some insulation, but they can also be prone to tears, punctures, and UV damage. They need proper cleaning and UV protection treatments to keep them in top condition.

EPDM roofs require special cleaners and sealants, but knowing what kinds of cleaners won’t degrade the EPDM can be tricky. TPO roofs may need additional UV protectants to prevent cracking and degradation. A lot of industry professionals will tell you that fiberglass roofs don’t require maintenance. While fiberglass tends to be more durable and resistant to damage, fiberglass roofs need regular treatments like an annual professional gelcoat to maintain their luster and prevent oxidation. Chalking on a fiberglass RV roof is the first sign that your roof needs immediate attention.

Aluminum roofs, on the other hand, are less common due to their weight but offer excellent durability and resistance to elements. Regular inspections for corrosion and dents are important for these roofs.

A technician in black and orange clothes works on the air conditioning unit that is on top of an RV's roof.

Scheduling Your Inspections

We are often asked, “How often should I do a roof inspection?” Creating an inspection schedule is key to maintaining your RV roof.

Most companies tell you that you’ll be fine with a roof inspection just twice a year. We recommend inspecting a standard OEM roof at least four times a year. This would ideally happen before and after the camping season, as well as a few times in between—especially if you encounter low-hanging tree branches. This allows you to address any issues that might have arisen during storage or use.

Beyond those inspections, it’s wise to give your roof a quick check after severe weather events, such as hailstorms or heavy snowfall. These inspections don’t have to be exhaustive but can help catch any immediate damage that needs attention.

A hailstorm can cause microfractures in your existing membrane that may not be visible to the naked eye. Hail damage can take weeks or months to be seen. It is important to write down the date of the hailstorm and take photos—this can be useful later if issues arise.

Proper storage in winter is another essential part of maintaining your RV roof. Snowpack can be damaging to light trailers as the structure cannot hold much weight. Covered storage is best in cold climates, such as an RV port, barndominium, or RV garage. A fabric cover is another option that can help protect the top and sides of the RV.

Consider setting a reminder on your phone or in your calendar to stay on top of your inspection schedule. Consistency is key, and having a routine ensures you don’t overlook this maintenance.

Performing a Thorough Inspection

Begin your inspection by clearing any debris from the roof. Twigs, leaves, sap, and dirt can trap moisture against the roof surface, leading to potential damage. Once the roof is clear, visually inspect the surface for cracks, punctures, or discoloration in the membrane.

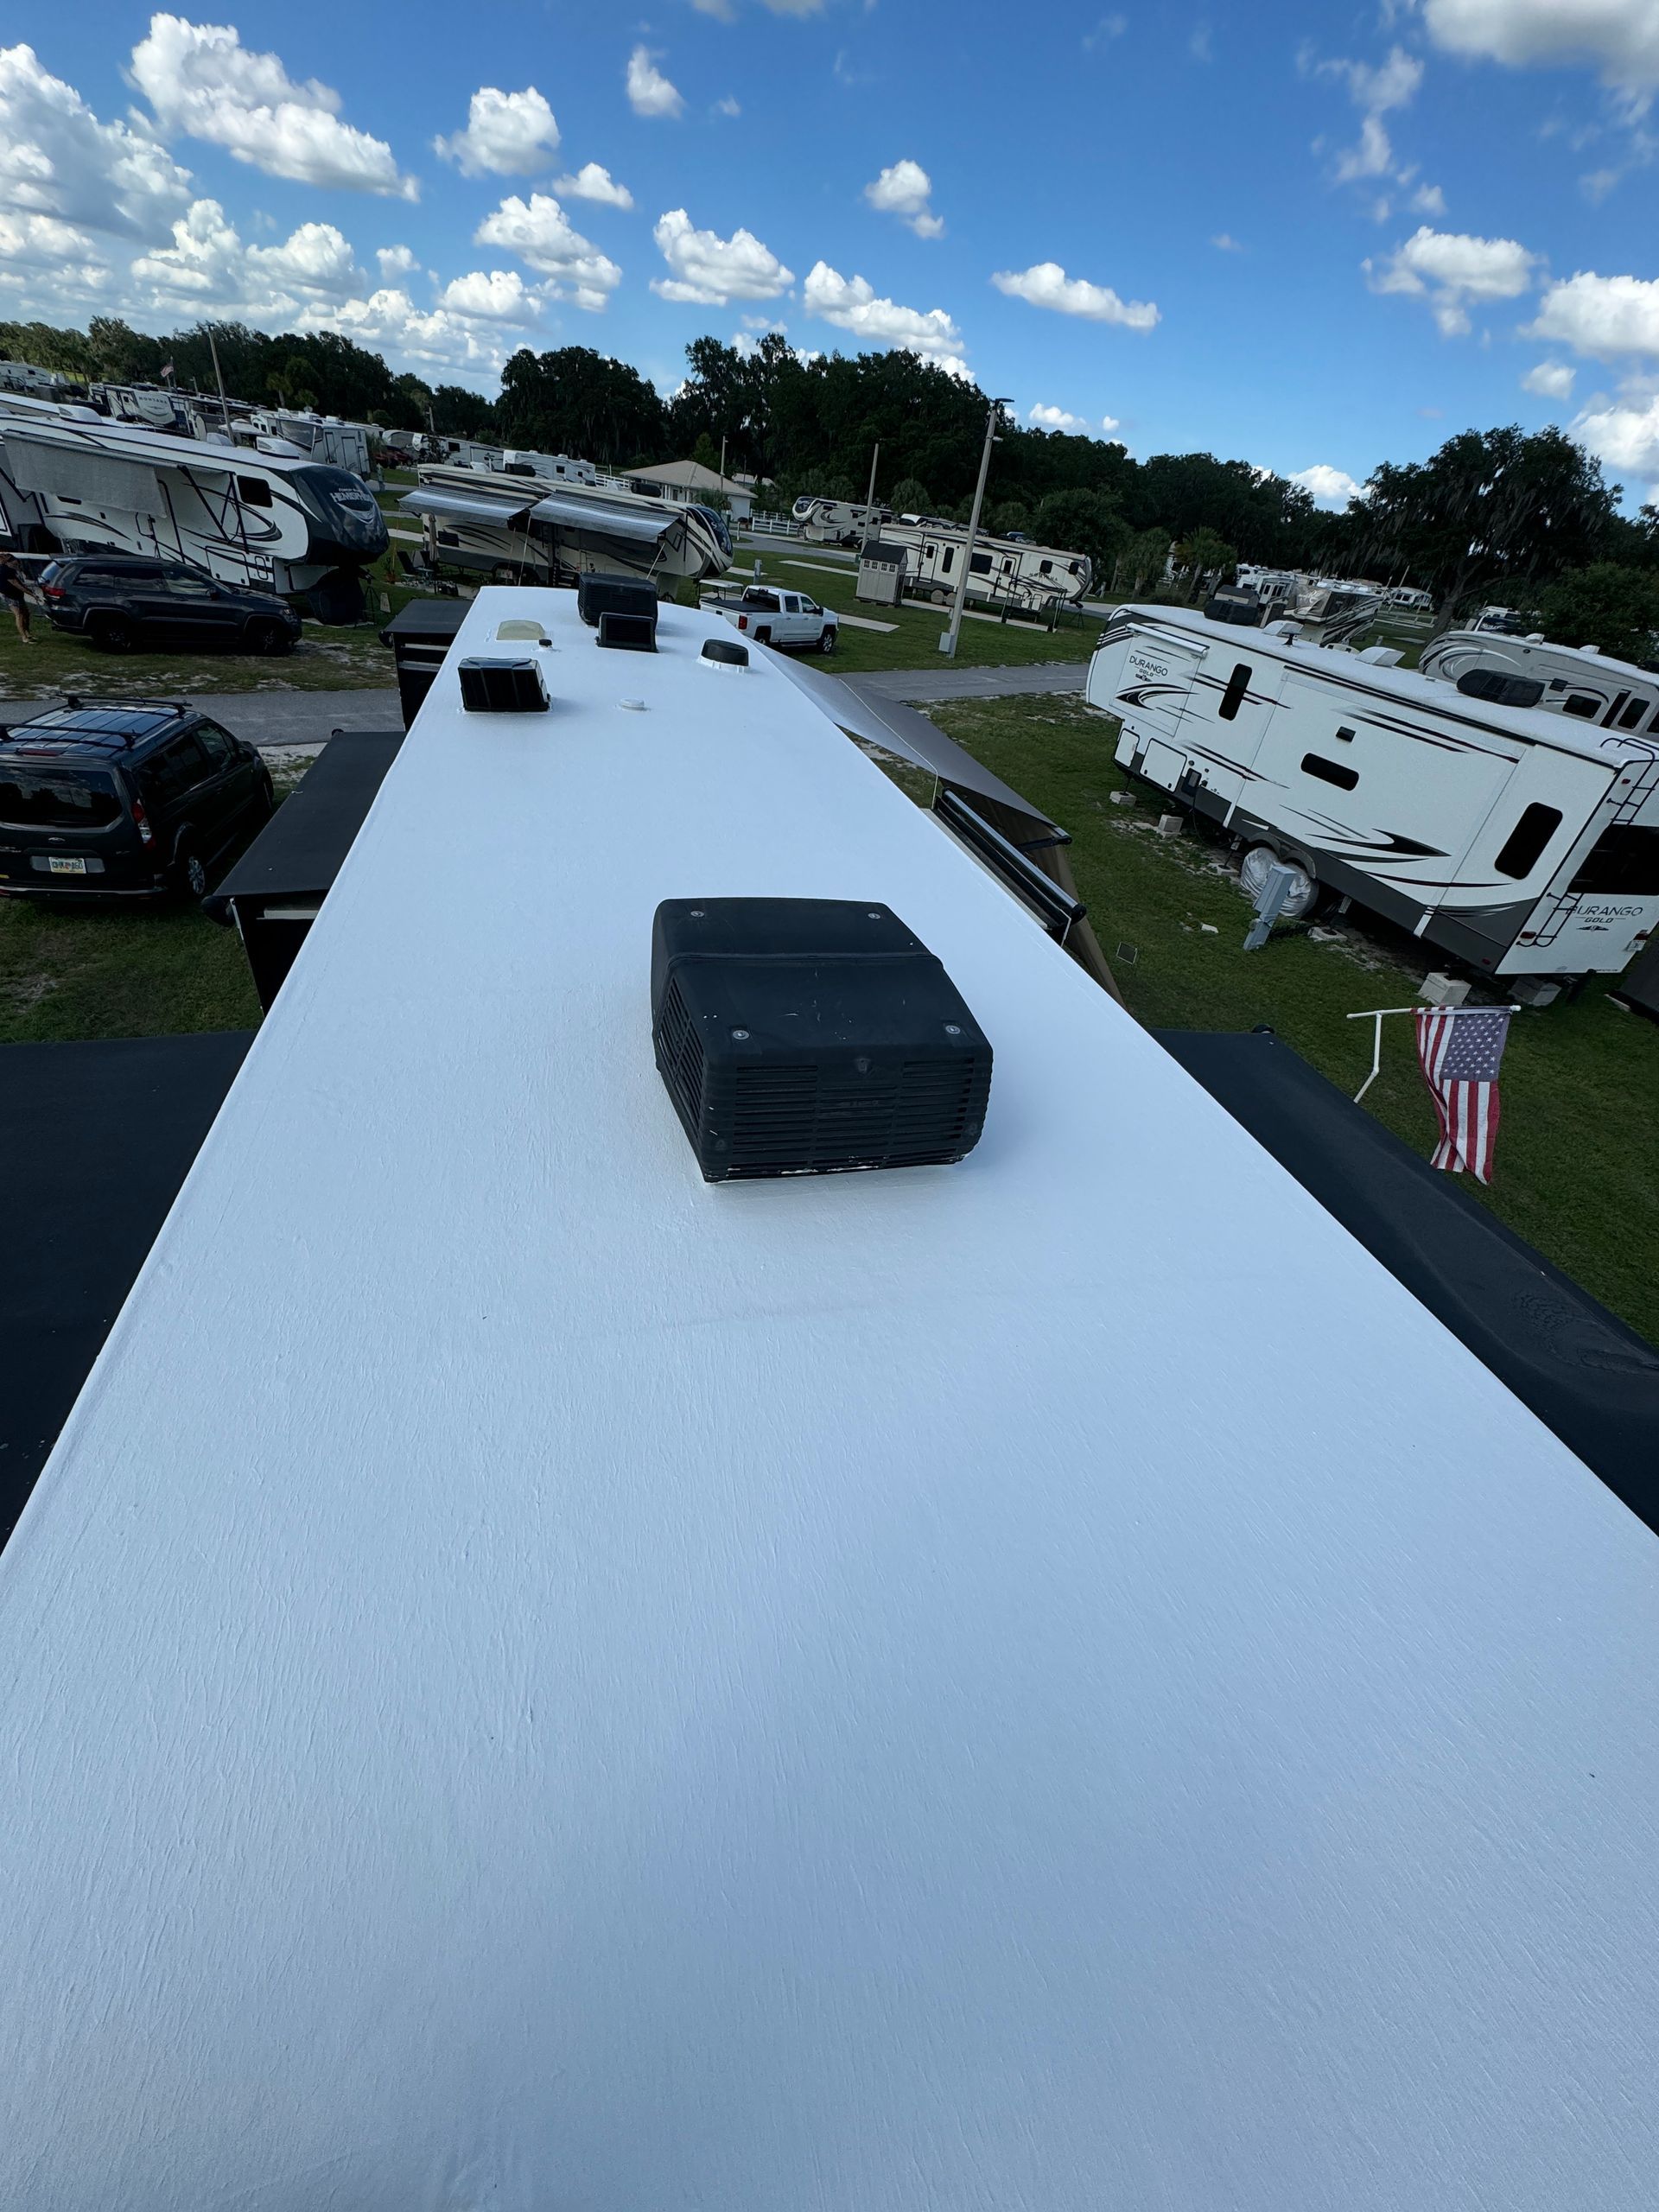
Take note of any areas where the roof material appears to be lifting or where seams may be coming apart. These can be entry points for water, and you should address them quickly. Check around roof vents, antennas, and air conditioning units, as these are common areas for leaks to develop.

Don’t forget to inspect the edges (front and back termination bars) and gutters (along the sides) of your roof. Make sure that gutters are free of obstructions and that the sealant along the drip edge is intact. If you notice any issues, make a note to address them before they get worse.

Cleaning and Maintenance Tips

Regular cleaning is vital for maintaining your RV roof. However, it’s important to use the right products to avoid damaging the material. Always choose a cleaner designed for your roof type. Follow the manufacturer’s instructions, and apply it using a soft brush.

A lot of folks on social media (and even industry professionals) will tell you it’s okay to use all-purpose cleaner or Dawn dish soap. The problem with these options is that they can damage the finish on your coach and strip the protective finish and waxes.

Gently scrub the roof, focusing on areas with stubborn stains or buildup. The best way to do this is on your hands and knees. Rinse thoroughly with a hose, removing all cleaning residue. Avoid using high-pressure washers, as they can damage the roof material and cause tears in the membrane if the washer is not on the right setting.

After cleaning, apply an industry-trusted UV protectant to guard against sun damage. This step is especially important for rubber roofs, which can degrade quickly under constant exposure to UV rays.

In addition to UV treatment, caulking should be removed and replaced when cracks or holes are discovered. Many people simply layer more caulk over old caulk. Unfortunately, while this is common, it’s not the best practice. It leads to poor adhesion, reduced flexibility, and potential mold growth. A professionally installed RV Roofing Solutions system eliminates the need for an annual peel and seal of your old caulking and makes your RV roof virtually maintenance-free!

A white RV in an RV park. The RV's awning is deployed and covering several lawn chairs and picnic blankets.

Recognizing When To Seek Professional Help

While regular DIY inspections and maintenance can address many issues, there are times when professional help is necessary. RV Roofing Solutions can provide a maintenance-free option. In fact, over 60 percent of our customers get our standard system installed before they ever have a leak.

Once you notice extensive damage, such as large areas of sagging or significant leaks, it’s time to call a professional—if that’s where you’re at, the costs can start adding up quickly.

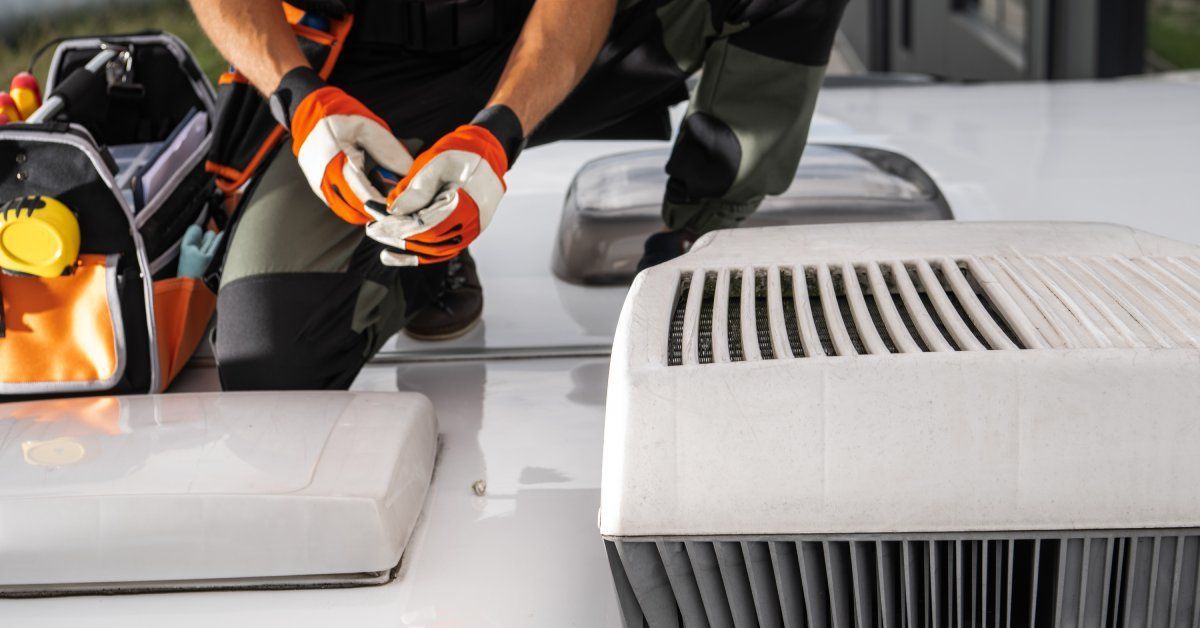
Professional repair services have the expertise, experience, and specialized equipment needed to address complex issues. Our team can assess the overall condition of your roof and recommend the right system for you with a one-on-one consultation. Investing in professional repairs can save you money in the long run by preventing further damage.

Here at RV Roofing Solutions, we offer professional mobile RV roof repair and maintenance that will get you back on the road as soon as possible.

Preventative Measures for Longevity

Along with regular inspections and maintenance, several preventative measures can extend the life of your RV roof. Many people choose to use a roof cover or tarp when their RV is in storage. While this extra layer of protection can be a shield to protect the roof from sun, rain, and debris, covers can cause damage as they rub along the radius of an RV roof. They also trap moisture, creating a breeding ground for mold and mildew. Unfortunately, many HOAs require them, so even though it’s a daunting task, you should check the roof regularly if you keep it covered.

Parking your RV in shaded areas, like a covered port, also reduces UV exposure, which can degrade roof materials over time. If the only shade that is available is tree cover, be mindful of sap and leaves that fall on the roof. In moist areas, algae growth on RV roofs is also possible. Sap, leaves, and algae should not be left there, as they will degrade your roofing materials faster and necessitate more frequent cleaning.

Be sure to manage tree branches and foliage near your RV. Regularly trim branches that hang over your RV, as falling debris can cause damage during storms or high winds.

Getting Back to the Drive

Caring for your RV roof with regular inspections and maintenance is essential for extending its lifespan and ensuring your travels remain trouble-free. By staying proactive and addressing issues early, you can prevent costly repairs and enjoy peace of mind on your adventures.

RV Roofing Solutions’ complete system is the best way to make sure your RV’s roof is secure for the long run. Our system removes the need for recaulking your roof, taking the burden off your shoulders so you can focus on enjoying your RV.

You might also like

RV Roofing Solutions' Blog

Snow-covered RV parked in a residential area; rooftops and trees also covered in snow; cloudy, overcast sky.
By RV Roofing Solutions October 4, 2025
A few weeks ago, we talked about the fall preparation your RV roof needs, like cleaning, sealing, inspecting, and getting ahead of seasonal wear. But this week, I want to ask you a hard question: How do you maintain your RV roof in the winter? Because the impact of cold climates can be far more extensive than most RVers realize. Let's be honest: Many RV roofs really aren't rated for snowpack. Lightweight construction saves fuel and cost, but it also means your roof may not be built to withstand 12–18 inches of wet, slushy snow. That kind of weight can cause sagging, stress seams, and even collapse if structural vulnerabilities exist. And once melting and refreezing cycles begin, water finds its way into every crack, seam, and screw hole, turning minor leaks into major repairs. Double-check a few important details before the frost sets in: • Did you inspect your roof for soft spots or compromised sealant? • How much snow can your roof safely hold? • Are your gaskets and vent seals ready for freezing temps? • Is your roof protected from ice dams and trapped moisture? Winter prepping your RV roof isn't good practice in avoiding expensive damage. You're protecting your rig's value, your travel plans, and your peace of mind. Whether you're storing your RV or heading south, your roof deserves attention before the season shifts. Let's dive into what you can do right now to winterize with confidence. Spooky Season and Your RV Roof: Don’t Let It Become a Horror Story Spooky season brings more than just haunted houses and ghost tours. Falling leaves and colder nights can summon real nightmares for your RV roof. Trapped moisture, brittle seals, and hidden debris are the villains lurking overhead, ready to turn your cozy rig into a costly horror show. Mold, rot, and delamination don't knock. They creep in silently when snow piles up and ventilation gets sealed off. Don't let your roof become the scene of a seasonal scare. Clear off snow and ice with soft tools, inspect seals before the freeze, and avoid the trap of generic tarps that do more harm than good. If you park long-term, consider undercover storage or a maintenance-free roof system like RV Roofing Solutions to keep the monsters at bay. This fall, protect your roof like your rig depends on it — because it does. A little prep now means no jump scares later.
By RV Roofing Solutions October 2, 2025
As autumn rolls in with its crisp air and golden foliage, RVers across the country settle into cozy campsites under vibrant canopies of oak, walnut, and maple trees. It’s a season of tailgates, festivals, and fireside memories—but it’s also prime time for unexpected roof damage. Every RVer knows the sound... that sudden thud on the roof. Maybe it’s an acorn, maybe a branch. Your heart skips. The dog starts barking. You freeze, staring at the ceiling, wondering what just landed up there. Each impact, no matter how small, can be a hazard. Acorns can dent or crack your roof membrane. Branches can scrape sealants or wedge into seams. Even leaves, when they pile up, trap moisture and invite mold. And if you’re parked under trees for the season, those hits aren’t rare, in fact they’re often relentless. Whether your roof is rubber, TPO, PVC, fiberglass, or vinyl, it’s your first line of defense. But it’s certainly not invincible. That’s why regular inspections, cleanings, and protective measures aren’t just good practice—they’re peace of mind. So the next time something hits your roof and the dog goes wild, don’t just shrug it off. That sound might be telling you it’s time to check. The Hidden Threats Overhead While falling leaves may seem harmless, they often come with heavier — and more damaging — falling debris that can pose serious risks to your RV. • Acorns,Walnuts, Pecans, Pinecones and small branches: These dense, fast-falling items can dent or crack your RV’s roof's surface, especially if you have a rubber, TPO, PVC, or Vinyl membrane. Over time, repeated impacts may compromise sealants around vents, skylights, or air conditioning units, & the membrane itself, leading to leaks and costly repairs. Regular roof inspections can help mitigate this seasonal hazard. Even though fiberglass roofs tend to hold up better against falling debris, it’s still essential to inspect your RV roof regularly—especially if you're parked under trees. Branches, nuts, and other debris can cause wear over time, and early detection of damage can save you from costly repairs down the road. Tree Sap and Tannins: What RV Owners Should Know Sap and tannins from trees can cling to your RV roof, leading to stubborn stains and surface degradation if not cleaned promptly. • PVC Roofs: These are fairly durable, but sap can stain and dull the reflective coating over time. Regular cleaning helps maintain their appearance and performance. • TPO Roofs: TPO resists mold and punctures, but sap can still stain and weaken UV protection. Heat-welded seams may also be affected if buildup is left unchecked. • Rubber (EPDM) Roofs: Highly vulnerable to sap and tannin damage. These acidic substances can cause black streaks, degrade the membrane, and compromise sealants. • Vinyl Roofs: Less common in RVs, but vinyl is prone to discoloration and surface cracking when exposed to sticky residue. Gentle cleaning is key. • Fiberglass Roofs are more resistant overall, but sap can dull the gel coat and lead to oxidation. Stains may be harder to remove without specialized cleaners. Fall Leaves Can Lead to Roof Damage—No Matter What Type of RV You Own As autumn rolls in, falling leaves may seem picturesque, but they pose a hidden threat to your RV’s roof. When leaves pile up and sit undisturbed, they trap moisture against the surface—creating ideal conditions for mold, mildew, and premature chalking. This is especially problematic around vulnerable areas like vents, seams, and skylights. Whether your RV roof is made of rubber (EPDM), TPO, PVC, fiberglass, or vinyl, none are immune. Rubber and TPO roofs are particularly prone to chalking and microbial growth, while fiberglass and PVC may resist mold but still suffer from staining and sealant breakdown. Regular roof cleaning and leaf removal during the fall season is essential to protect your investment and avoid costly repairs. What Counts as a “Sharp Projectile”? • Acorns and Walnuts: Dense, hard-shelled nuts that fall with force, especially during wind gusts or squirrel activity. • Broken Branch Tips: Jagged twigs and splinters that pierce or scratch roof membranes. • Pinecones and Hickory Nuts: Often overlooked, but heavy enough to dent or crack skylight edges and vent covers. These aren’t just nuisances—they’re roof risks. Why It’s a Problem RV roofs aren’t built for impact. Even minor damage can lead to: • Punctures or Cracks in the membrane, especially on aging or silicone-coated roofs. • Sealant Compromise, allowing water intrusion around vents, AC units, or skylights. • Hidden Moisture Damage, which insurance may not cover if deemed preventable. Membrane roofs, while lightweight and flexible, come with added vulnerability—especially in fall. Their soft surface is prone to punctures from sharp debris like acorns, walnuts, pinecones, or broken branches. Even a tiny pinhole, barely visible at first, can allow moisture to seep in unnoticed. Over time, that small breach can expand, compromising sealants, soaking insulation, and leading to mold or structural damage. What starts as a minor impact can snowball into a major repair. That’s why regular inspections and proactive sealing are essential—and why a seamless roofing system offers far better long-term protection And once water gets in, it’s not just a roof issue—it’s a wall, floor, or even worse.
By RV Roofing Solutions September 19, 2025
The roof on your RV isn't just a lid on your rig. It's your best and first defense against weather, wear, and costly damage. So that means fall is more than just falling leaves and crisp air for RVers. It's when we say goodbye to summer adventures and hello to seasonal RV maintenance. Whether you're storing your rig for winter or gearing up for cold-weather travel, here's your autumn checklist to keep your RV roof strong, sealed, and ready for whatever the season brings. And if you're planning to camp through fall, we've got a few extra tips to keep your roof and your adventures well protected. 🍁 Fall Camping Tips for RV Roof Protection • Watch for Falling Debris: Autumn breezes cause tree limbs, acorns, and leaves to fall from above. Park away from heavy branches and check your roof regularly for buildup that can trap moisture or cause abrasions. • Mind the Moisture: Morning dew and cooler temps can lead to condensation. Make sure to properly seal your roof vents and ventilate your interior to prevent mold and mildew. • Check After Storms: Fall weather can be unpredictable. After heavy rain or wind, inspect your roof for pooling water, lifted sealant, or debris that may have caused damage. • Consider a Roof Cover (If Stationary): If you're parked for an extended time, consider a breathable RV roof cover to protect against UV rays and falling debris — just make sure it doesn't trap moisture underneath. There are pros and cons to this that we'll explore later in this article. • Prepare for Temperature Swings: Sealants and gaskets expand and contract with temperature changes. A fall inspection helps catch cracks or gaps before winter sets in. Get Ahead of Winter Prep While Fall Temps Are Warmer Fall offers the perfect window for RV roof maintenance. The weather is pleasant, and the temperatures are ideal for proper curing. Sealants, coatings, and adhesives all require moderate, dry conditions to bond effectively. Once winter sets in, cold temps and moisture can interfere with curing times, reduce adhesion, and compromise long-term protection. Tackling inspections, resealing, and upgrades now keeps you ahead of the freeze and gives your roof the best chance to perform through the harshest months. Whether you're storing your rig or heading south, fall maintenance means fewer surprises and more peace of mind. Wash Your Roof. Thoroughly. Fall is the perfect time to give your RV roof a deep clean. After a season of travel, it’s likely covered in sap, pollen, bird droppings, and road dust — all of which can break down the surface over time if left untreated. Use a soft-bristled brush and an RV-safe cleaner, like Wash Wax All (use code RVRS for a 5% discount!), to gently remove buildup without damaging the membrane. Be sure to avoid harsh chemicals, especially on rubber or fiberglass roofs, as they can strip protective layers and accelerate wear. Pro Tip: Washing your roof twice a year — once in the spring and again in the fall — is ideal for spotting early signs of damage, maintaining your roof’s integrity, and preserving your warranty if you still have one.

Book a Service Today