

Explore & Enjoy the Journey
RV Roofing Solutions' Blog
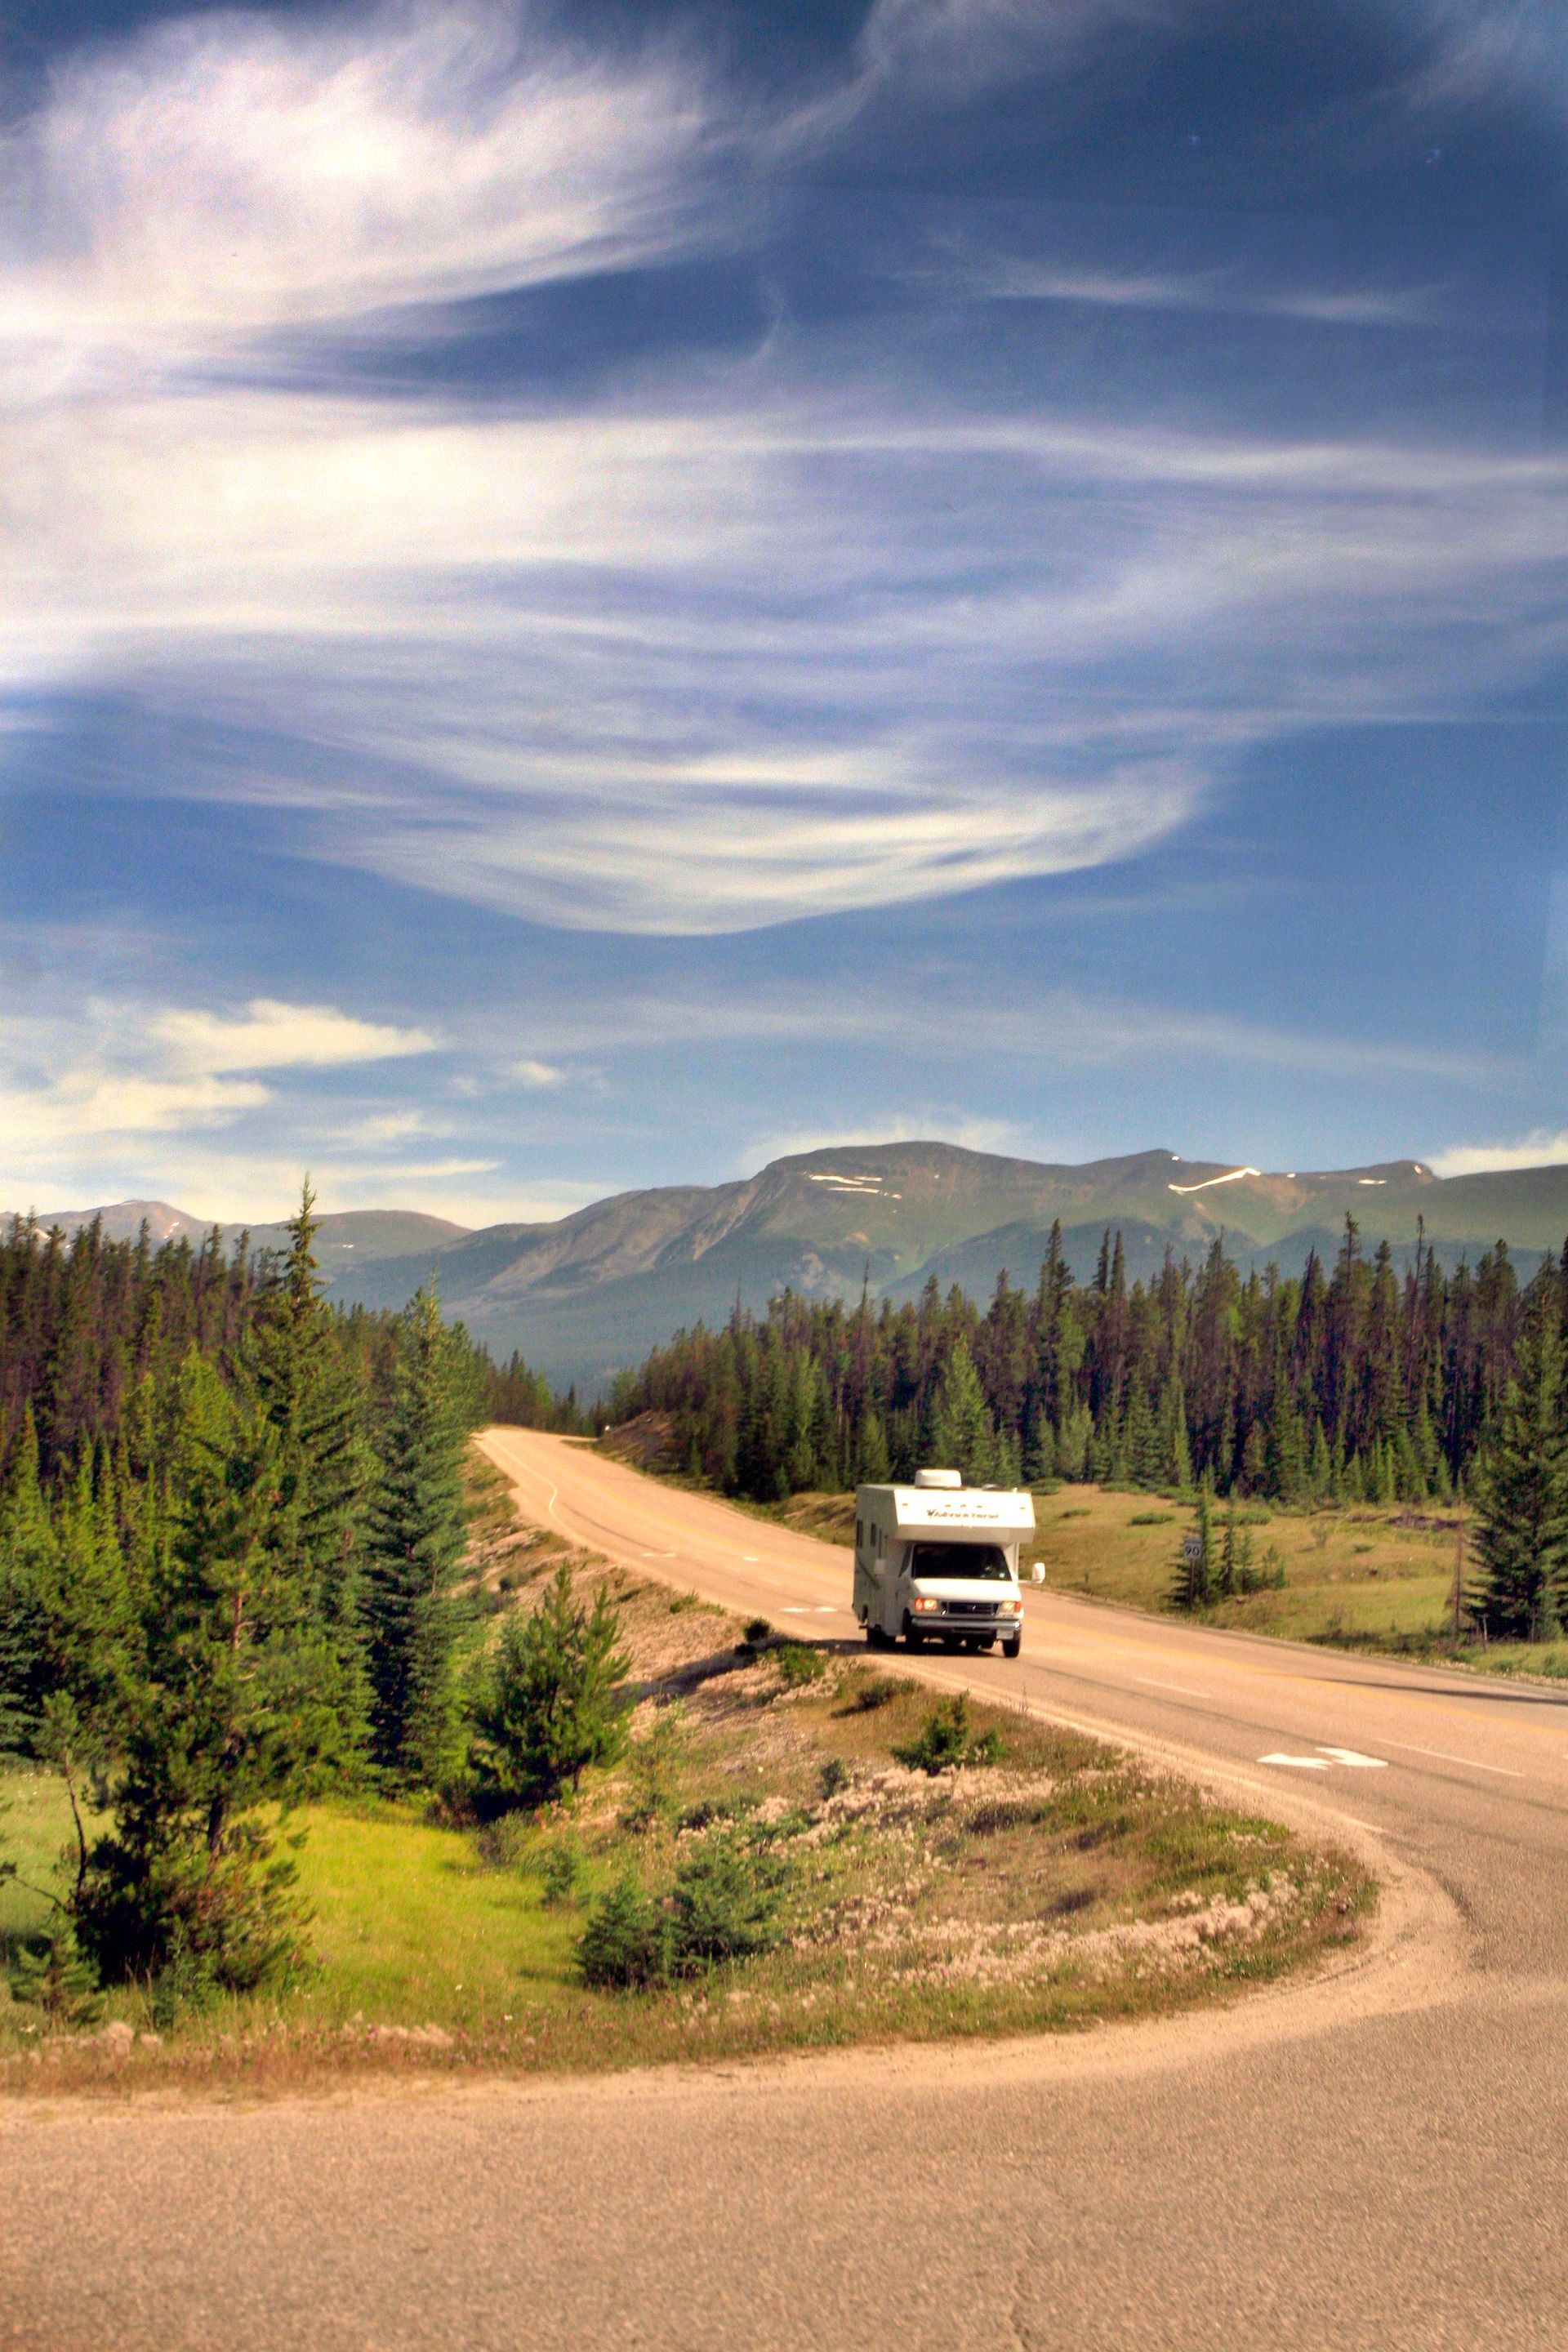
Fifteen minutes on the roof now can save you a ruined trip later. Here's exactly what to check.
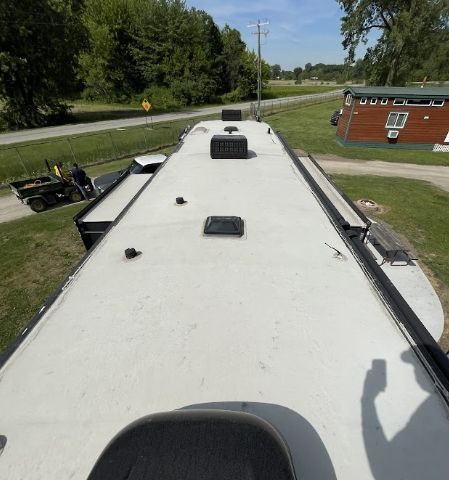
Ask the right questions before hiring an RV roof technician. Ensure quality work & protect your investment. Contact us for expert help!
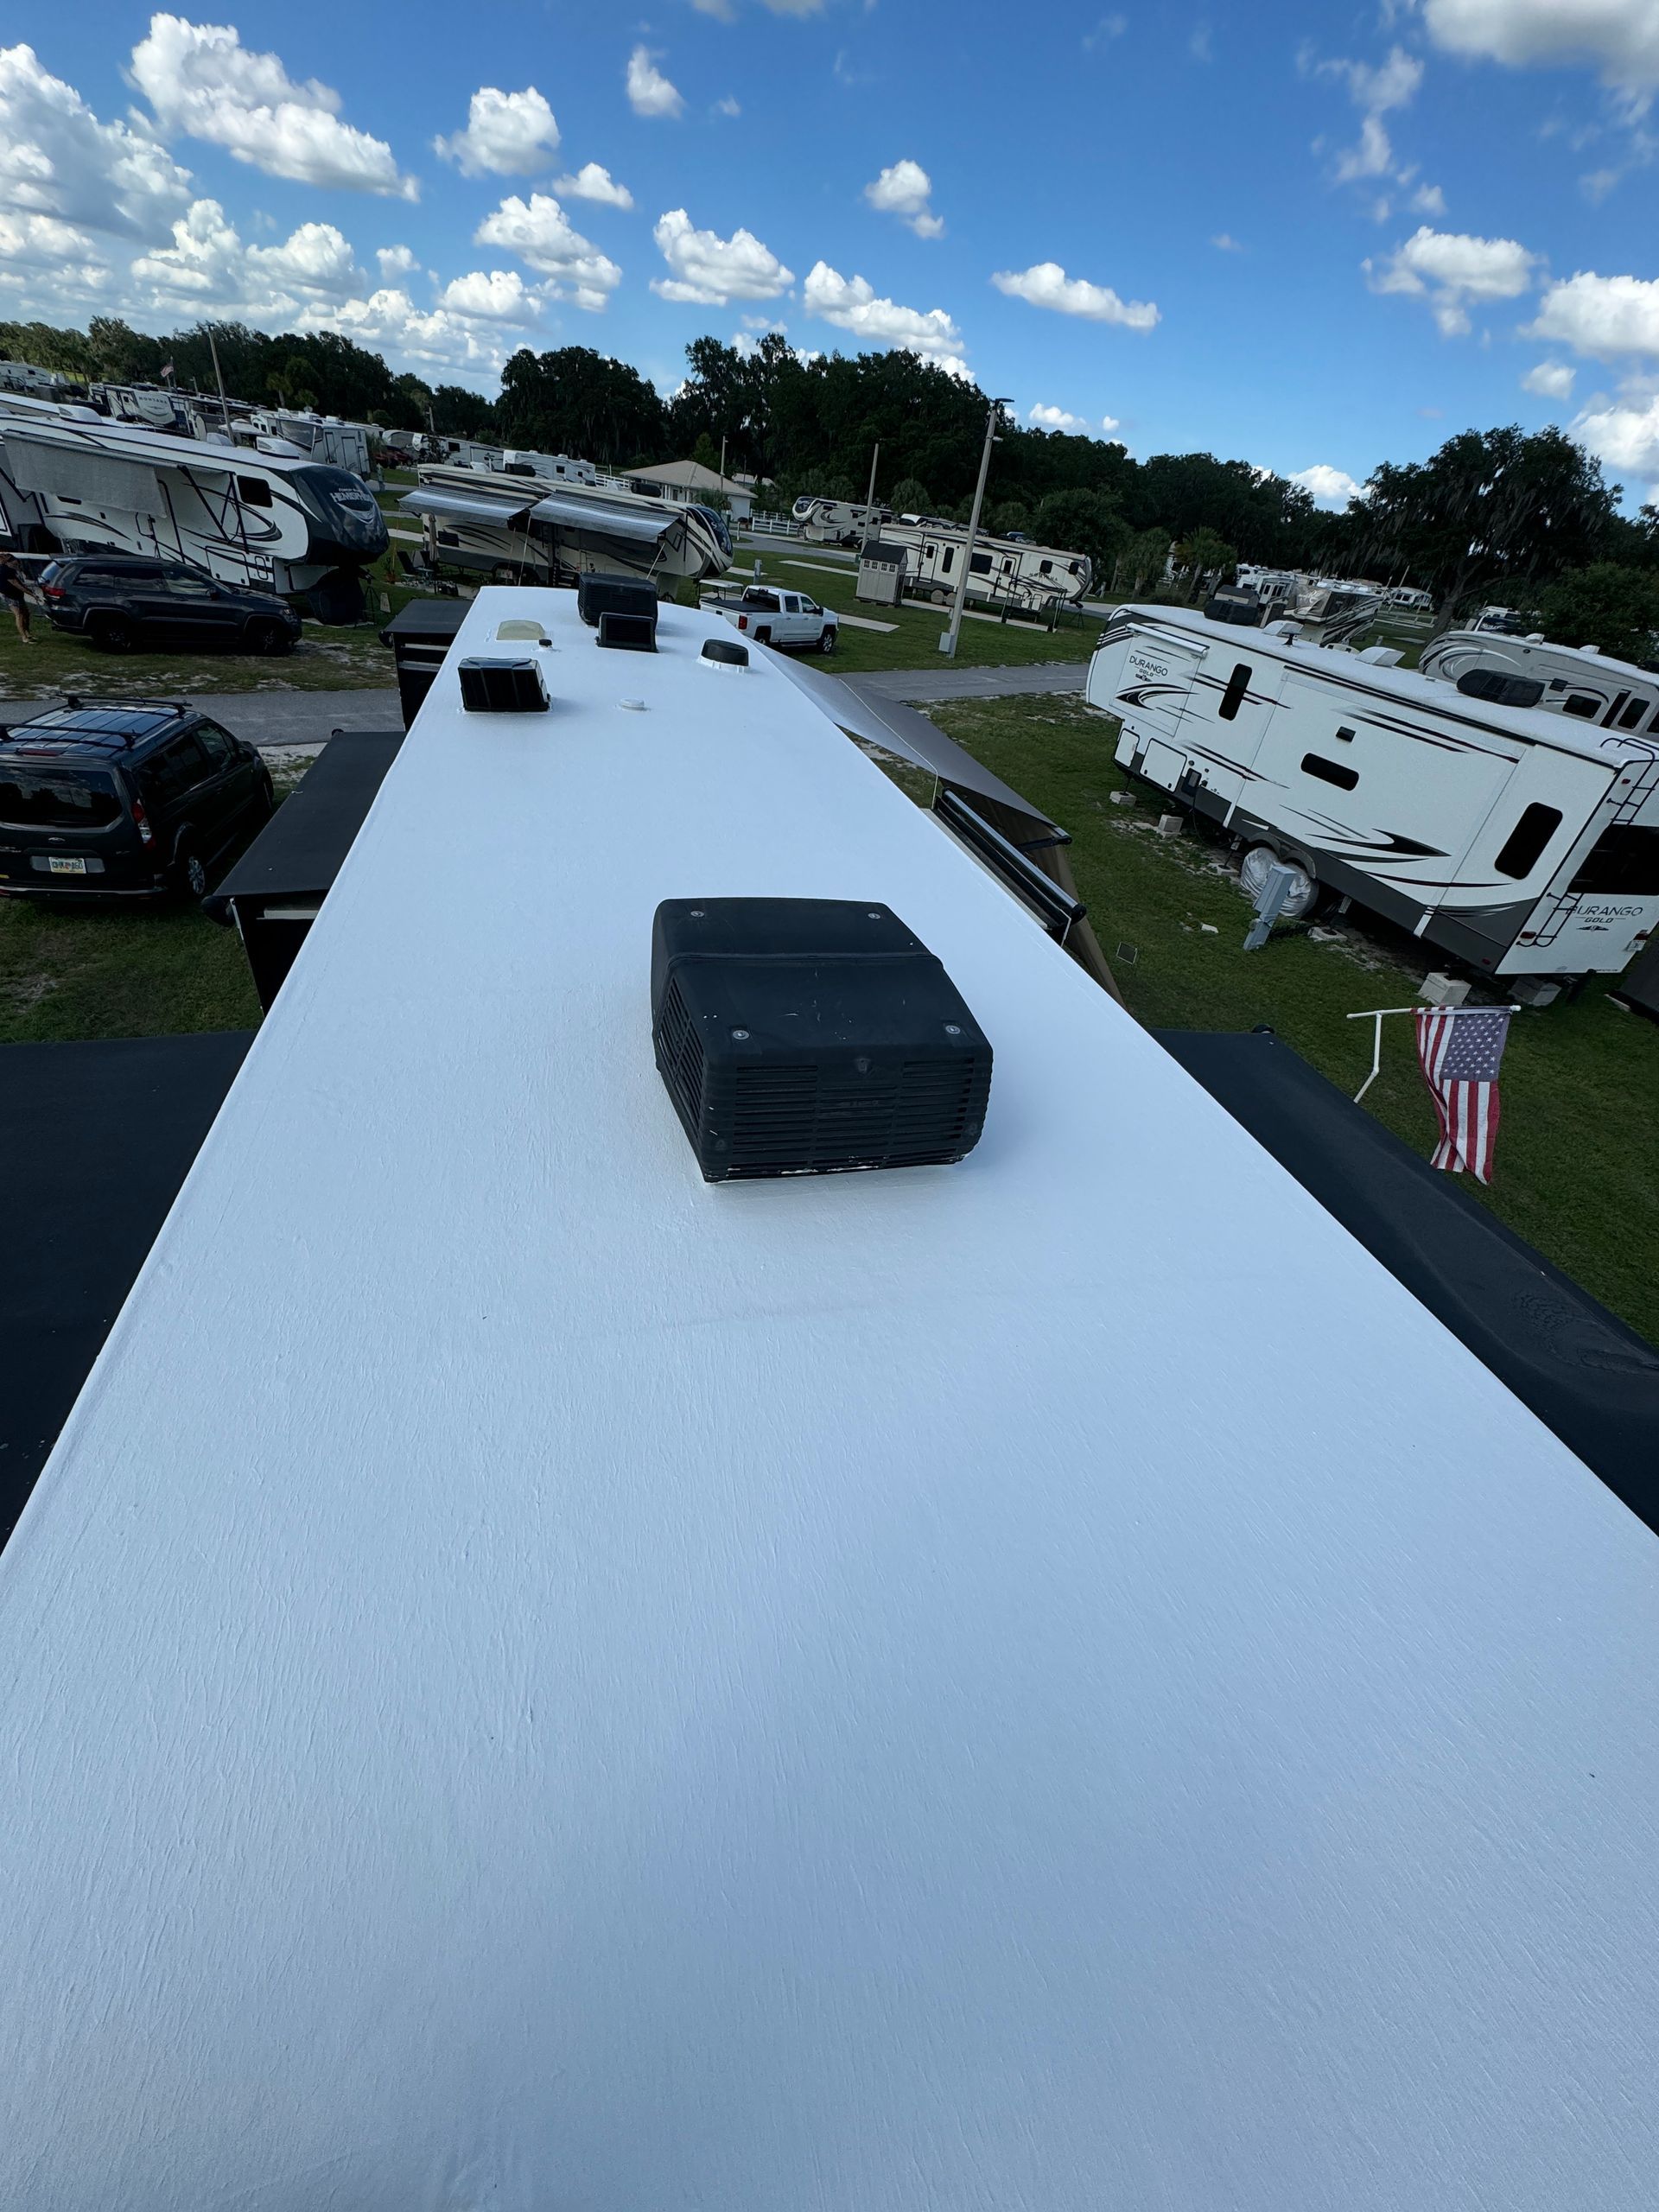
RV roof leaks start at failed caulk. A seamless roofing system prevents damage, lowers interior temps, and comes with a 10‑year transferable warranty.
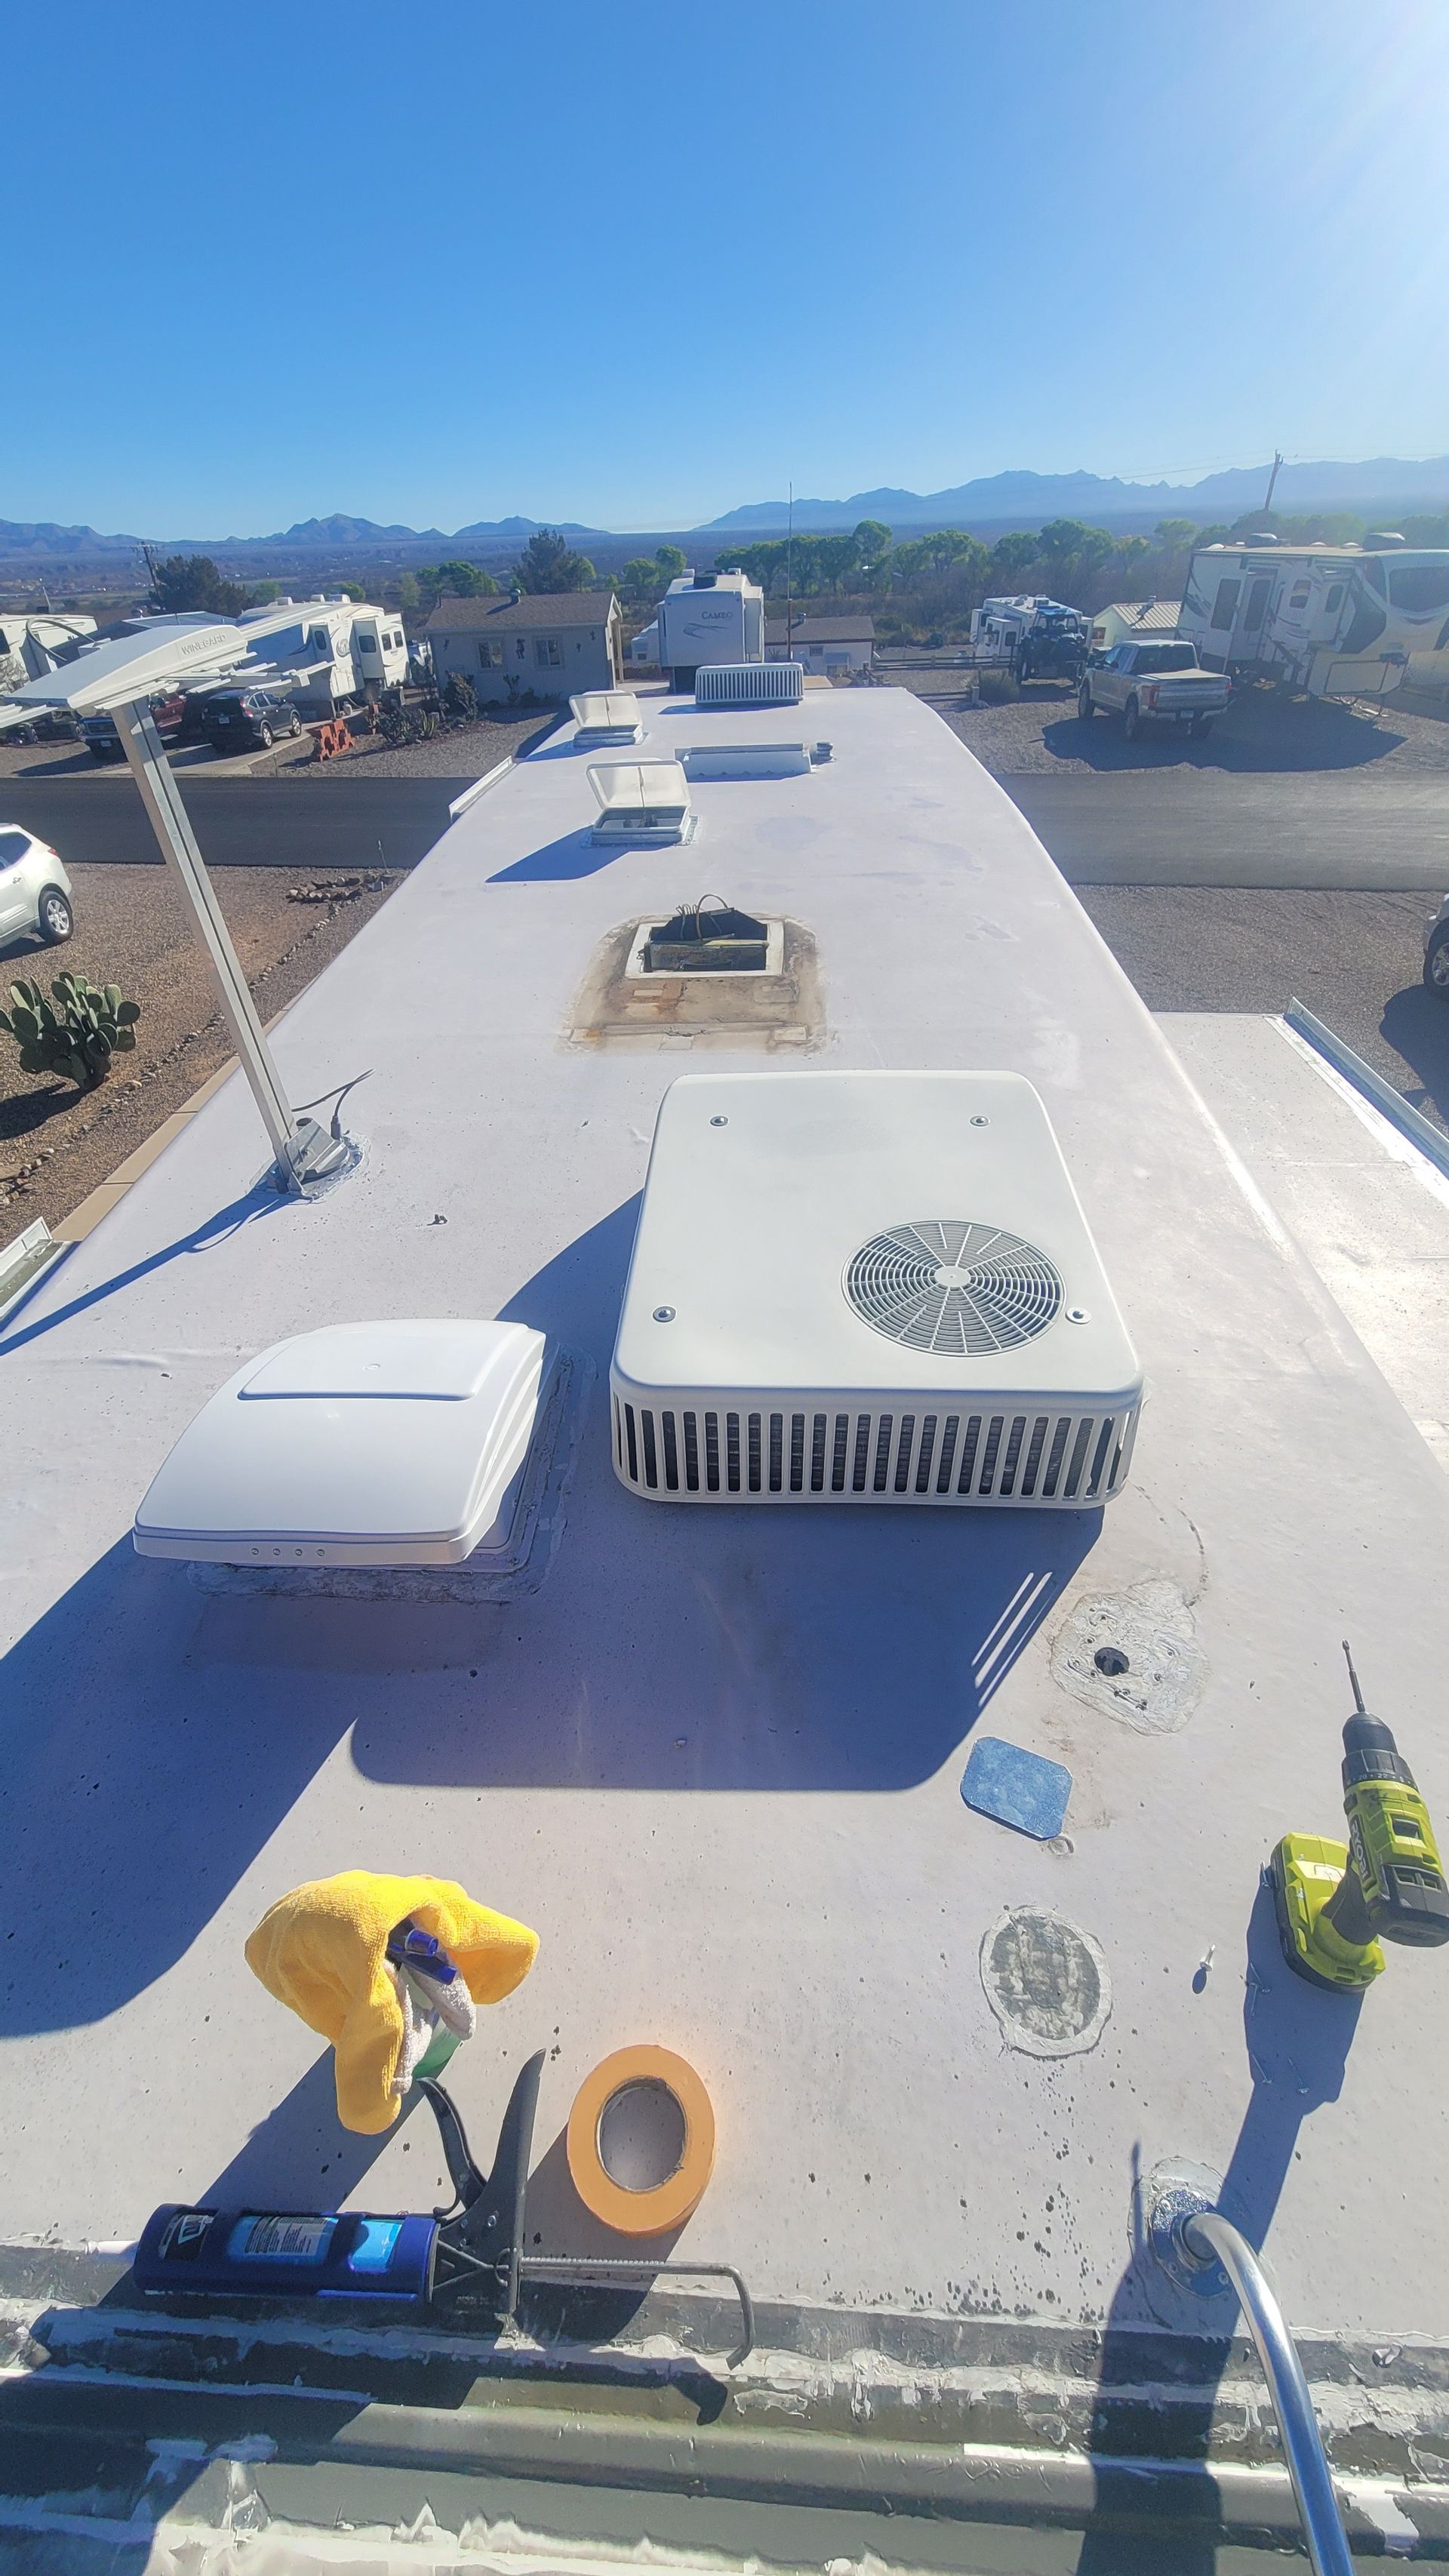
Camping at 8,000 feet? Your RV roof is absorbing 60–80% more UV than at sea level. Here's what that means, what to look for, and what actually protects it.
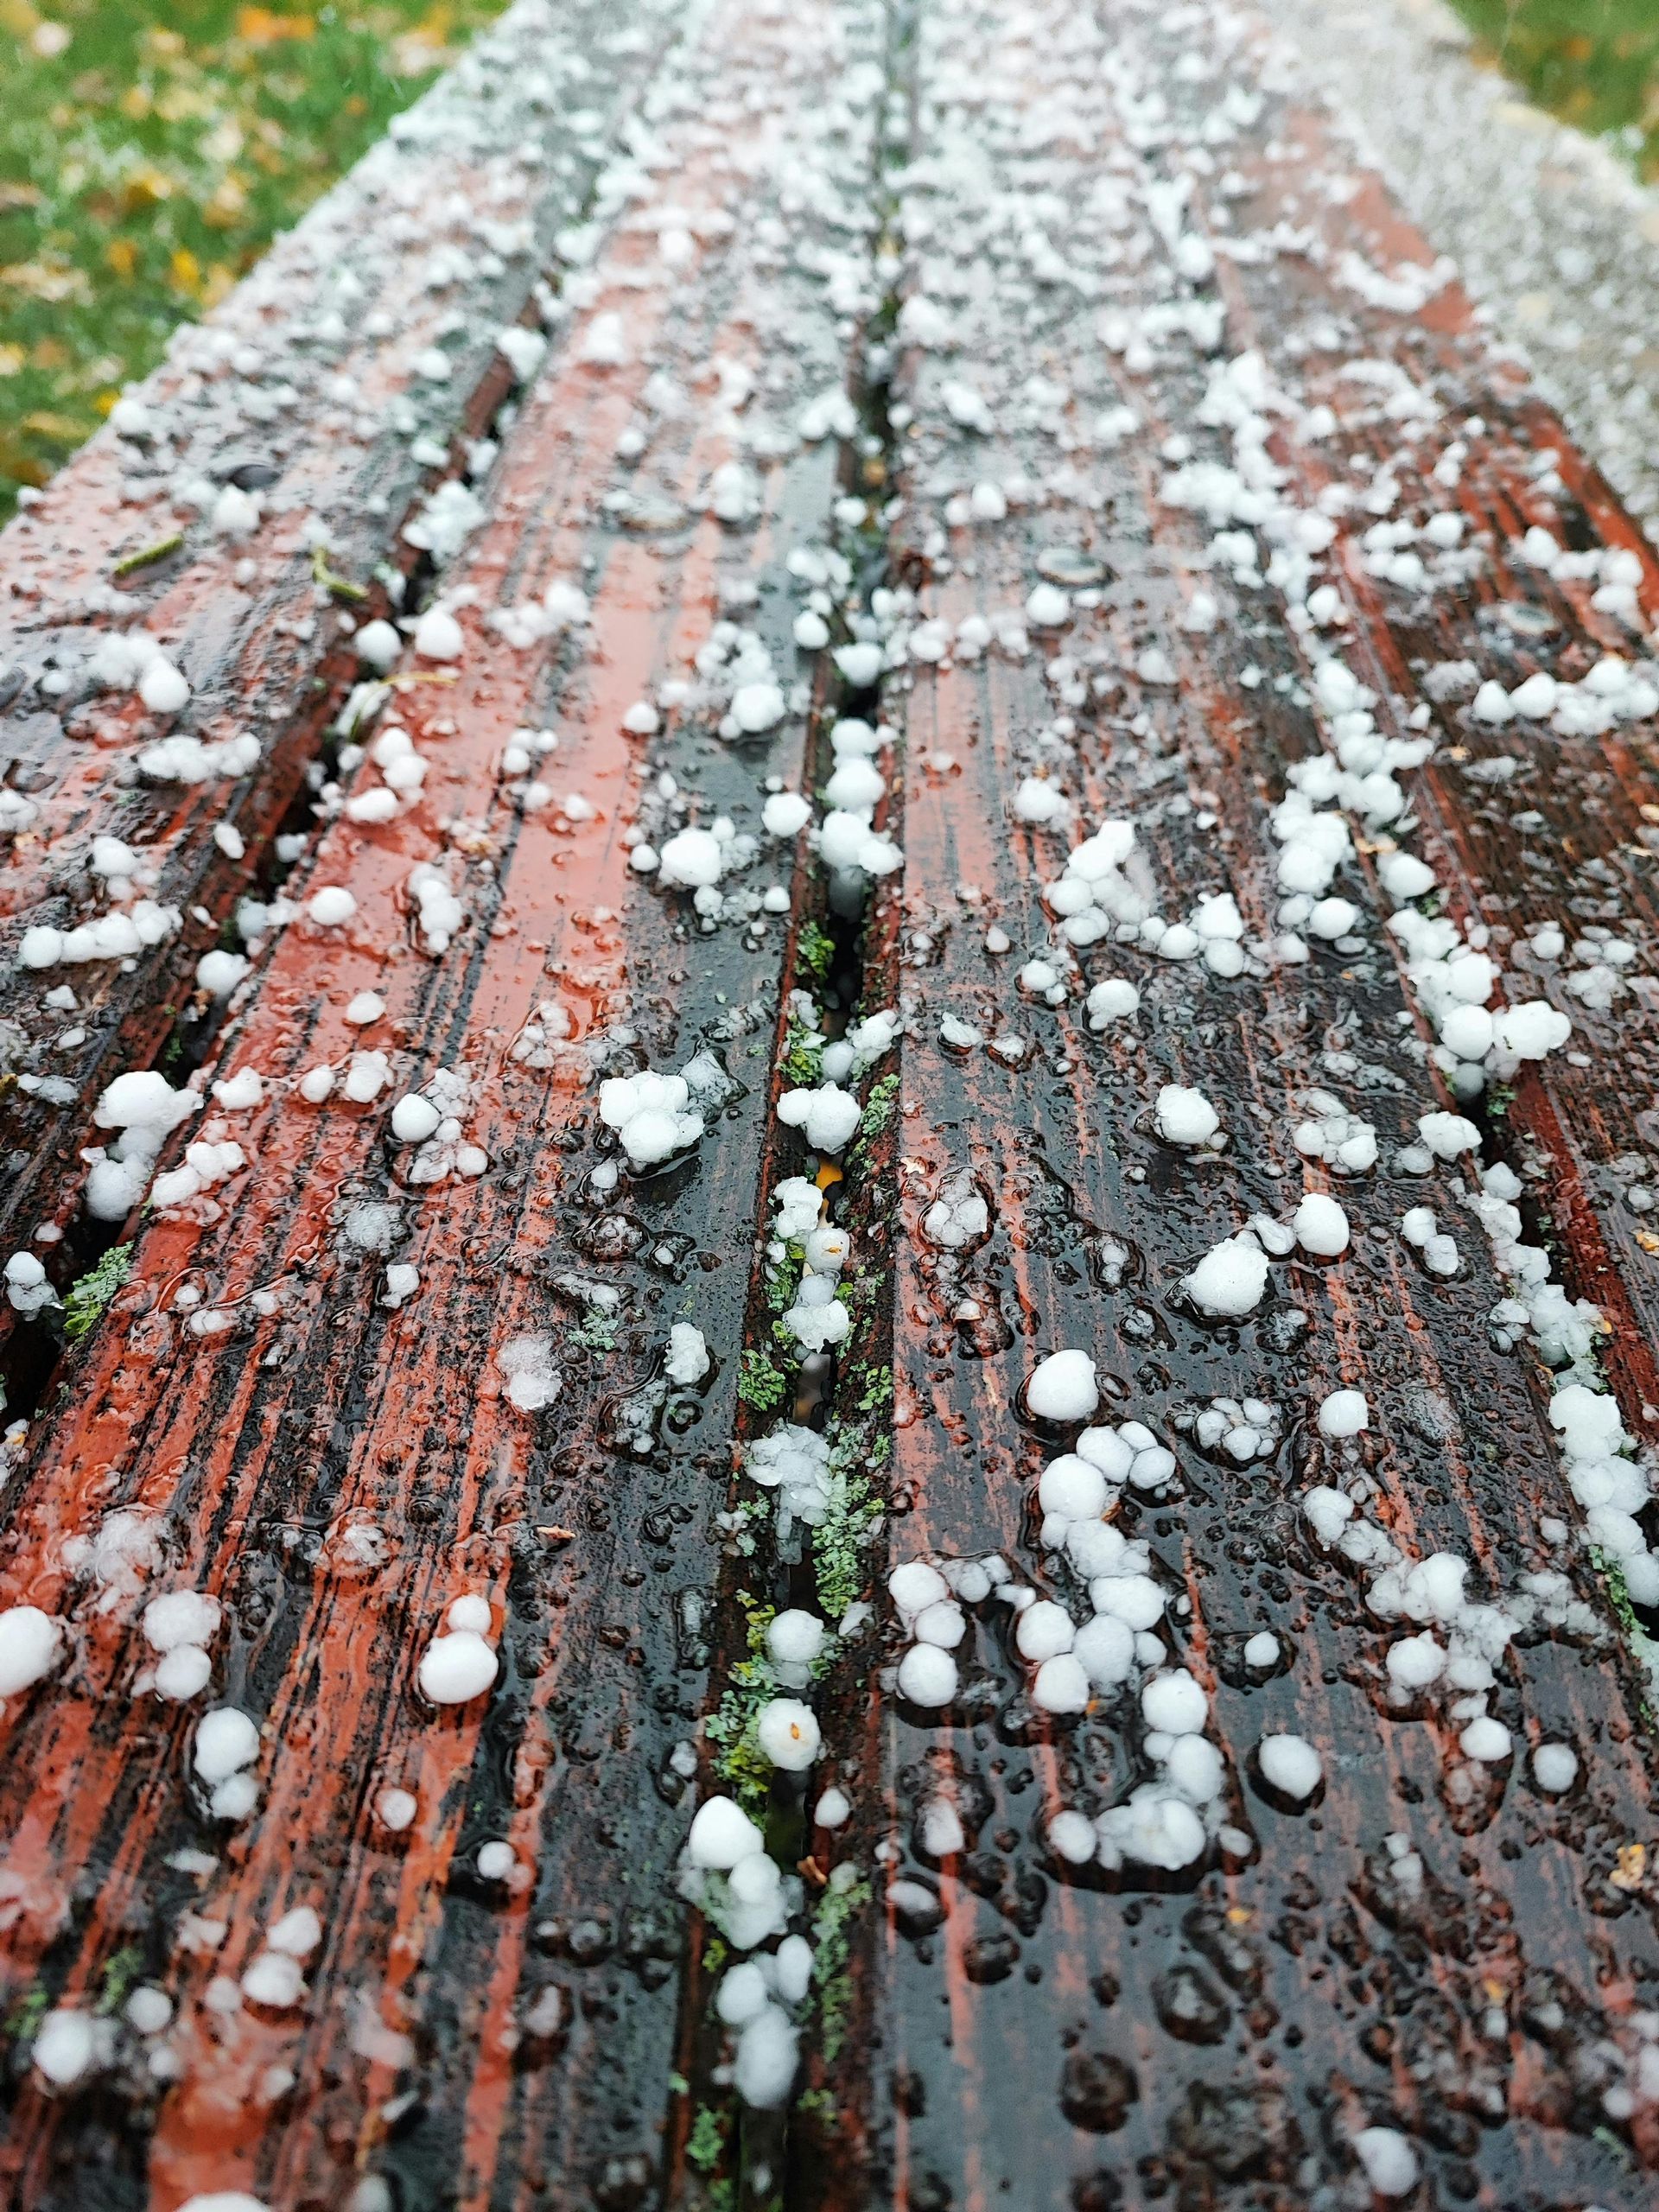
Hail damage on your RV roof is often invisible and that's what makes it dangerous. Learn what to do before, during, and after a spring storm hits your rig.
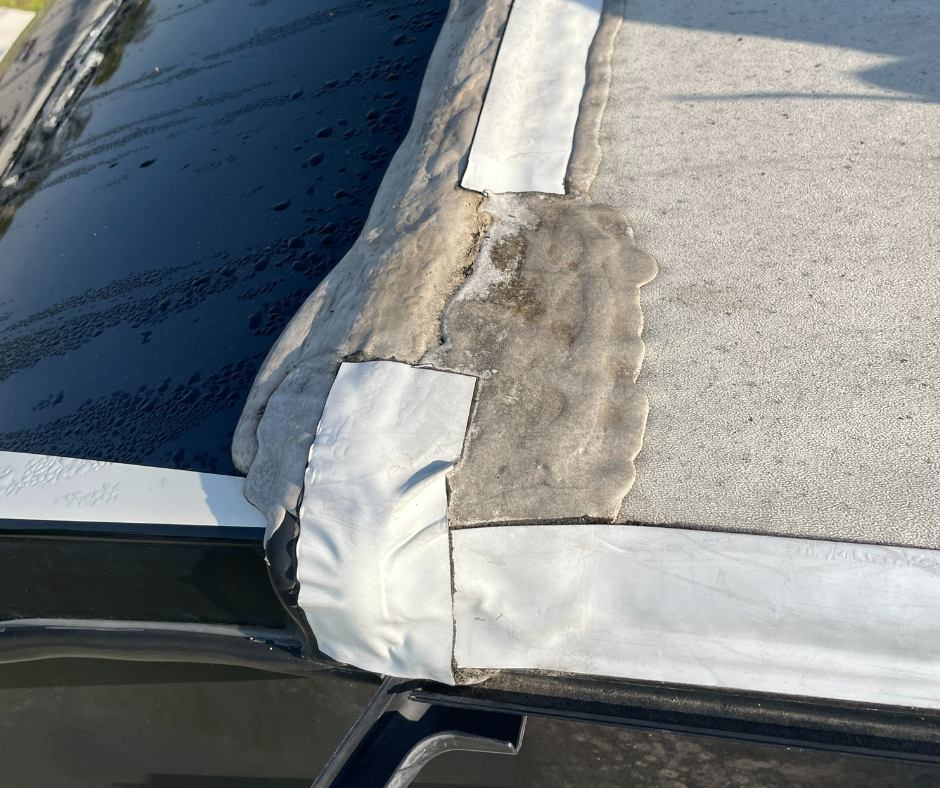
From soft spots and cracks to water damage and delamination, learn how to spot a failing RV roof early, avoid expensive repairs, and keep your RV ready for adventure
RV Roofing Solutions is excited to announce our new partnership with Open Roads VIP Access!
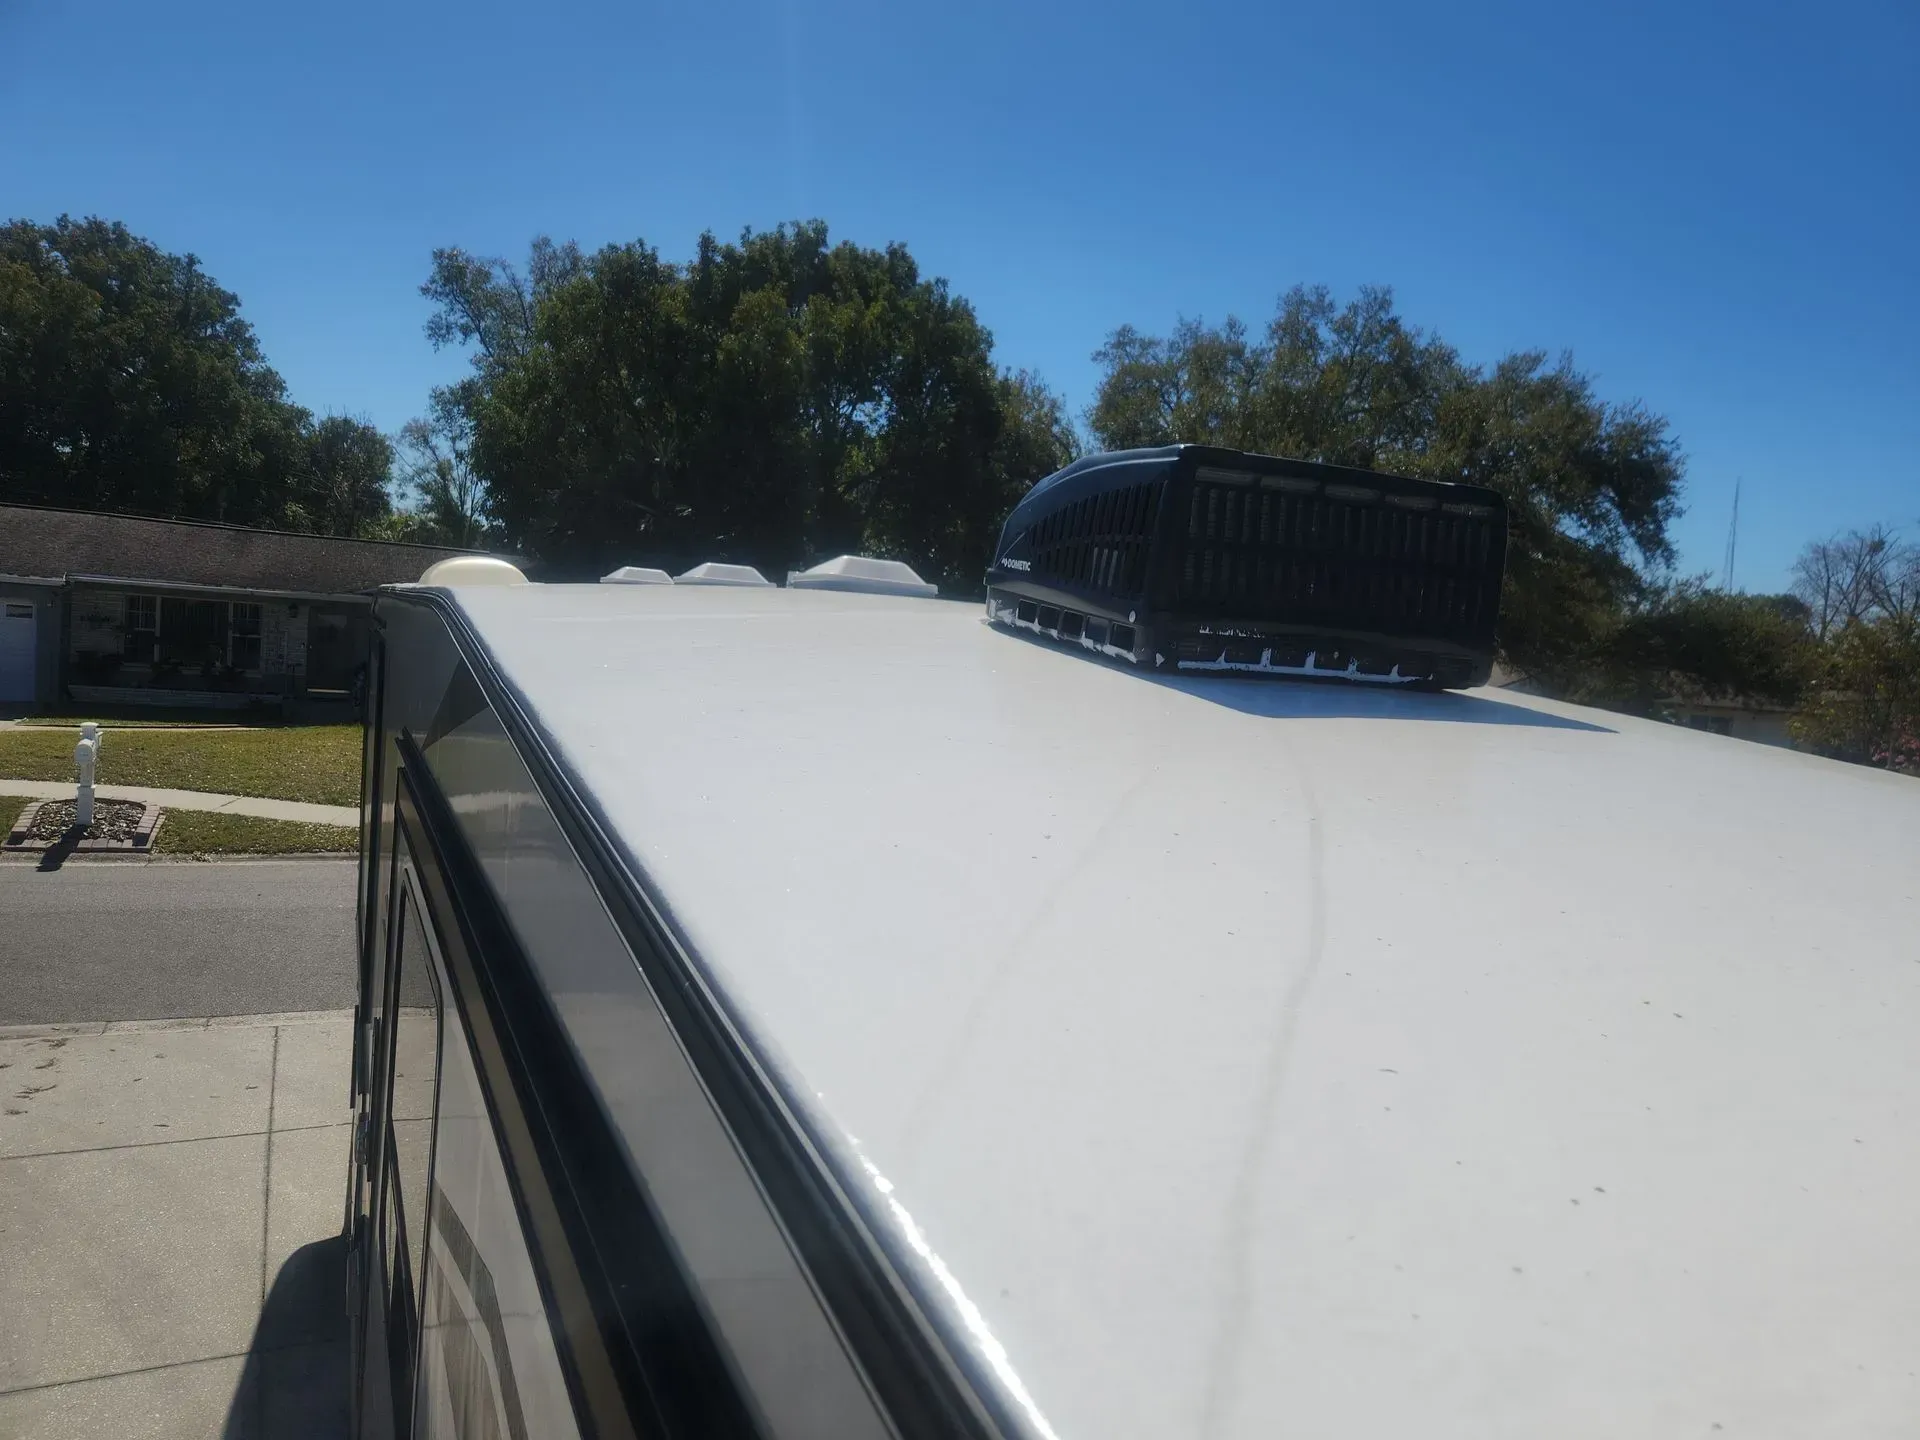
Nothing sticks to silicone. Before you coat your RV roof, Read what RV Roofing Solutions has learned from years of inspections, tearoffs, and real repairs.
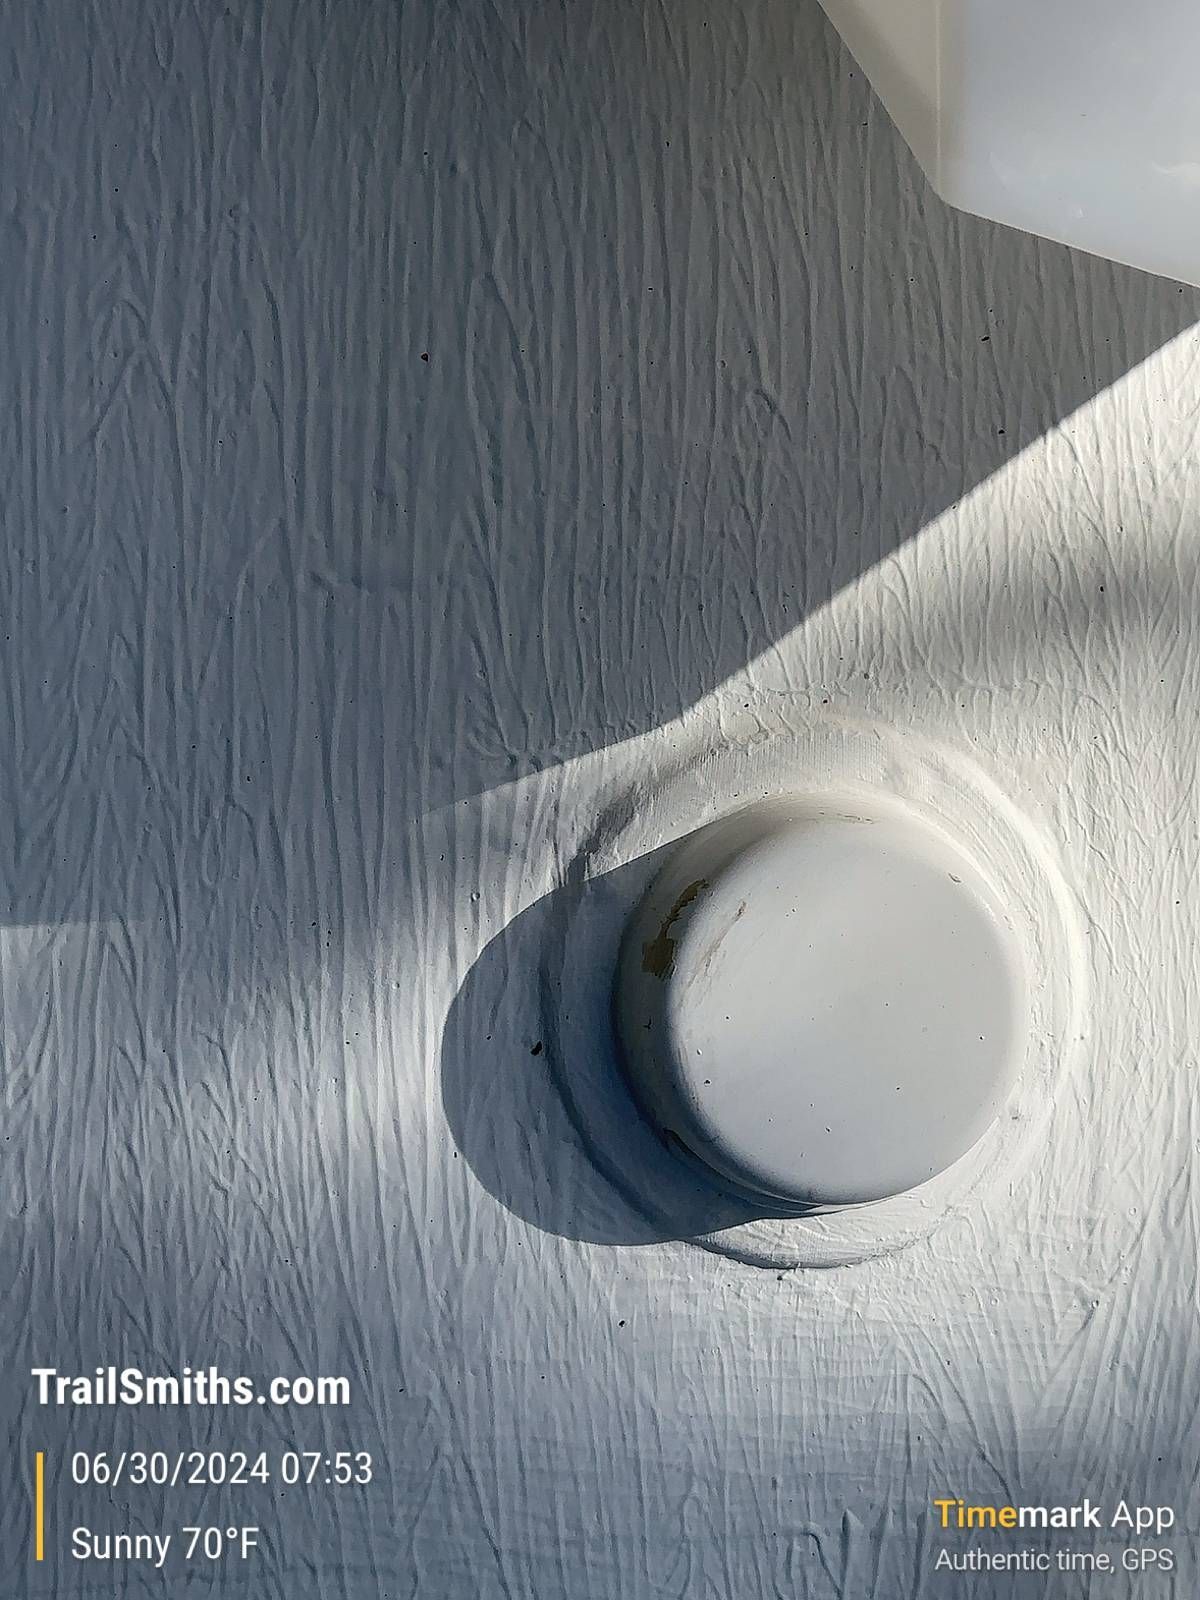
A step‑by‑step, real‑talk guide from RV Roofing Solutions At RV Roofing Solutions, we don’t use standard caulks in our maintenance‑free roofing system, but that doesn’t stop people from asking us about caulk every single day. And if you know Frank, you know he’ll walk you through your roof concerns, whether you ever buy our system or not. Some might call that crazy. We call it honesty, education, and doing right by the RV community. After all, not everyone is ready to commit to a maintenance-free full roofing system, and that’s okay. The truth is: not all caulking is created equal. The wrong product can sag, crack, react chemically with your existing roof, or fail prematurely. The right product can buy you time, prevent leaks, and keep you safely on the road. So let’s break down the most common types of RV roof caulks, how they’re used, and when they’re the right choice. Knowing your roof type is the first step to choosing the right caulk, sealant, or repair method, and avoiding the chemical reactions, peeling, and sagging that happen when you use the wrong product. You know how it goes: you climb up on the roof “just to check something,” and suddenly you’re staring at cracks, gaps, and mystery goop from three owners ago. Then comes the big question: “What caulk do I even use on this thing?” Let’s walk through it step by step—like Frank would if he were up there with you. Step 1: Figure out what kind of roof you have Before you touch a tube of anything, you need to know what you’re working with. • EPDM: Rubber-like, usually white, black underneath. • TPO: White, more plastic-like, often on newer rigs. • Fiberglass: Hard, shiny, smooth surface. • PVC: White, more rigid than TPO. • Vinyl: slick, smooth surface that is naturally resistant to UV exposure, cracking, and general weathering. • PET- Grand Design’s new PET composite roof is designed to move away from traditional rubber membranes (TPO/EPDM) and toward a rigid, molded, low‑maintenance composite panel, similar in concept to fiberglass but engineered to be lighter, stronger, and more impact‑resistant. While official long‑term maintenance guidelines are still emerging, PEC behaves much more like a composite/fiberglass roof than a membrane roof. That means no membrane chalking, no rubber conditioners, and far fewer chemical restrictions. • Aluminum/metal: Rigid panels, seams, and fasteners visible. Important Notes for Resealing Alpha Roofs • Use Alpha Systems sealants whenever possible—they are engineered to be chemically compatible with Alpha roofing membranes. • Avoid silicone sealants unless you are removing all existing silicone first; silicone contamination prevents proper adhesion of other products. If you’re not sure, check your owner’s manual or manufacturer’s site. Knowing the material matters because not all caulks are compatible with all roofs. Step 2: Decide what you’re actually trying to do Ask yourself: • Are you patching an active leak? You need something that seals well and bonds strongly. • Are you just maintaining existing seams? You’re likely topping off or replacing old sealant. • Is this a “get me through this trip” fix or a long-term solution? Your answer changes which product makes sense. Being honest about whether this is a band-aid or a real repair will save you frustration later. Step 3: Look at the surface: horizontal or vertical? This is where “sag” (lap) vs “non-sag” comes in. • Horizontal (flat roof, around vents, skylights, AC units): You want self-leveling (lap sealant) caulk. It flows out and creates a smooth puddle over the seam. • On the top of the roof away from edges (sidewalls, ladder mounts, trim, front/rear caps): You want non-sag (non-leveling) caulk. It stays where you put it instead of running down the side of your rig. This would be drip rails along the radius, edges the termination bars and sidewalls. Think: Flat = self-leveling. Anything that fights gravity = non-sag.
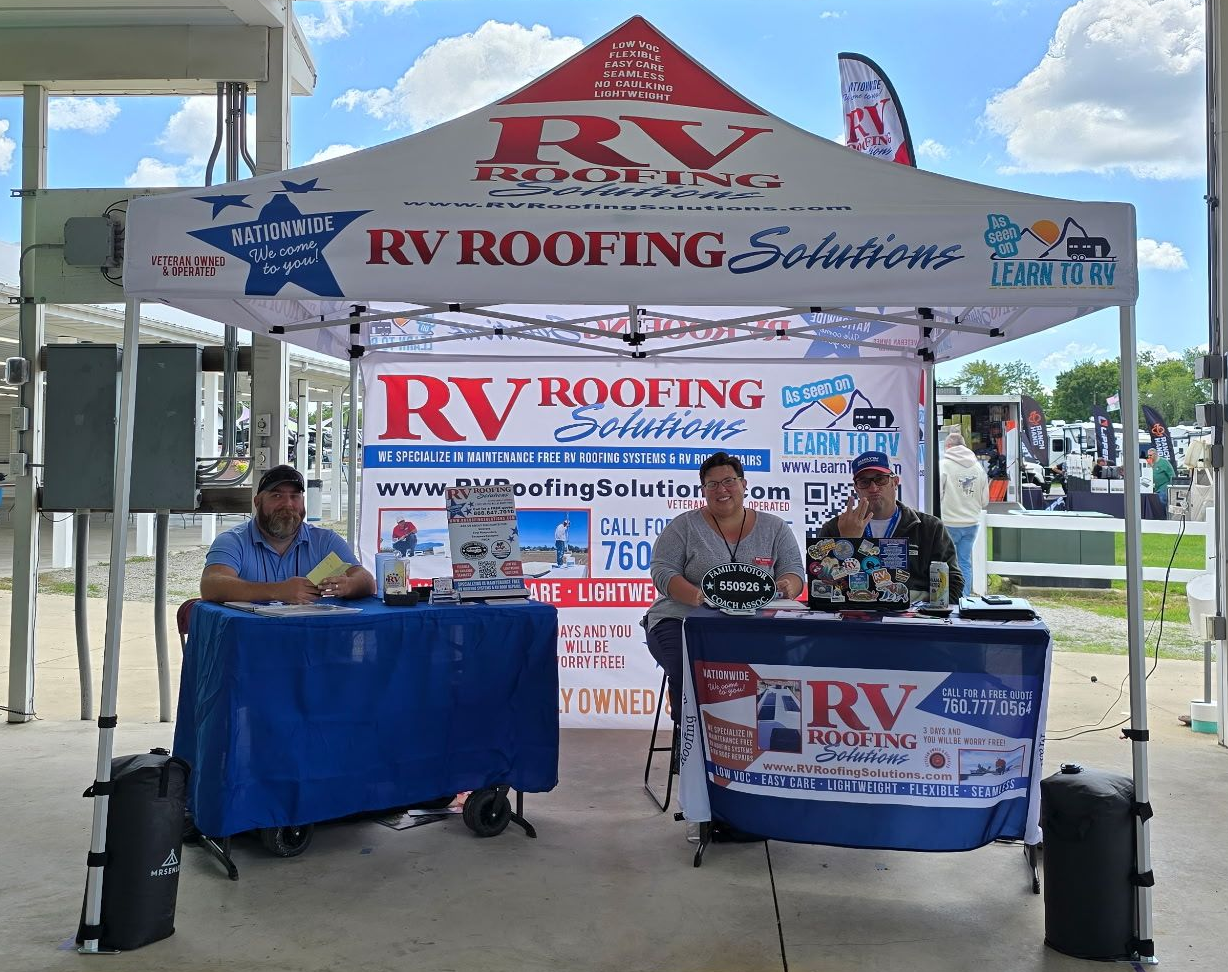
What a year it’s been! At RV Roofing Solutions, we believe in giving back to the RV community that inspires us every single day. That’s why at every rally we attend, we offer FREE roof inspections—because your safety, peace of mind, and confidence on the road matter most. And in 2025, we went above and beyond. The Numbers Tell the Story This year, RV Roofing Solutions proudly completed 544 FREE roof inspections at rallies across the country. Each inspection carries a $395.00 value, which means we provided an incredible $214,880.00 in free services ar rallies alone to RVers in 2025. But these numbers aren’t just statistics—they represent real people, real rigs, and real peace of mind. Hundreds of RVers now know the true condition of their roof. Many avoided costly surprises like hidden leaks or water damage, and countless families can travel with confidence knowing their home on wheels is safe and secure. More Than Just Inspections—A Path to Peace of Mind For some, the inspection was the wake‑up call they needed. Instead of waiting for trouble to arise, many RVers chose to upgrade to a maintenance‑free RV Roofing Solutions system right then and there. • No more climbing ladders with a caulking gun every year. • No more worrying about seams failing in the middle of a trip. • No more stress about whether the roof will hold up through storms or sun. Instead, they gained peace of mind—the freedom to focus on adventures, family, and the joy of RV life without the shadow of roof maintenance hanging overhead.