RV Roof Patching: The Quick Fix That Can Cost You Thousands
When you're living life in an RV, it's easy to fall into the trap of quick fixes. A little sealant here, a patch there & suddenly your roof looks “good enough.” In an age where we turn to Facebook groups and YouTube tutorials before calling a professional, it’s tempting to DIY your way through roof repairs.
But here’s the truth: What seems like a minor repair today can turn into a major expense tomorrow.
Let’s be honest: patches are nothing more than glorified band-aids. They’re not meant to be permanent solutions, and they rarely address the root of the problem. But if you do need to patch your RV roof, whether you're in a pinch or buying time before a full repair, there are a few things you absolutely need to know.
• Know your roof type. Is it EPDM, TPO, fiberglass, or aluminum? Each material requires different products and prep methods.
• Skip the cheap stuff. Bargain-bin sealants and tapes might save you $20 today, but they can cost you thousands in damage later.
• Clean it right. Proper adhesion starts with a clean surface. Use the right cleaner for your roof type, both harsh chemicals or residue can sabotage your patch.
• Quality matters. Invest in professional-grade materials designed for RV roofs. If you're not sure what to use, ask a technician or reach out to us for guidance.
A patch might buy you time, but it shouldn’t be your long-term plan. If you’re unsure about your roof’s condition or want to avoid costly surprises, a professional inspection is always the smarter move.
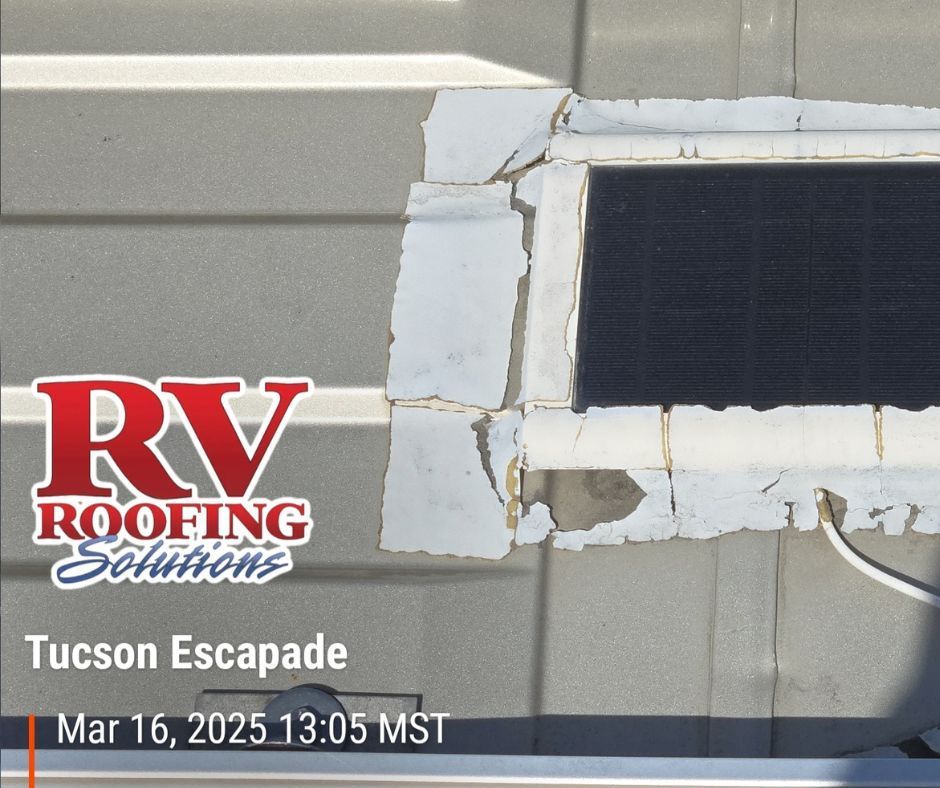
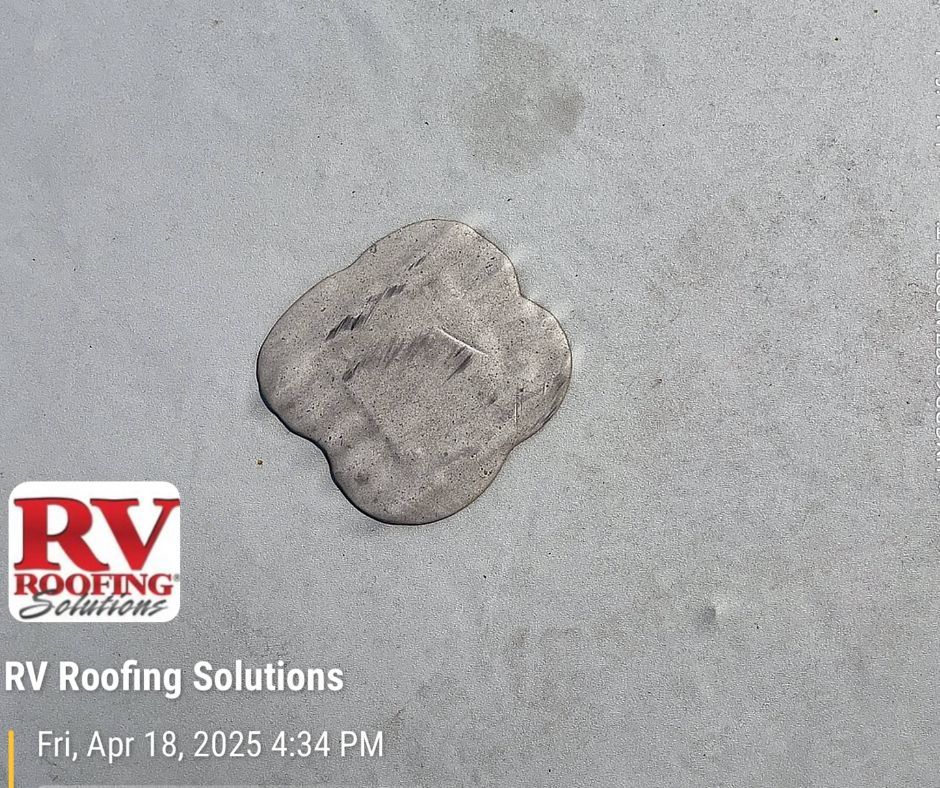
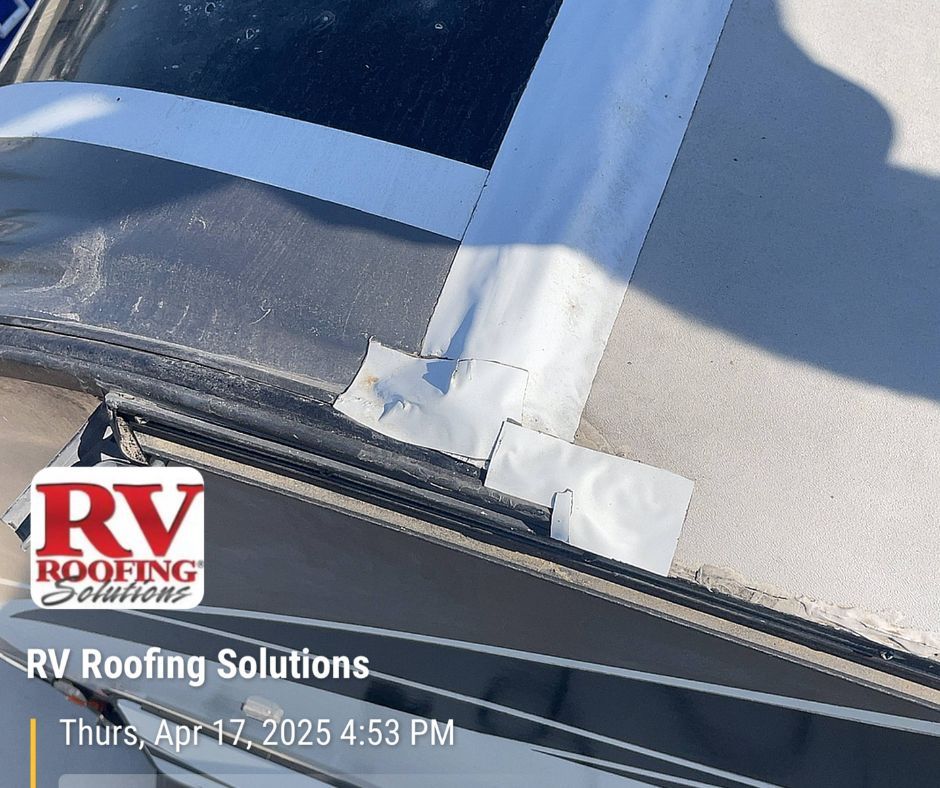
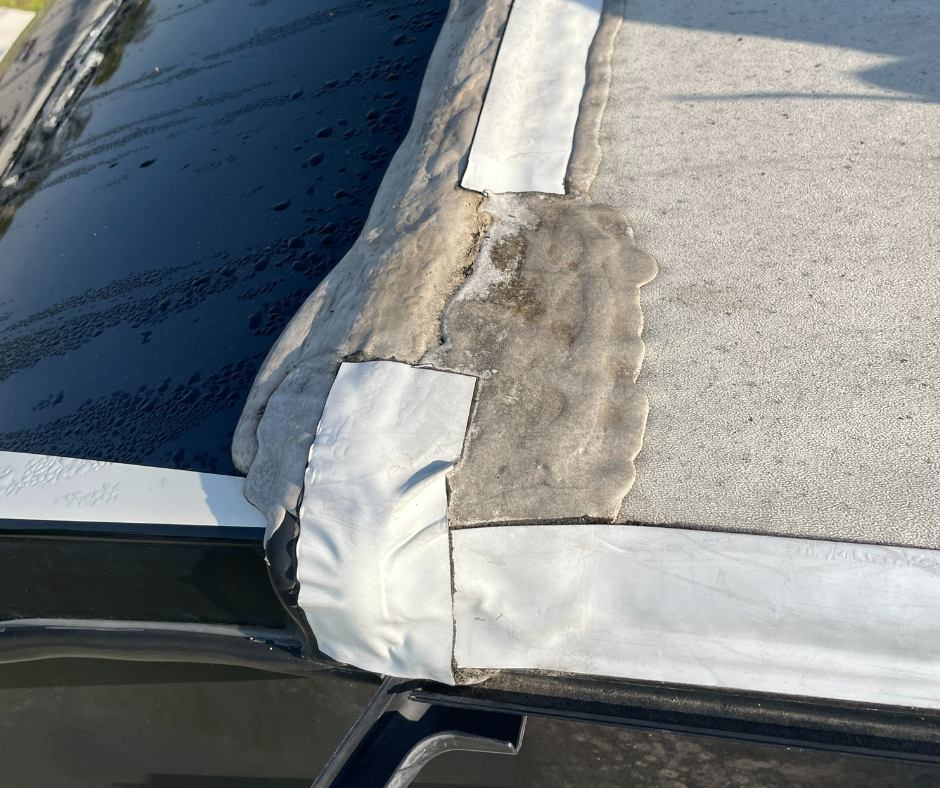
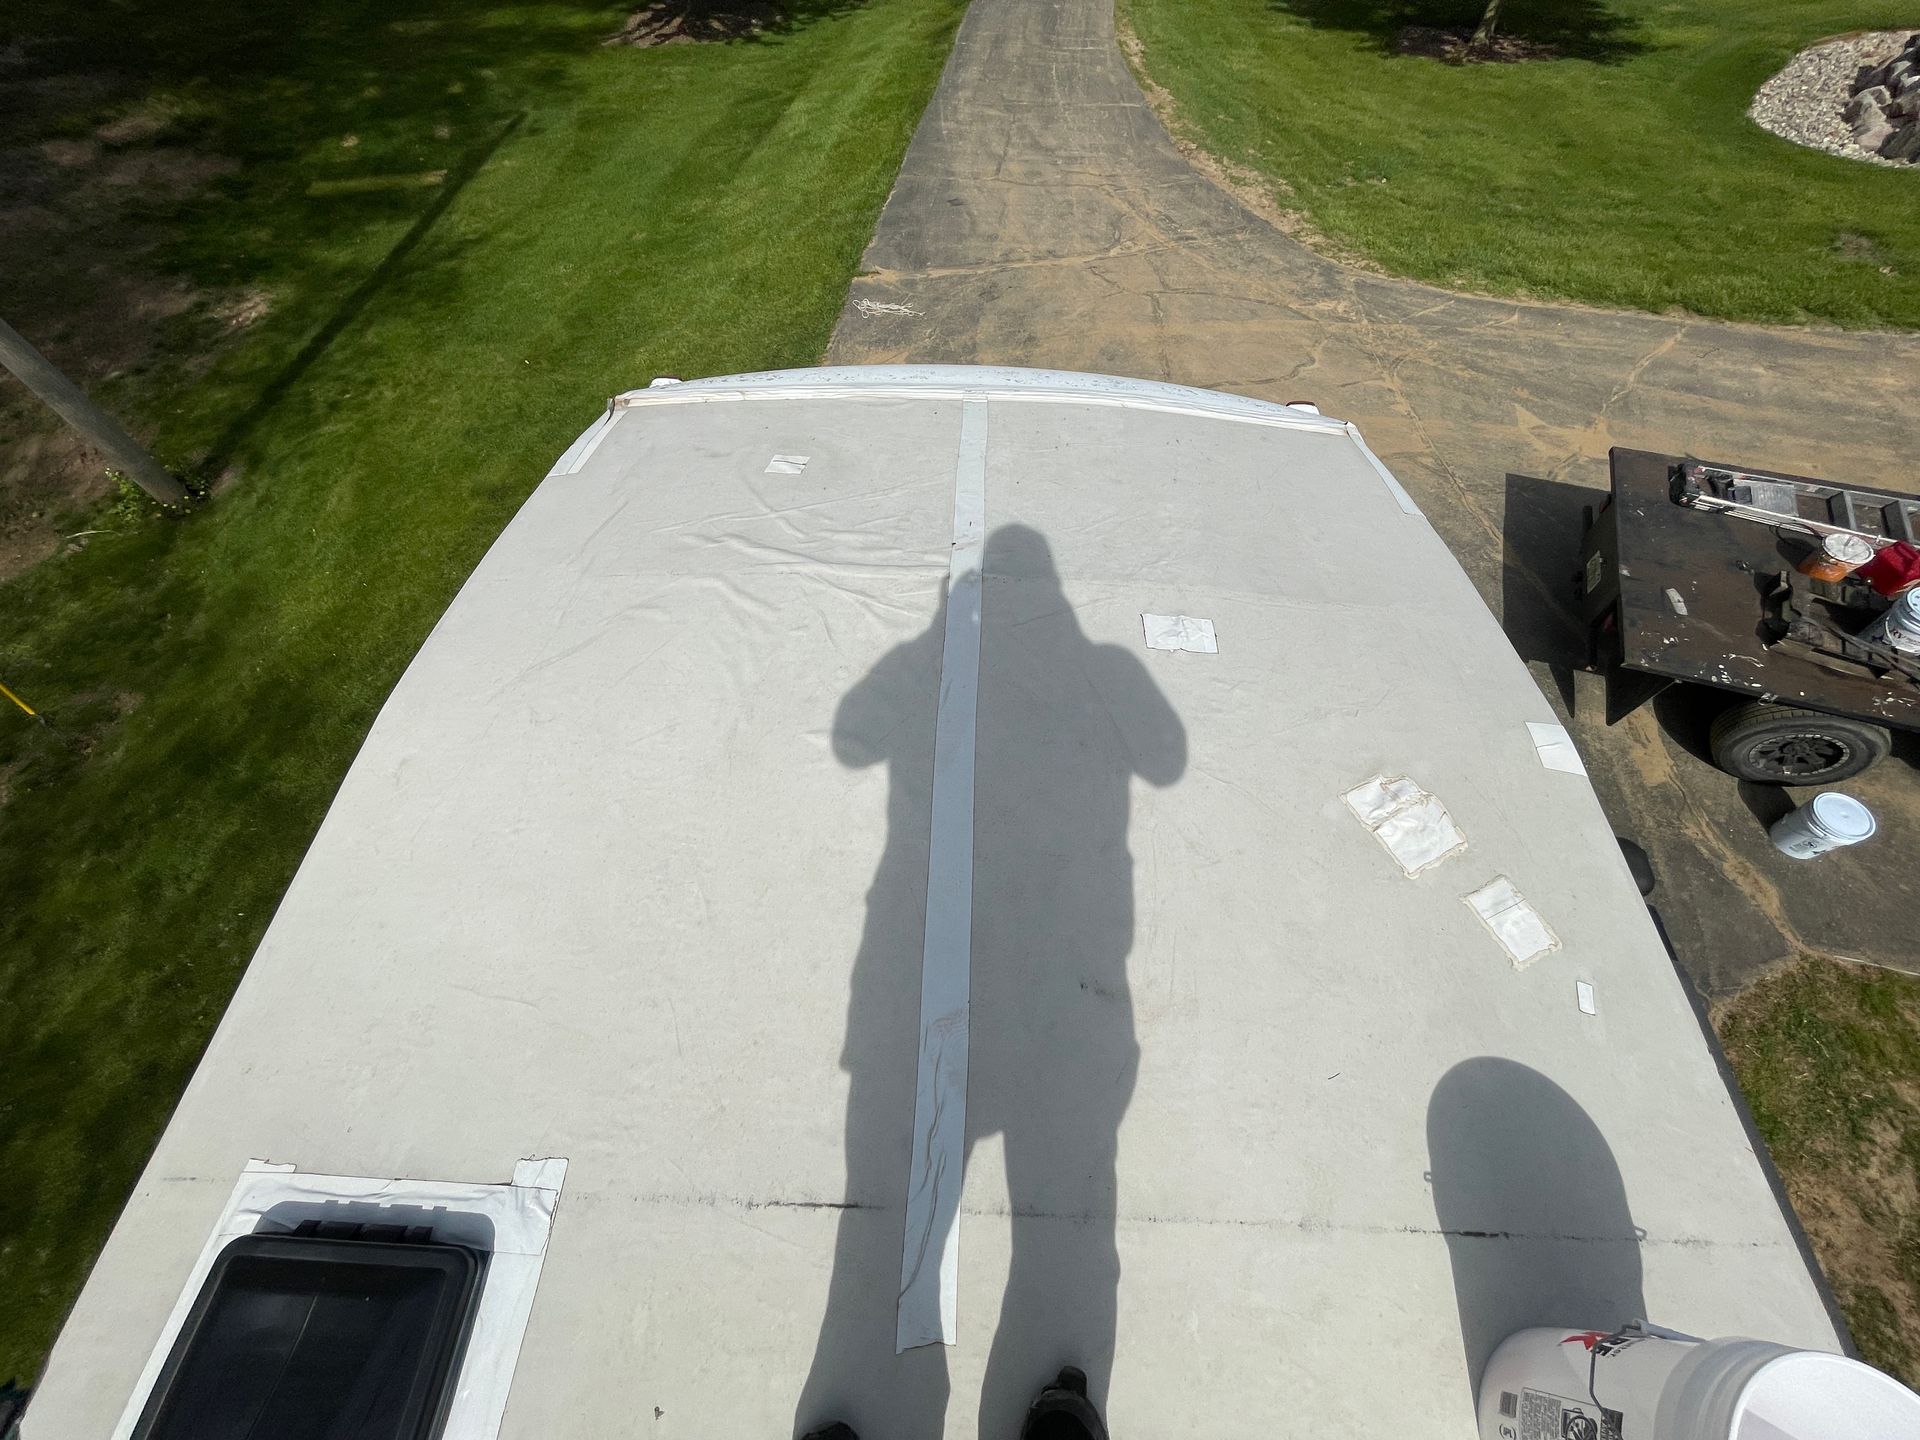
We know RV techs who swear by patches. And yes, in the right hands and the right conditions, a patch can buy you time. It's a short term solution. But let’s be clear: patches can, and often do, fail.
Especially when your roof starts to look like a patchwork quilt of 20–30 small Eternabond strips or random dots of caulk (yes, we’ve seen it all). At that point, you’re not just sealing damage , you’re just masking it. And every new patch increases the risk of trapped moisture, poor adhesion, and structural compromise.
Patches aren’t evil. But they’re not a plan. If your roof looks like a battlefield of band-aids, it’s time for a professional inspection — not another roll of tape.

What to Do Instead
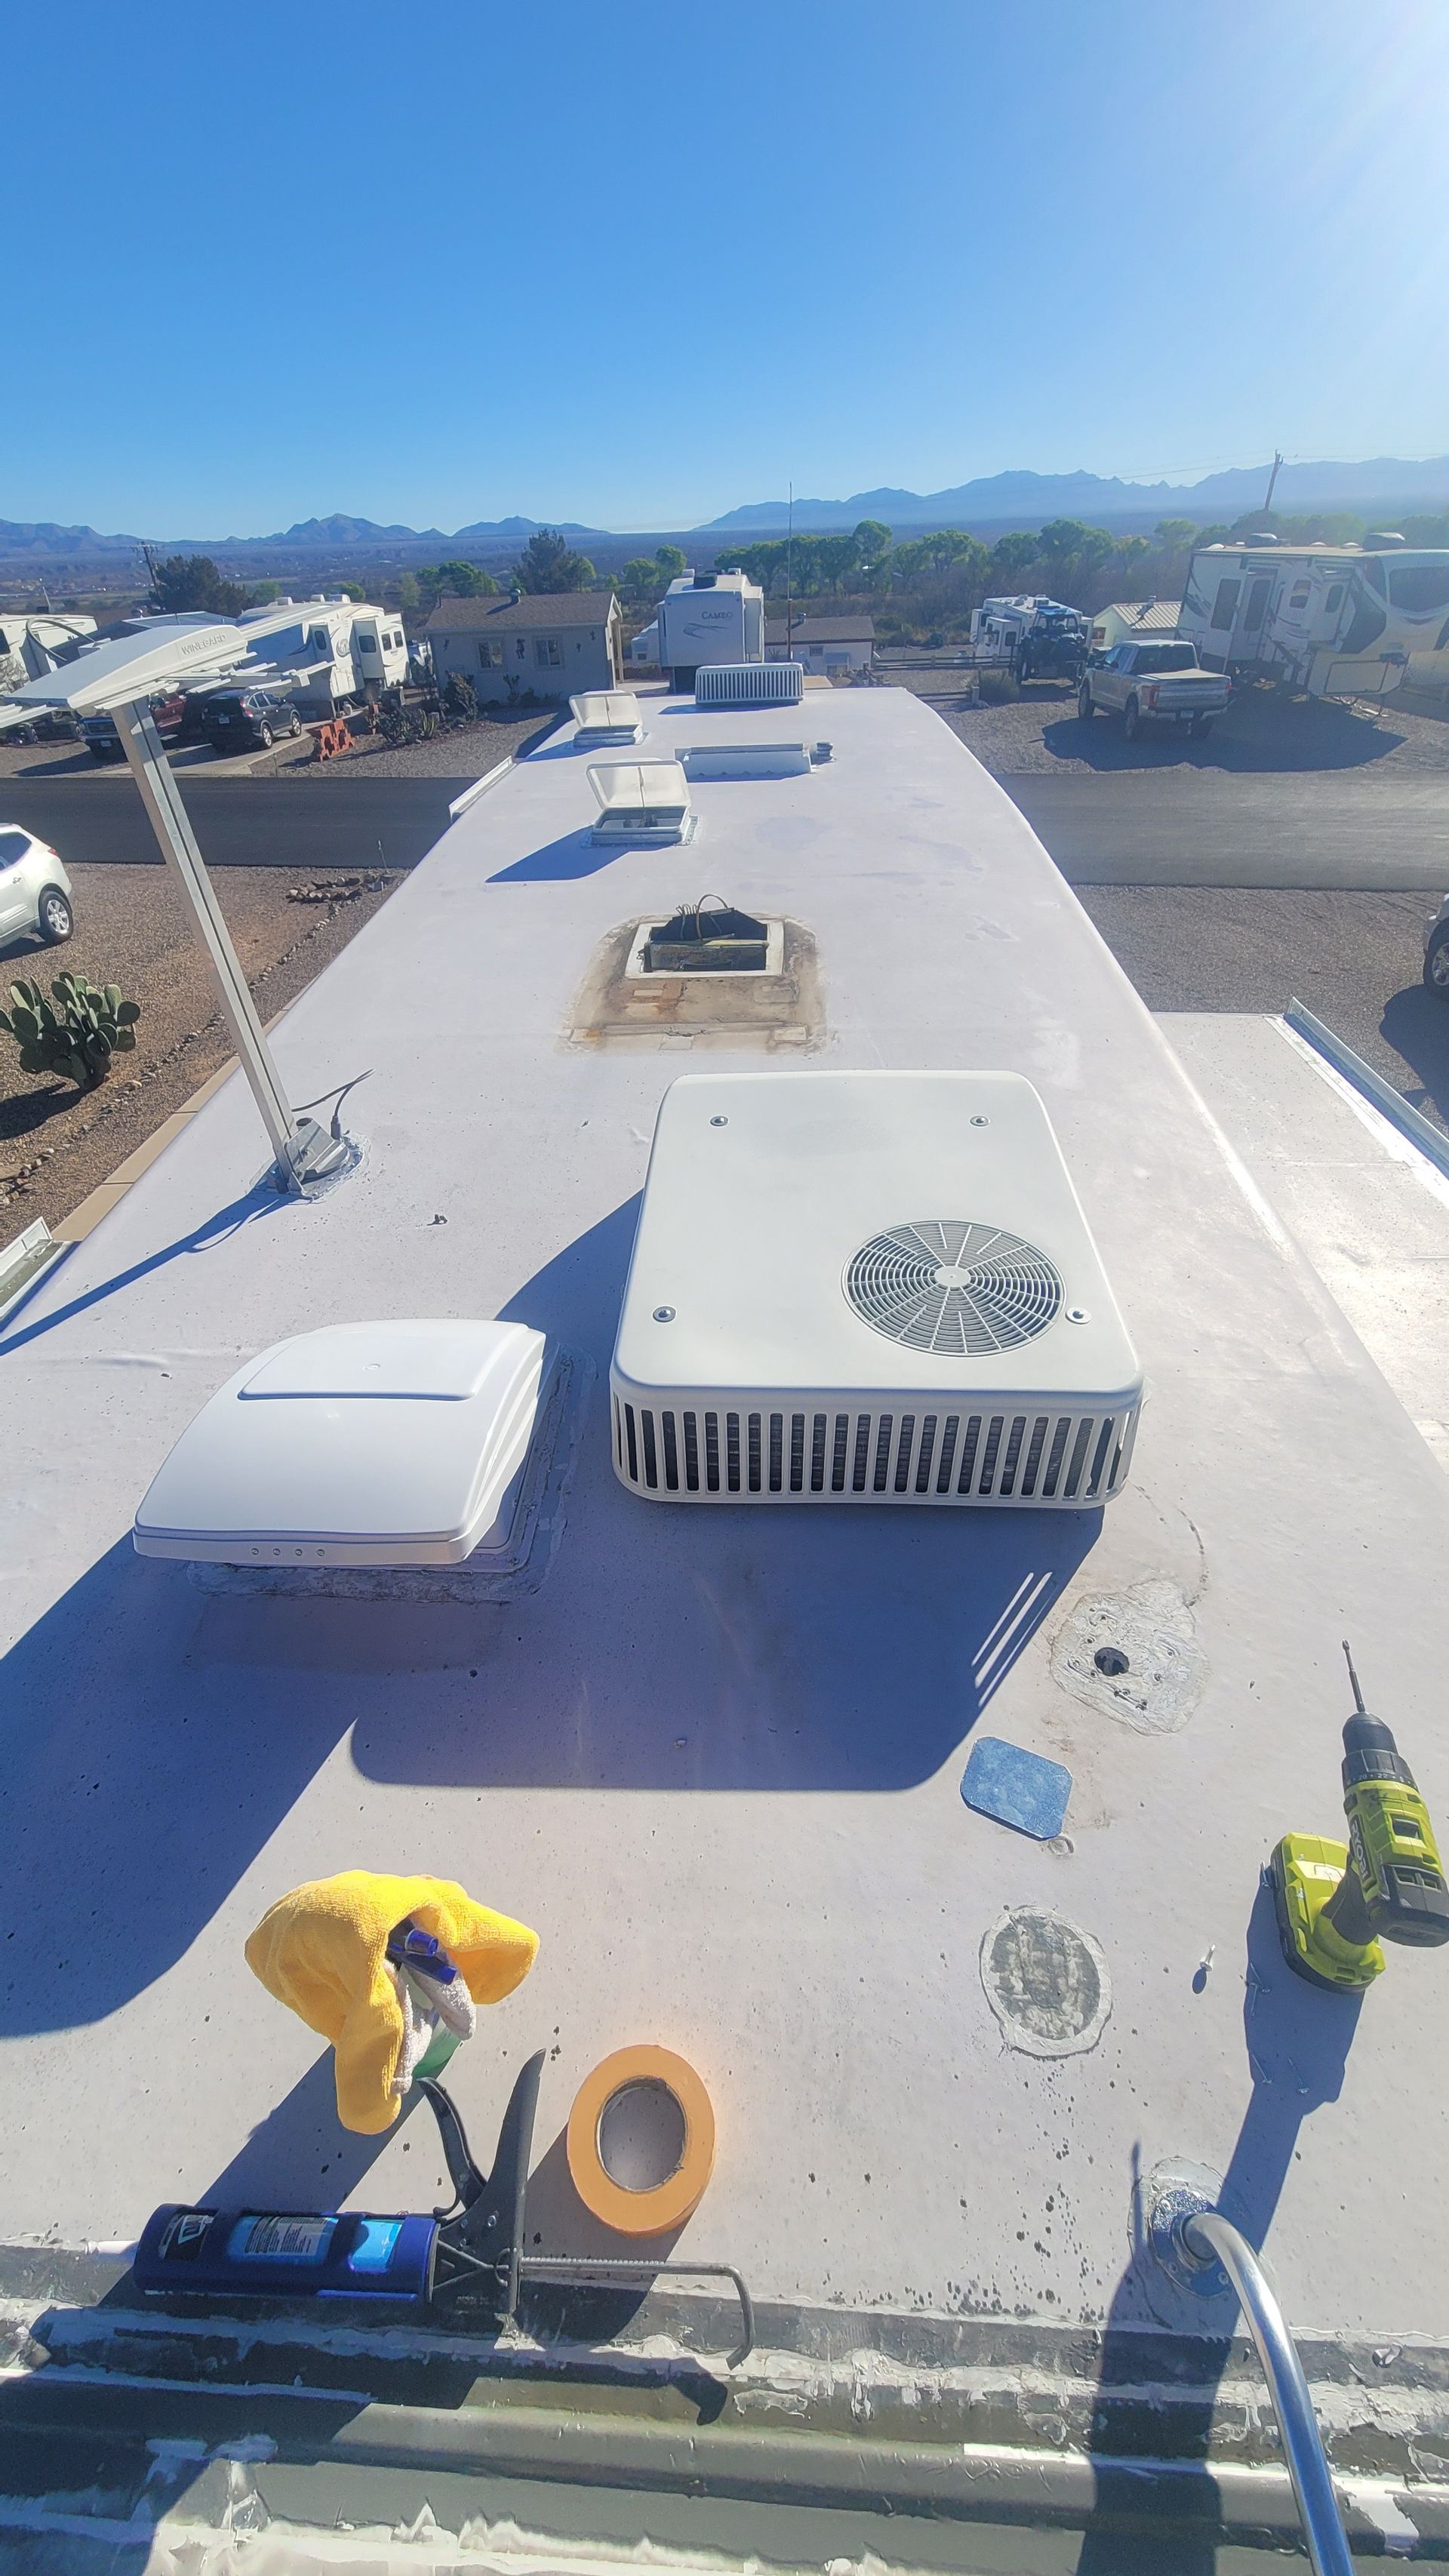
If you notice damage on your RV roof...
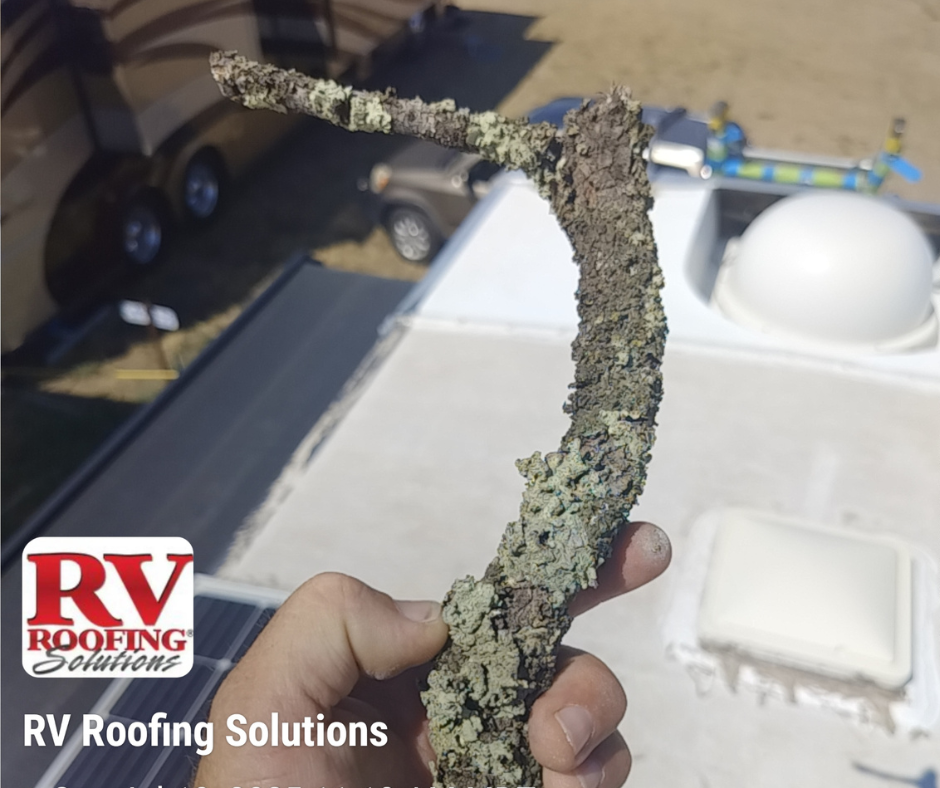
1. Don’t wait. Even small tears or cracks can lead to big problems.
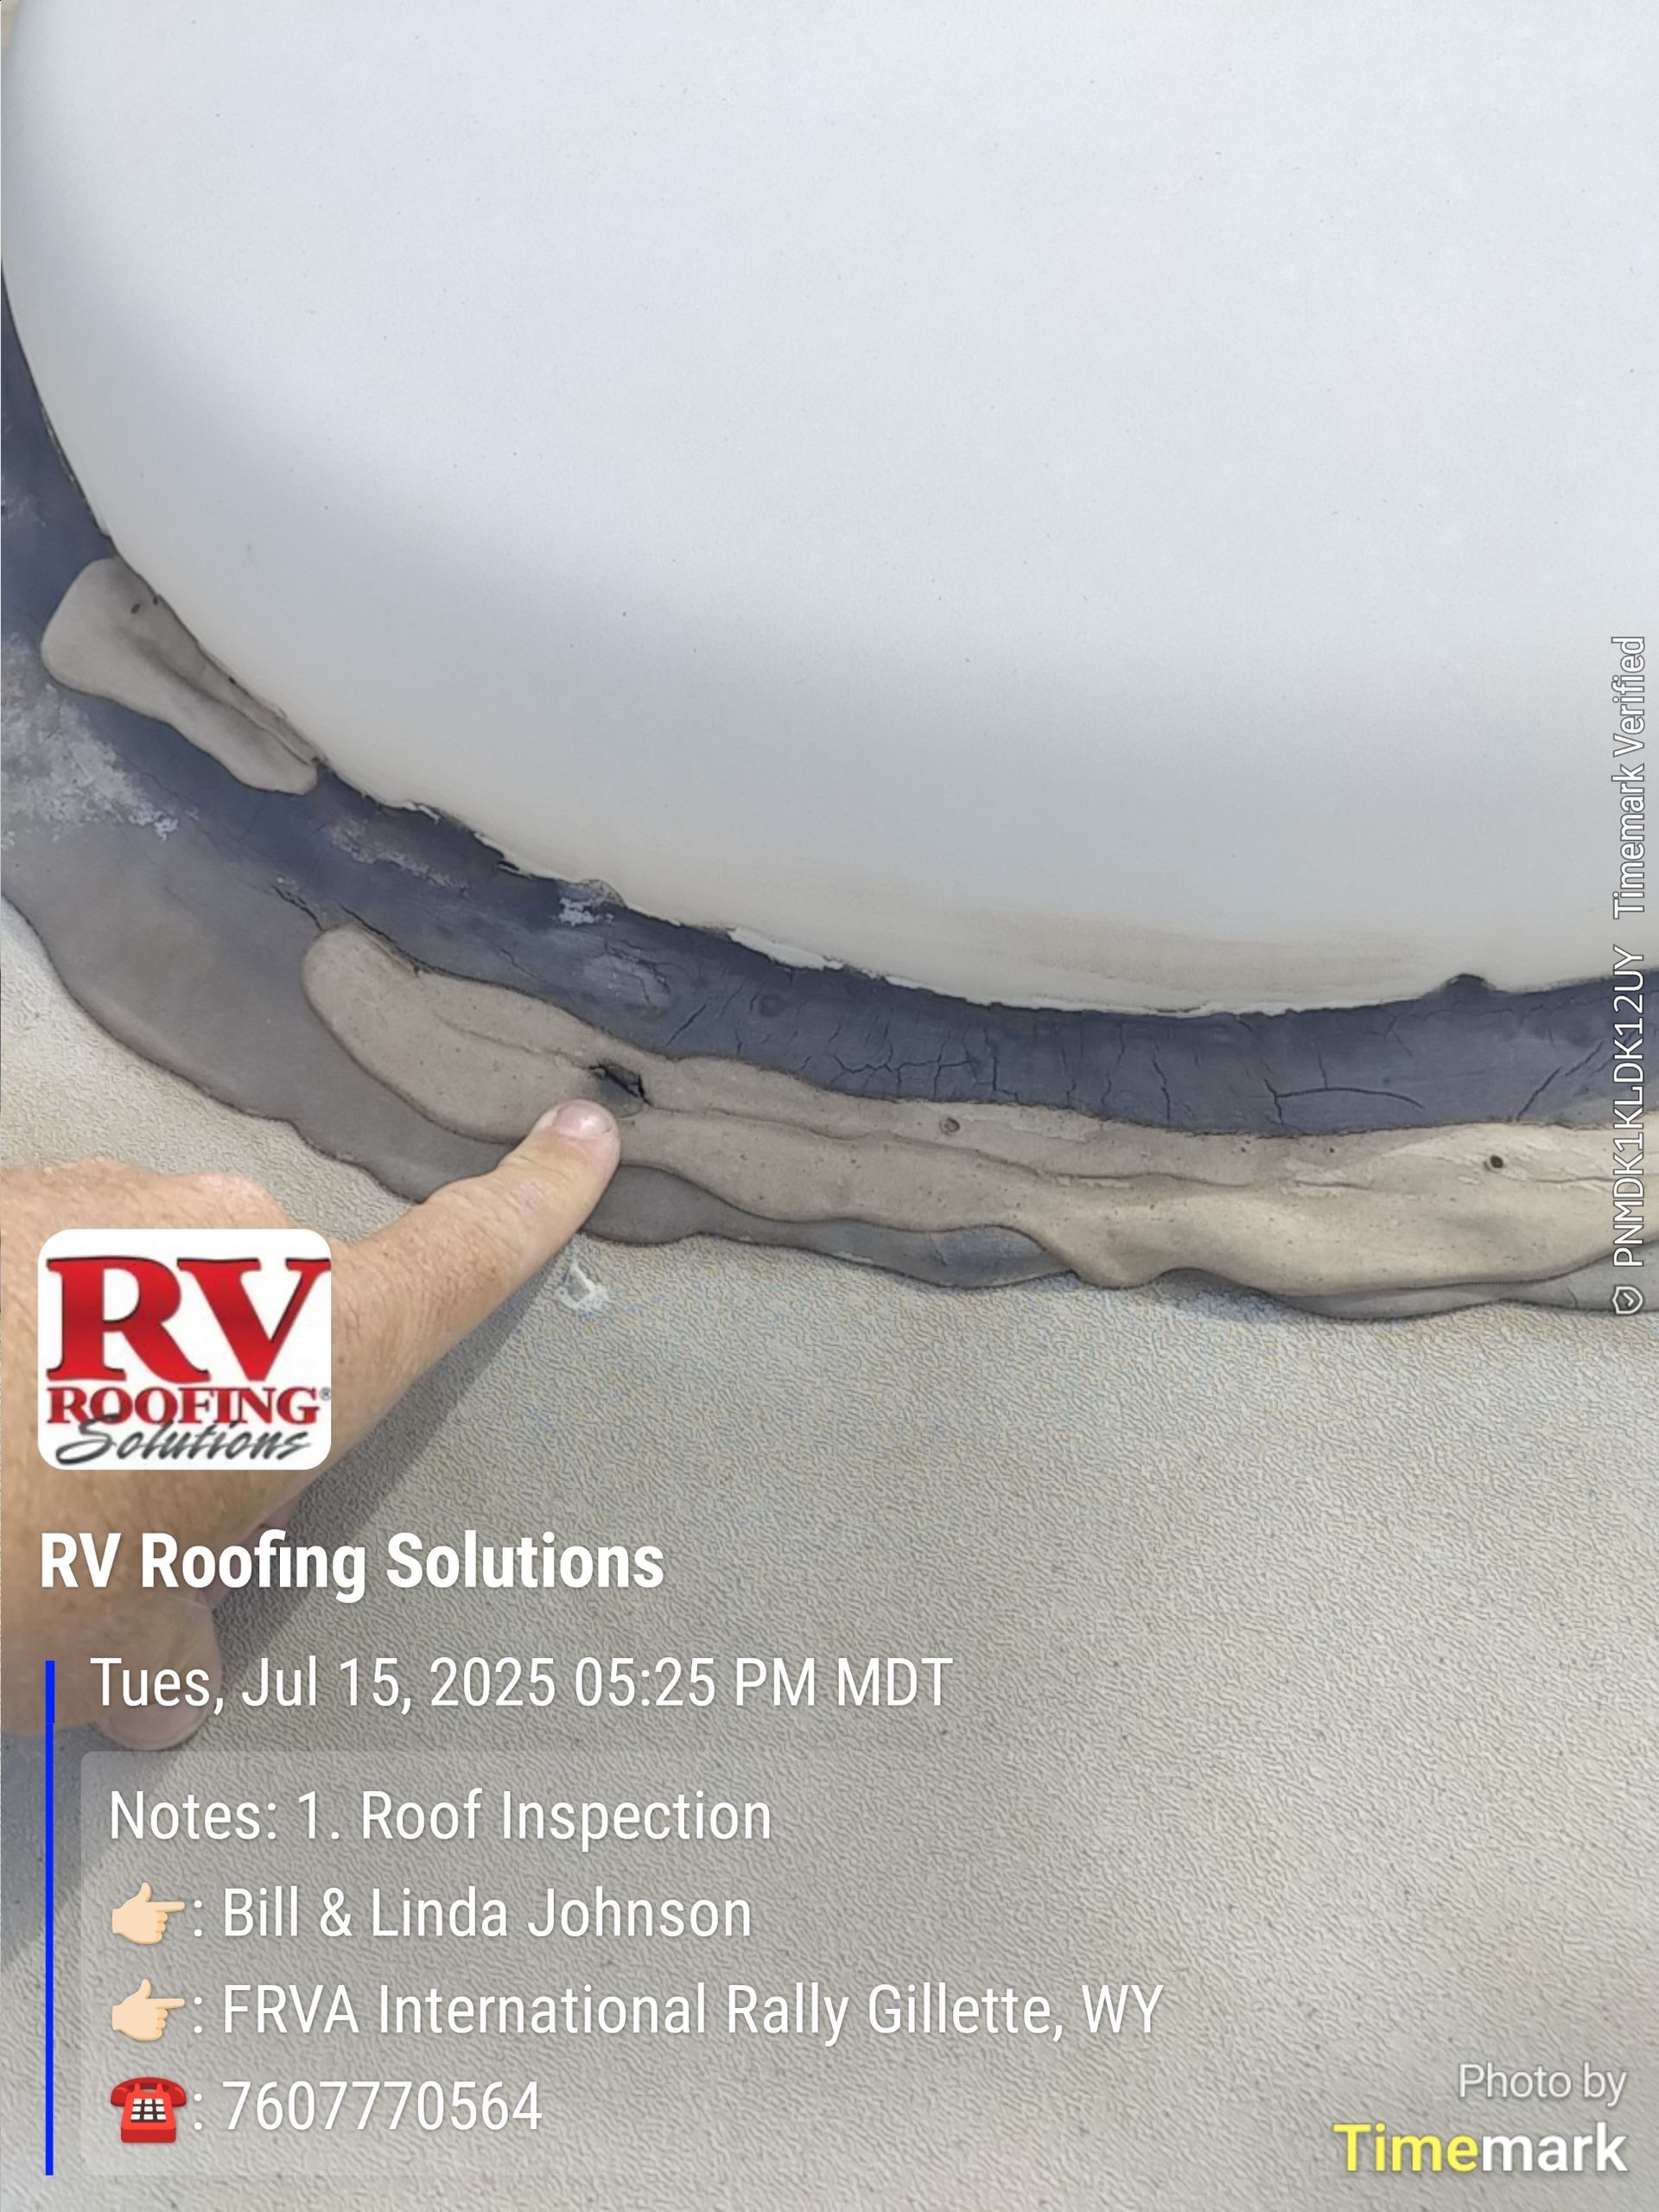
2. Get a professional consultation. A trained eye can spot hidden issues and recommend the right fix
3. Request a base estimate. At RV Roofing Solutions, we offer transparent pricing & have discounts for Veterans, First Responders, Teachers, Family RV Association members, Escapee's members, & Tiffin Allegro Club Members
Why You Shouldn’t Tackle Your RV Roof Alone
We get it — RVers are resourceful. You’ve fixed plumbing leaks, rewired outlets, maybe even replaced your own water pump. But when it comes to your roof, DIY isn’t just risky — it can be devastating.
RV roofs are more than just a layer of protection. They’re a system that safeguards your home, your belongings, and your loved ones. And when repairs go wrong, the consequences aren’t just financial — they’re personal.
I always think about Bob.
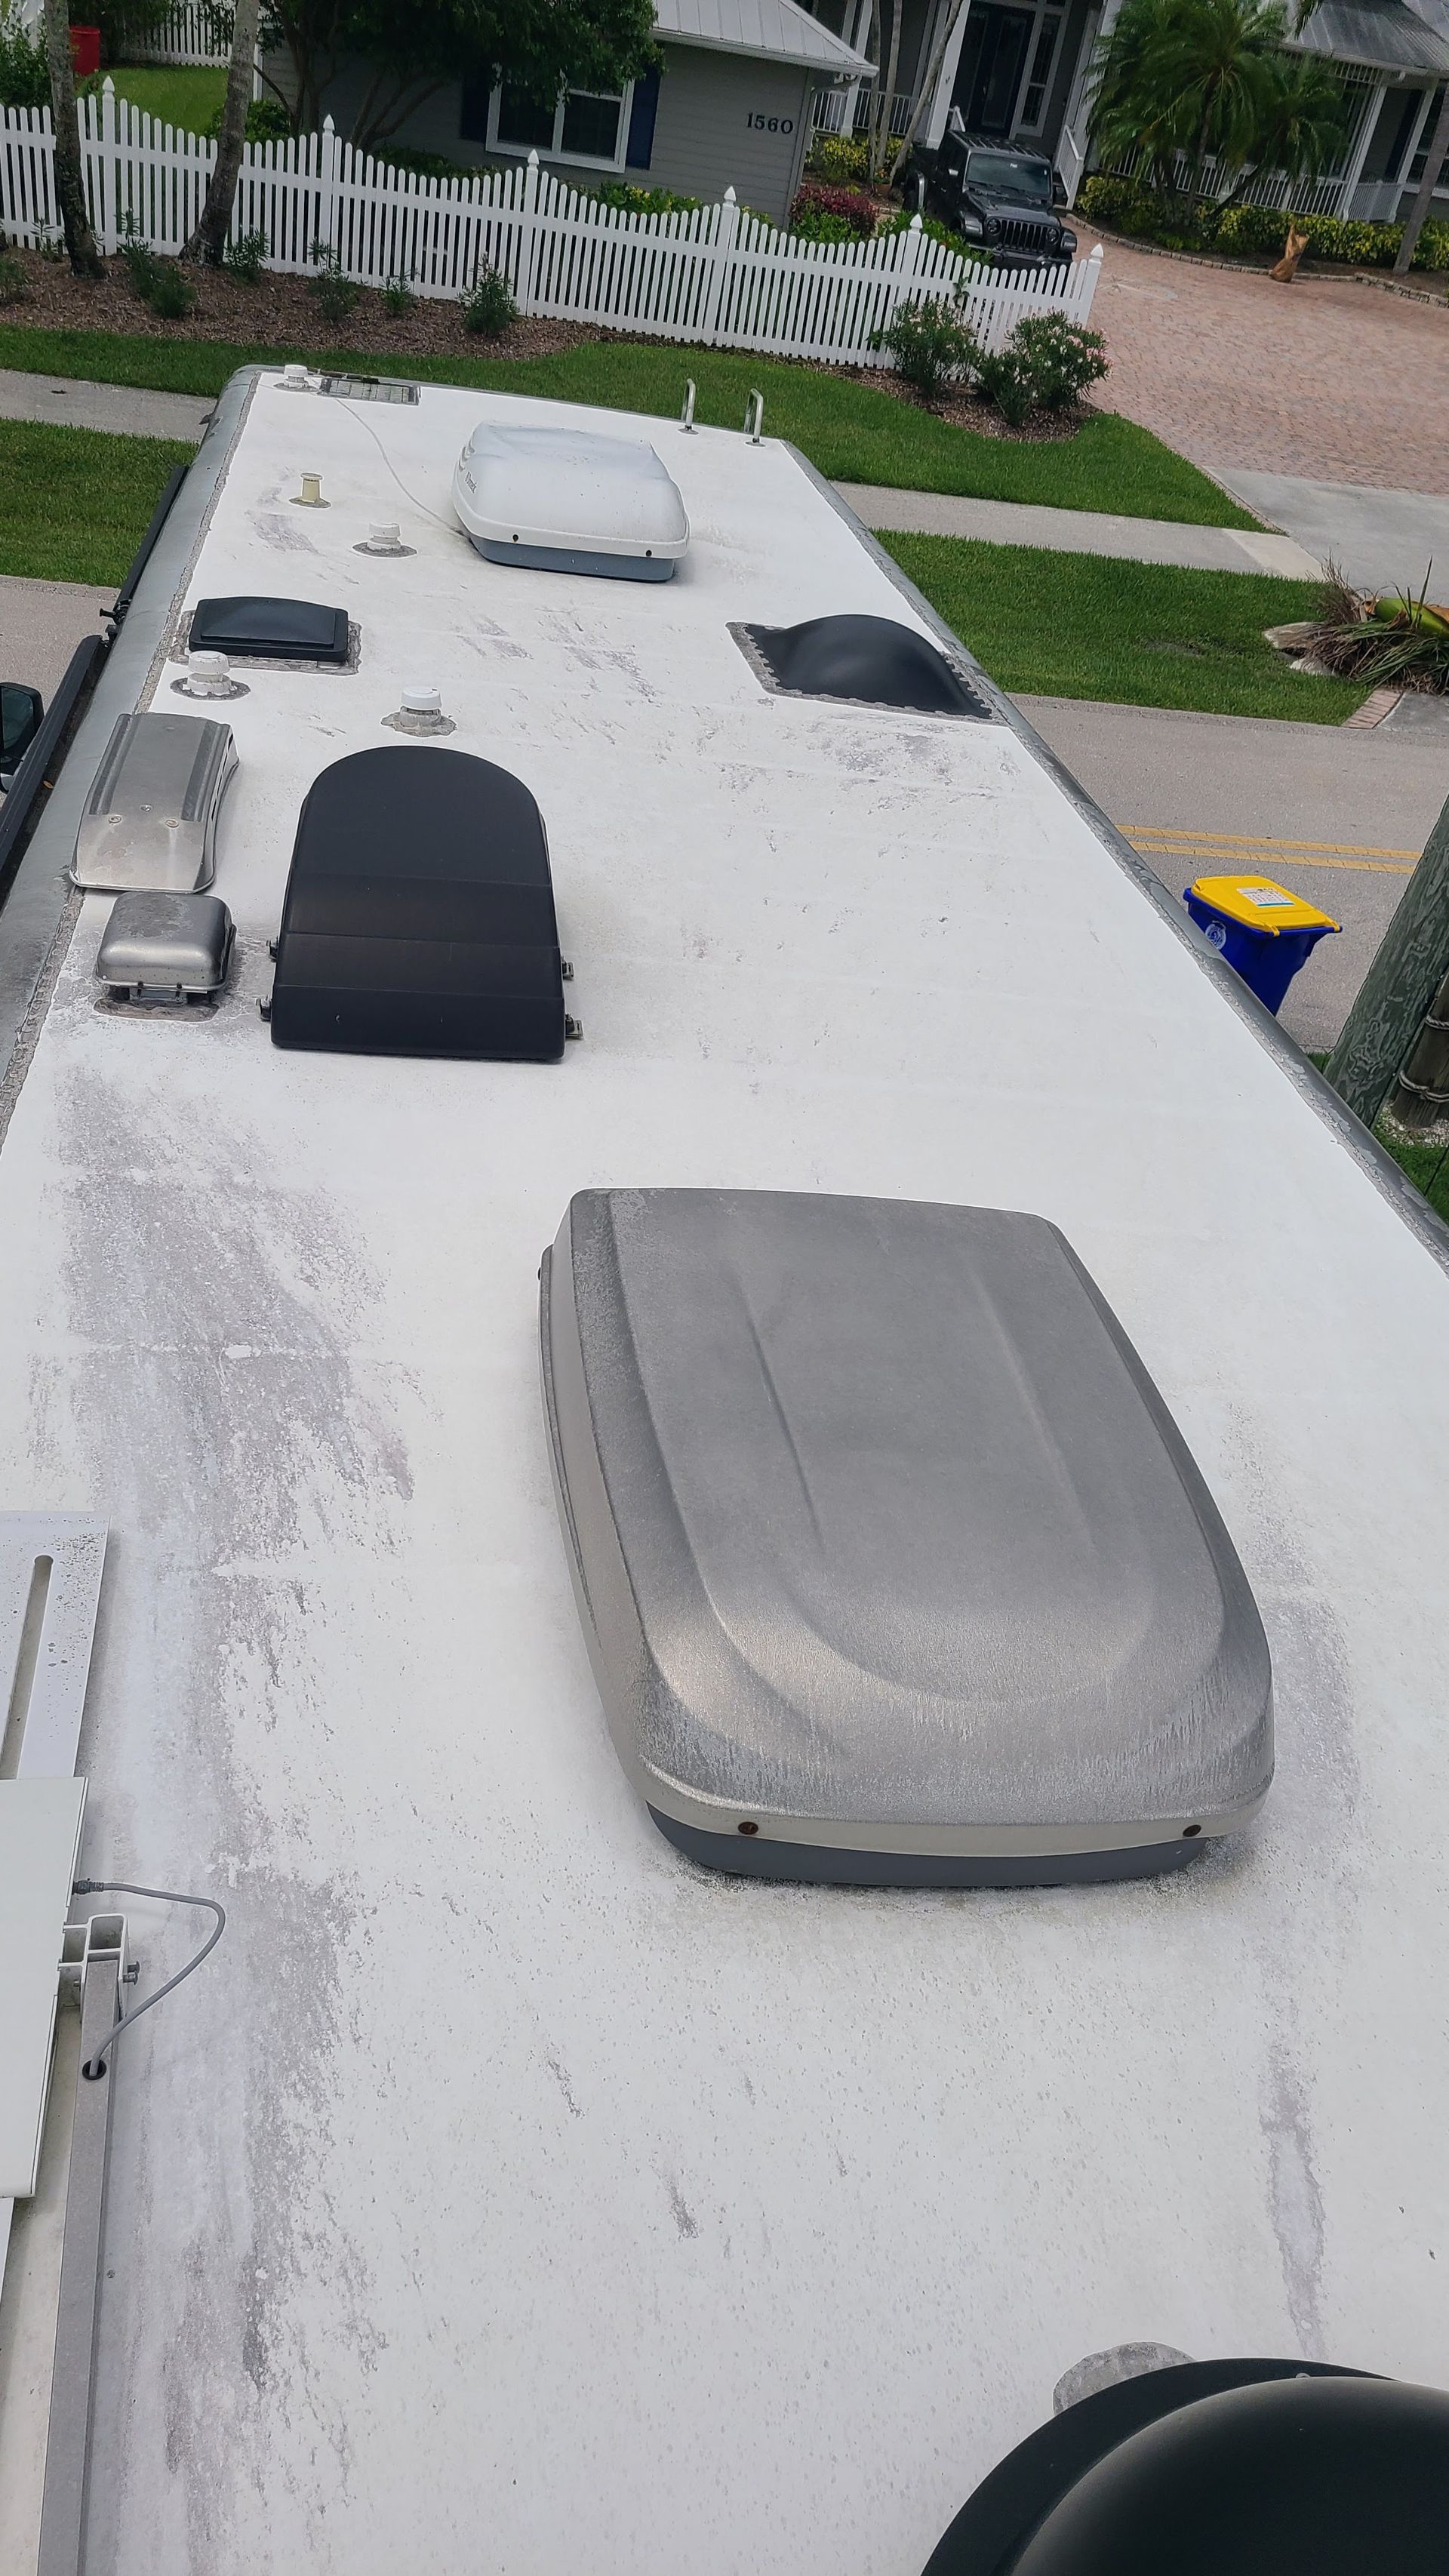
Bob was a sweet older gentleman who called us a few years ago. He owned a beautiful Newmar motorhome, custom-equipped for his wife, who used a wheelchair. A local company in Florida had patched his roof — $5,000 worth of “repairs.” But when we spoke, he had five buckets inside catching water. The roof was still leaking, and the company refused to take his calls. While his roof "looked ok" it was not.
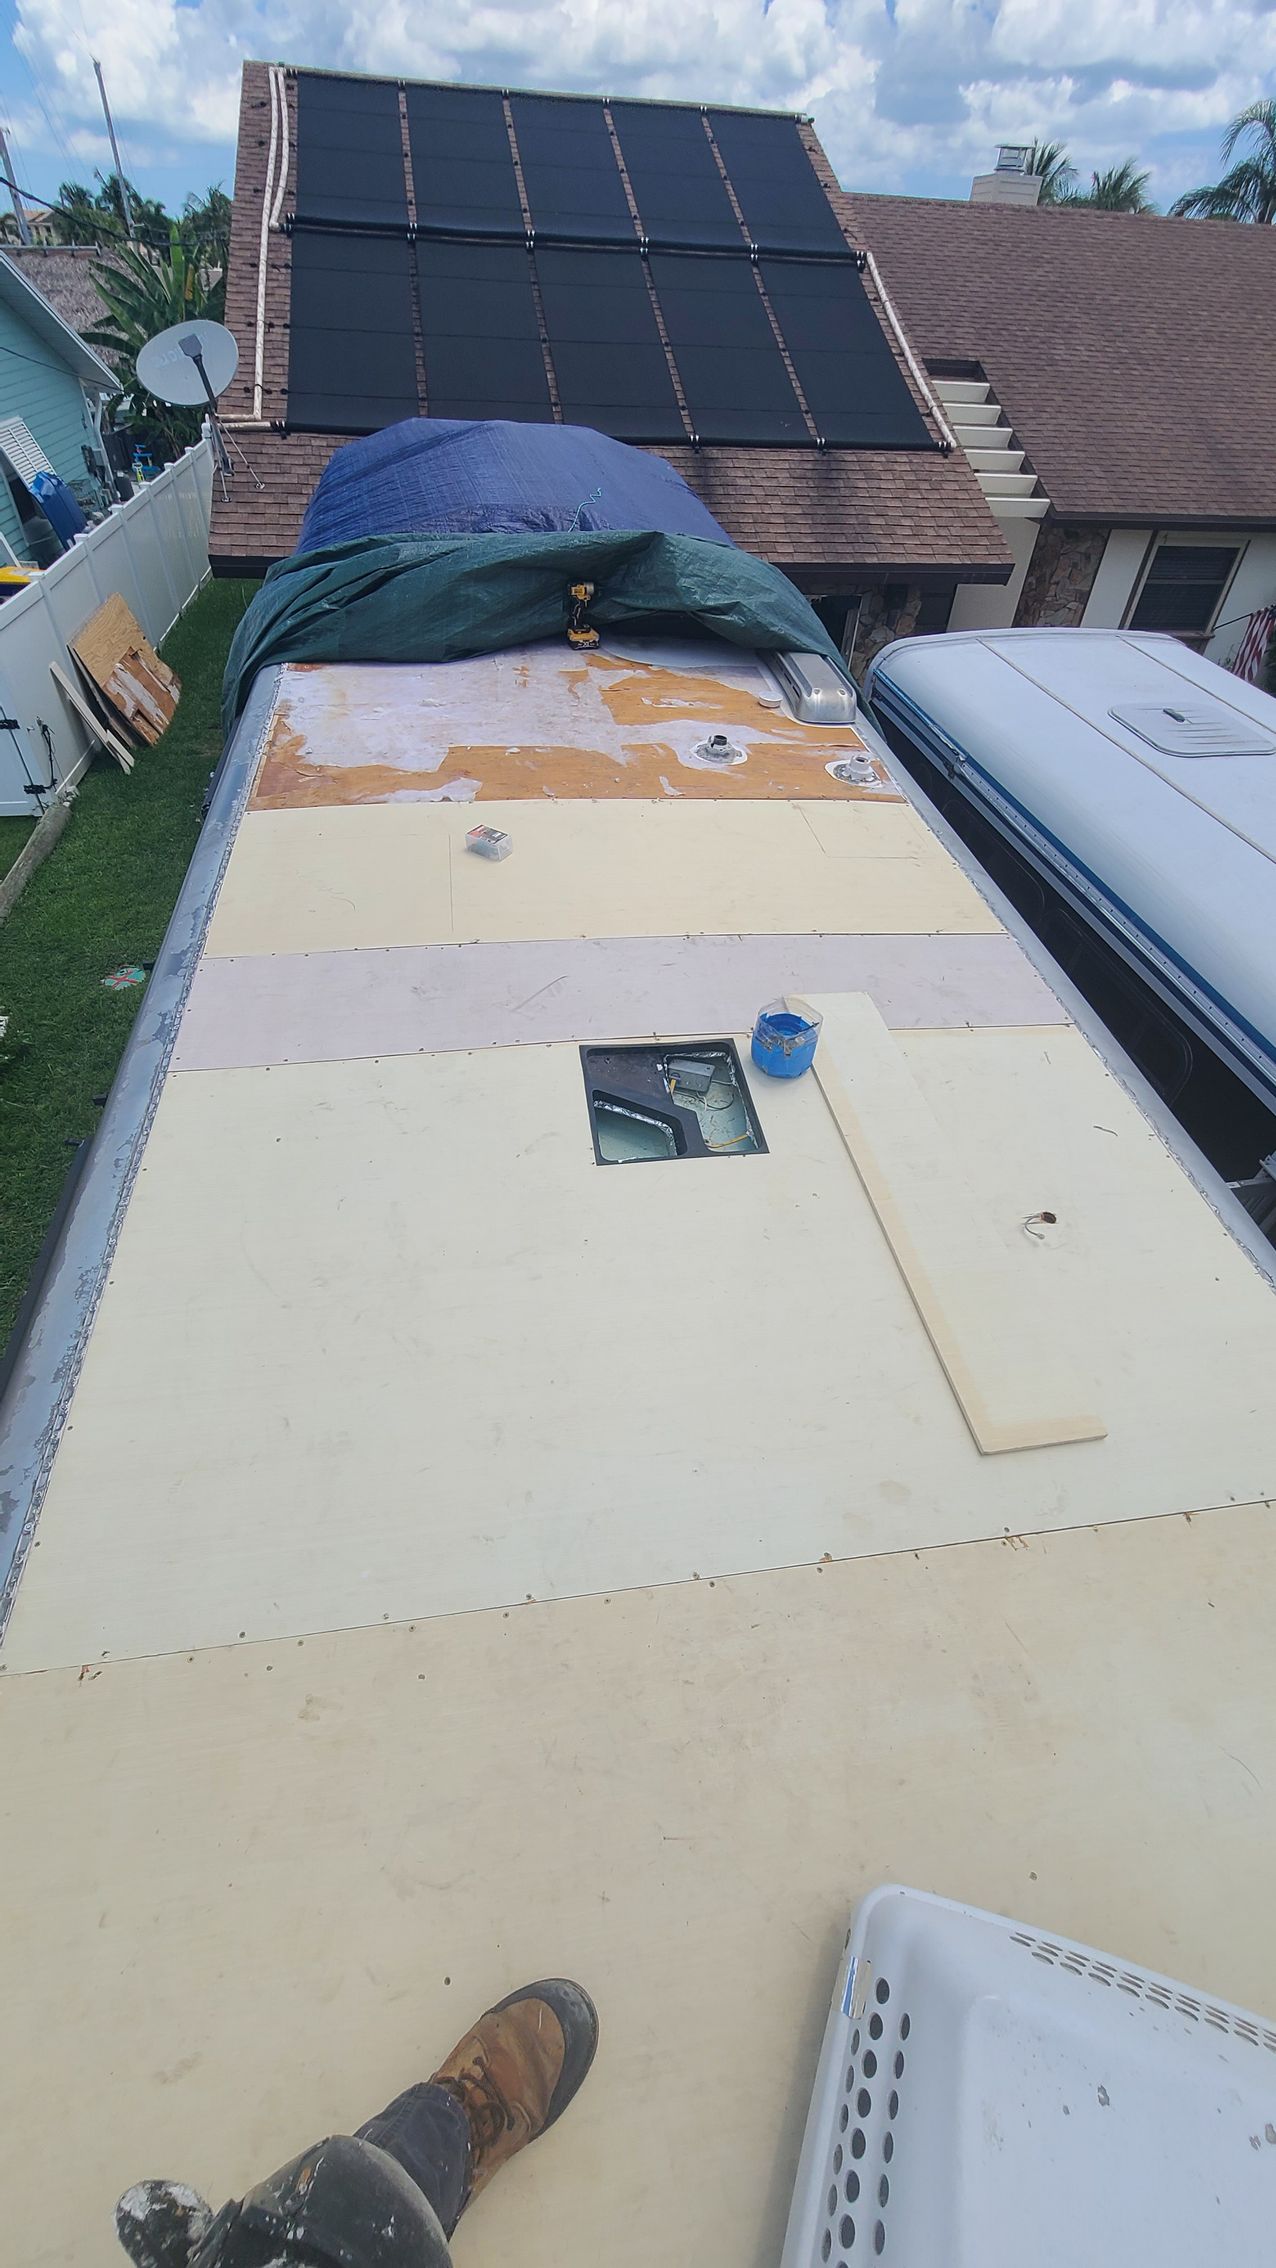
Because of those failed patches, his motorhome was completely unusable. The damage was extensive — we had to replace 10 sheets of roof decking, and the patchwork mess made the job even harder. What should’ve been a safe, accessible space for his family became a heartbreaking loss.
At RV Roofing Solutions, we don’t do patches. Period.
Why? Because patches don’t last. They’re temporary band-aids on what’s often a much bigger problem. We’ve seen too many RVers spend thousands on “quick fixes” that fail — leaving them with leaks, mold, and massive repair bills.
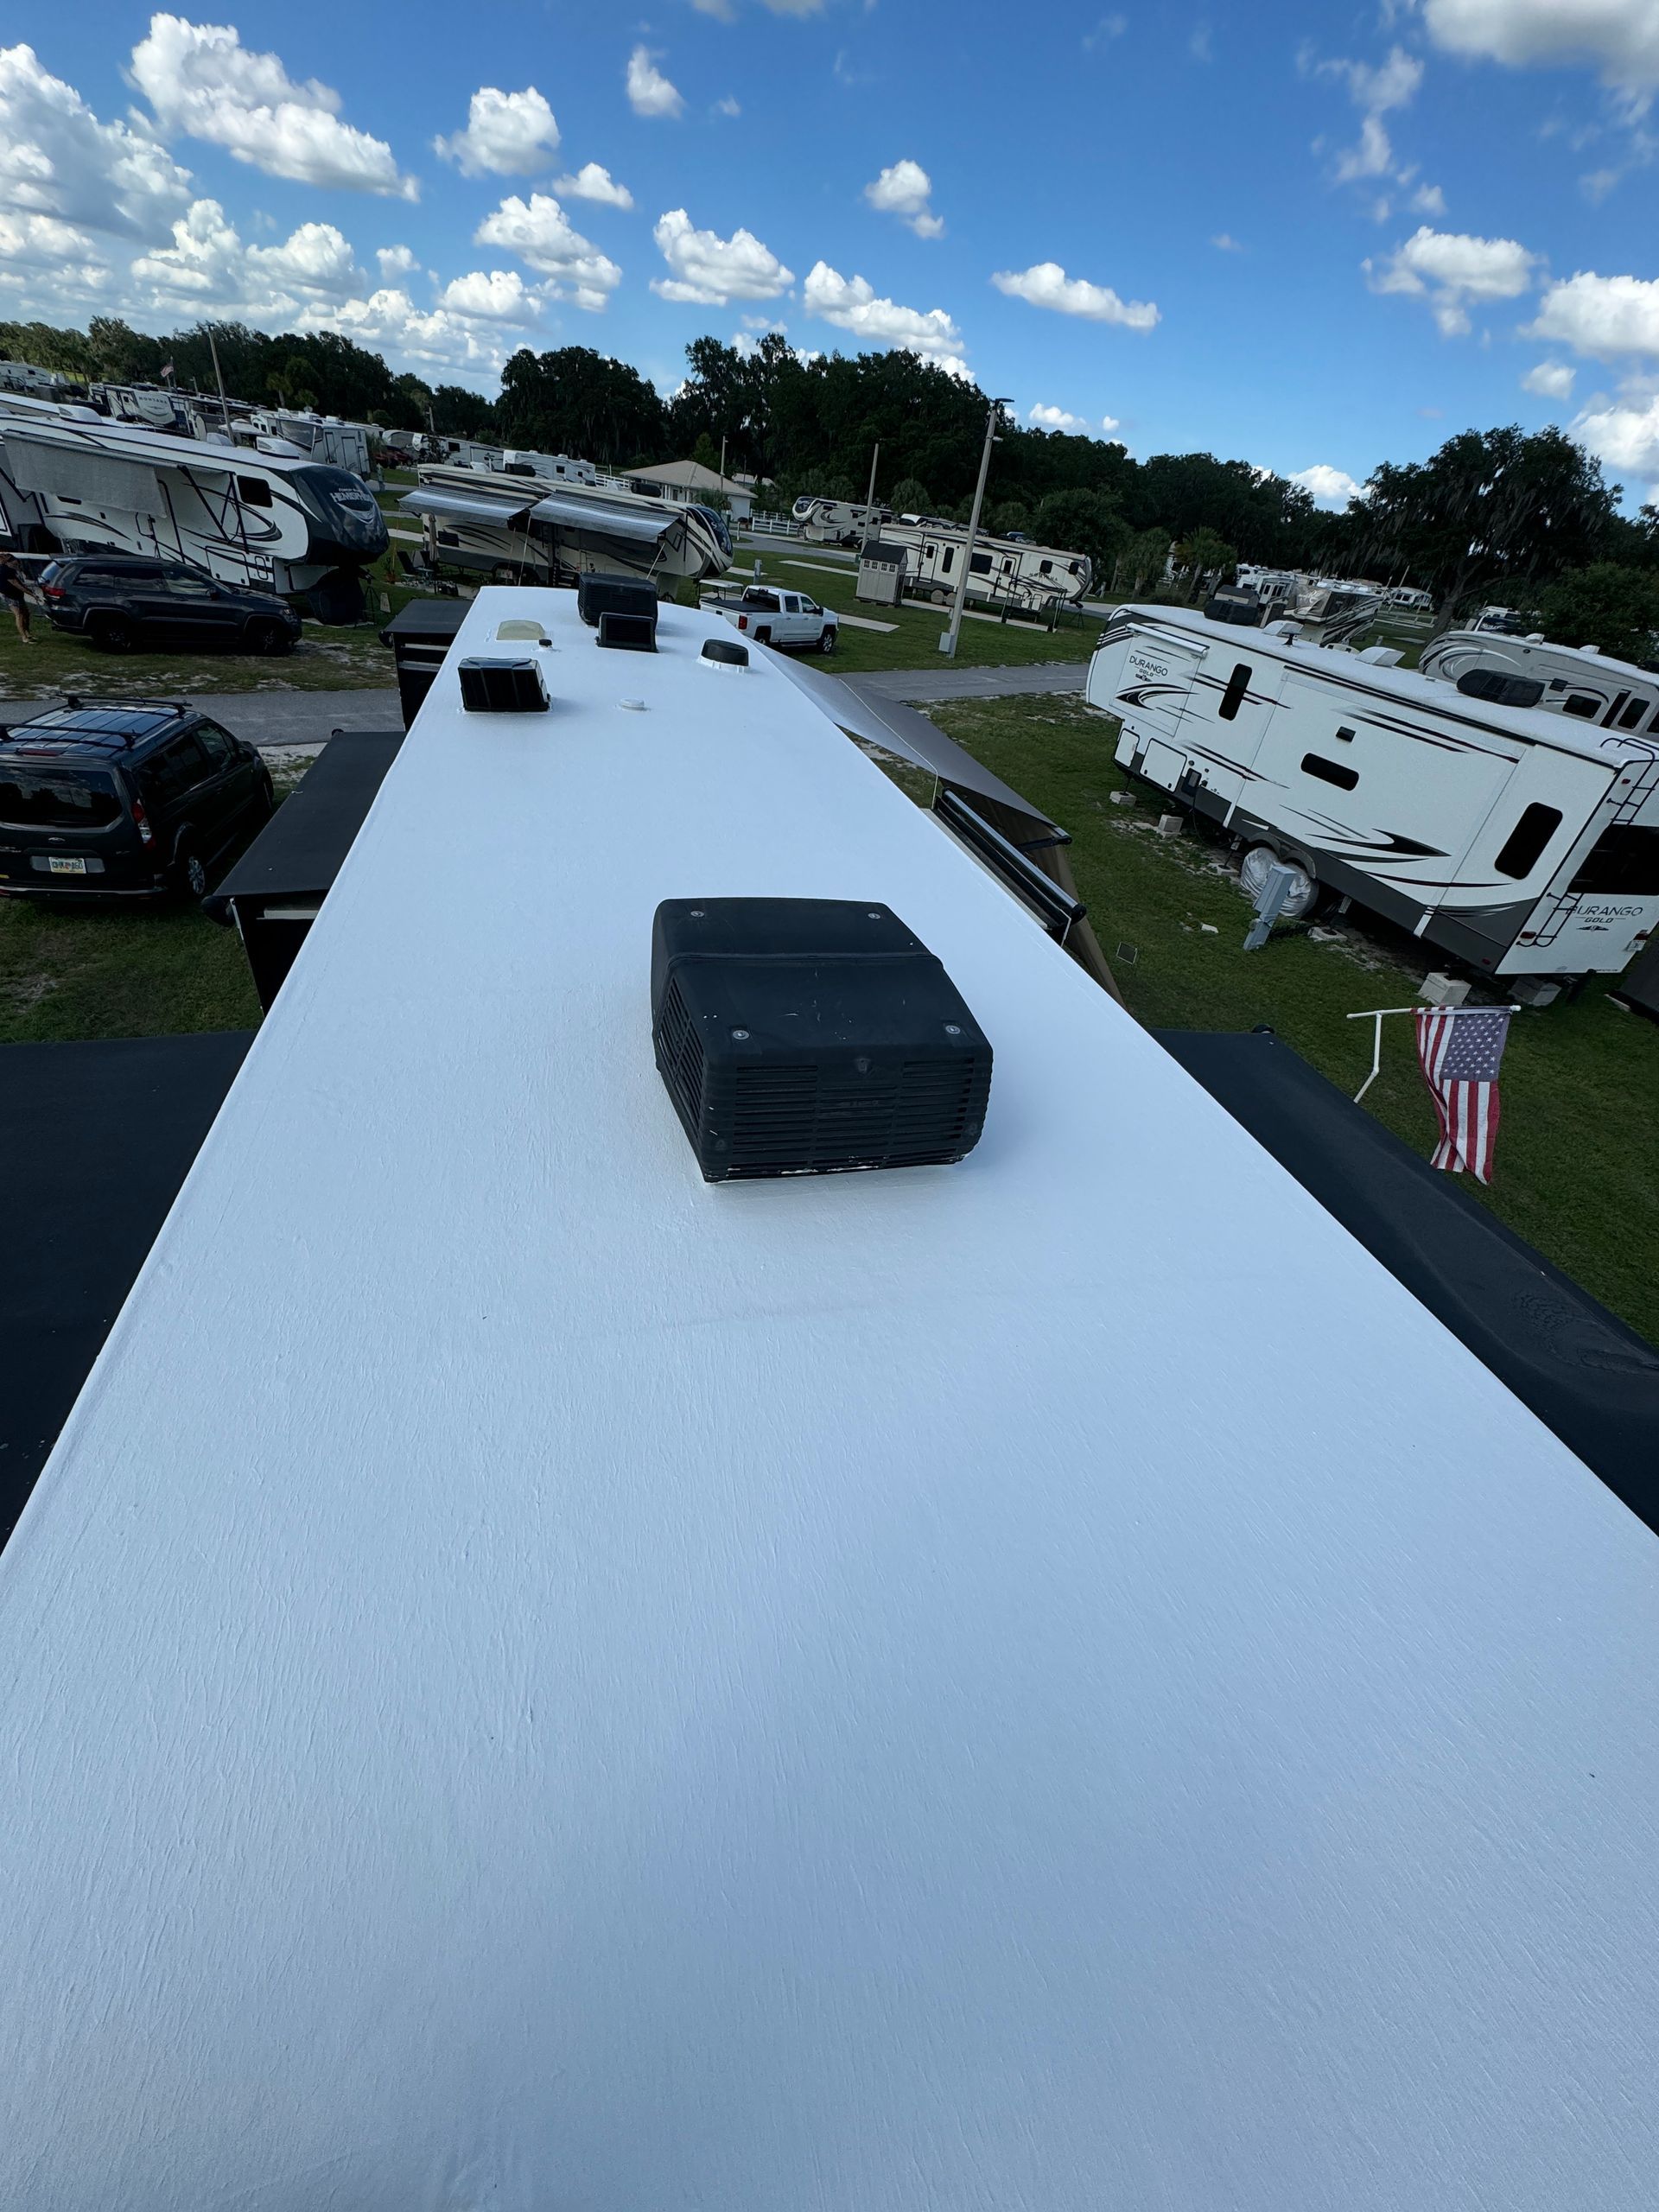
Our seamless roofing system is different. It’s not a patch. It’s a complete, watertight solution designed to protect your RV for the long haul.

Why Specialized Companies Matter
At RV Roofing Solutions, we don’t just fix roofs — we protect homes on wheels. Here are a few things that set us apart:
• We understand RV roofs. From roof composition to moisture migration, we know what to look for and how to fix it right.
• We use professional-grade materials. No shortcuts, no guesswork, no off-the-shelf tape that fails in the sun.
• We stand by our work. Our inspections are included in the estimate, our estimates are transparent, and our team is here for you — before, during, and after the job.
• We care about your story. Whether you're traveling solo or with a family, we treat your rig like it’s our own.
We are often asked, "Do I have to have a leak to install an RV Roofing Solutions System?"
Installing a seamless RV roofing system isn’t just about fixing leaks — it’s about preventing them. Here’s why many RVers choose to upgrade long before they have a leak.
Proactive Protection
• Seamless systems eliminate joints and seams — the most common sources of water intrusion.
• They create a watertight barrier that resists UV damage, flexing, and aging far better than traditional roofs.
• An RV Roofing Solutions Complete System can make your RV noticeably cooler on hot days
Long-Term Savings
• Catching issues early means avoiding costly repairs down the road.
• Paying someone to remove and replace caulk on your roof year after year can range in price from $1000-$2000 every 12-18 months.
• Even if your roof looks fine, hidden wear (like micro-cracks or sealant fatigue) can lead to expensive surprises.
Easier Maintenance, Year After Year
One of the biggest perks of a seamless RV roofing system? Low maintenance.
No more crawling around with a caulk gun every season or stressing over cracked sealant.
With our system, it’s just so simple.
• Just wash it twice a year with a gentle cleaner and soft brush.
• No more annual resealing or chasing leaks around vents and edges.
• No more guessing if your roof is still protected — it is.
If you’re facing roof issues, or just want peace of mind you can rinse off with a hose, don’t go it alone. Let us help you protect what matters most.
Contact Us
You might also like
RV Roofing Solutions' Blog