Falling Leaves & RV Roof Hazards: Protect your RV from Acorns, Pincones & Nuts

RV Roofing Solutions • October 2, 2025

Protecting Your RV Roof from Nature’s Sharpest Fall Surprises

As autumn rolls in with its crisp air and golden foliage, RVers across the country settle into cozy campsites under vibrant canopies of oak, walnut, and maple trees. It’s a season of tailgates, festivals, and fireside memories—but it’s also prime time for unexpected roof damage. 

Every RVer knows the sound... that sudden thud on the roof. 

Maybe it’s an acorn, maybe a branch. Your heart skips. The dog starts barking. You freeze, staring at the ceiling, wondering what just landed up there.

Each impact, no matter how small, can be a hazard. Acorns can dent or crack your roof membrane. Branches can scrape sealants or wedge into seams. Even leaves, when they pile up, trap moisture and invite mold. And if you’re parked under trees for the season, those hits aren’t rare, in fact they’re often relentless.

Whether your roof is rubber, TPO, PVC, fiberglass, or vinyl, it’s your first line of defense. But it’s certainly not invincible. That’s why regular inspections, cleanings, and protective measures aren’t just good practice—they’re peace of mind.

So the next time something hits your roof and the dog goes wild, don’t just shrug it off. That sound might be telling you it’s time to check.

The Hidden Threats Overhead
While falling leaves may seem harmless, they often come with heavier — and more damaging — falling debris that can pose serious risks to your RV.

• Acorns,Walnuts, Pecans, Pinecones and small branches: These dense, fast-falling items can dent or crack your RV’s roof's surface, especially if you have a rubber, TPO, PVC, or Vinyl membrane. Over time, repeated impacts may compromise sealants around vents, skylights, or air conditioning units, & the membrane itself, leading to leaks and costly repairs. Regular roof inspections can help mitigate this seasonal hazard.

Even though fiberglass roofs tend to hold up better against falling debris, it’s still essential to inspect your RV roof regularly—especially if you're parked under trees. Branches, nuts, and other debris can cause wear over time, and early detection of damage can save you from costly repairs down the road.

Tree Sap and Tannins: What RV Owners Should Know
Sap and tannins from trees can cling to your RV roof, leading to stubborn stains and surface degradation if not cleaned promptly.

• PVC Roofs: These are fairly durable, but sap can stain and dull the reflective coating over time. Regular cleaning helps maintain their appearance and performance.

• TPO Roofs: TPO resists mold and punctures, but sap can still stain and weaken UV protection. Heat-welded seams may also be affected if buildup is left unchecked.

• Rubber (EPDM) Roofs: Highly vulnerable to sap and tannin damage. These acidic substances can cause black streaks, degrade the membrane, and compromise sealants.

• Vinyl Roofs: Less common in RVs, but vinyl is prone to discoloration and surface cracking when exposed to sticky residue. Gentle cleaning is key.

• Fiberglass Roofs are more resistant overall, but sap can dull the gel coat and lead to oxidation. Stains may be harder to remove without specialized cleaners.

Fall Leaves Can Lead to Roof Damage—No Matter What Type of RV You Own
As autumn rolls in, falling leaves may seem picturesque, but they pose a hidden threat to your RV’s roof. When leaves pile up and sit undisturbed, they trap moisture against the surface—creating ideal conditions for mold, mildew, and premature chalking. This is especially problematic around vulnerable areas like vents, seams, and skylights.

Whether your RV roof is made of rubber (EPDM), TPO, PVC, fiberglass, or vinyl, none are immune. Rubber and TPO roofs are particularly prone to chalking and microbial growth, while fiberglass and PVC may resist mold but still suffer from staining and sealant breakdown.

Regular roof cleaning and leaf removal during the fall season is essential to protect your investment and avoid costly repairs.

What Counts as a “Sharp Projectile”?
• Acorns and Walnuts: Dense, hard-shelled nuts that fall with force, especially during wind gusts or squirrel activity.
• Broken Branch Tips: Jagged twigs and splinters that pierce or scratch roof membranes.
• Pinecones and Hickory Nuts: Often overlooked, but heavy enough to dent or crack skylight edges and vent covers.

These aren’t just nuisances—they’re roof risks.

Why It’s a Problem

RV roofs aren’t built for impact. Even minor damage can lead to:
• Punctures or Cracks in the membrane, especially on aging or silicone-coated roofs.
• Sealant Compromise, allowing water intrusion around vents, AC units, or skylights.
• Hidden Moisture Damage, which insurance may not cover if deemed preventable.

Membrane roofs, while lightweight and flexible, come with added vulnerability—especially in fall. Their soft surface is prone to punctures from sharp debris like acorns, walnuts, pinecones, or broken branches. Even a tiny pinhole, barely visible at first, can allow moisture to seep in unnoticed. Over time, that small breach can expand, compromising sealants, soaking insulation, and leading to mold or structural damage. What starts as a minor impact can snowball into a major repair. That’s why regular inspections and proactive sealing are essential—and why a seamless roofing system offers far better long-term protection

And once water gets in, it’s not just a roof issue—it’s a wall, floor, or even worse.

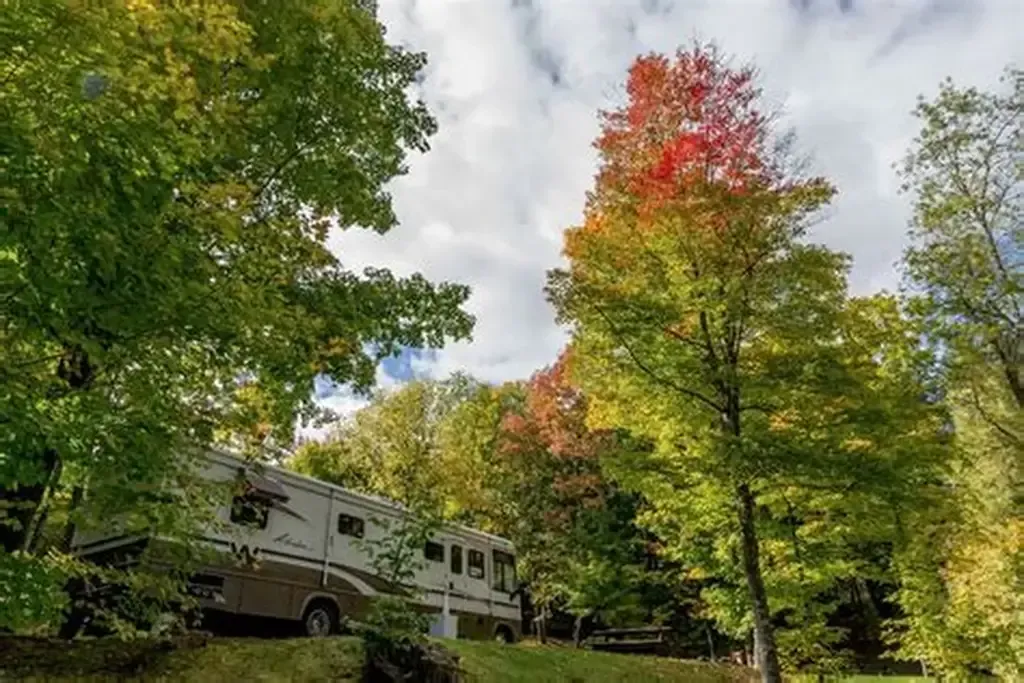
Seasonal Shielding Strategies


Protecting your RV roof during fall doesn’t require a full overhaul. Here are just a few proactive steps


• Install a Temporary Roof Cover: A breathable, UV-resistant cover can shield your roof from direct impact and debris buildup. Avoid plastic tarps, which trap moisture and cause more harm than good.


• Schedule a Mid-Season Roof Sweep: Whether DIY or professional, a gentle sweep and rinse can remove leaves, nuts, and sap before they settle in. Use soft brushes and avoid pressure washers.


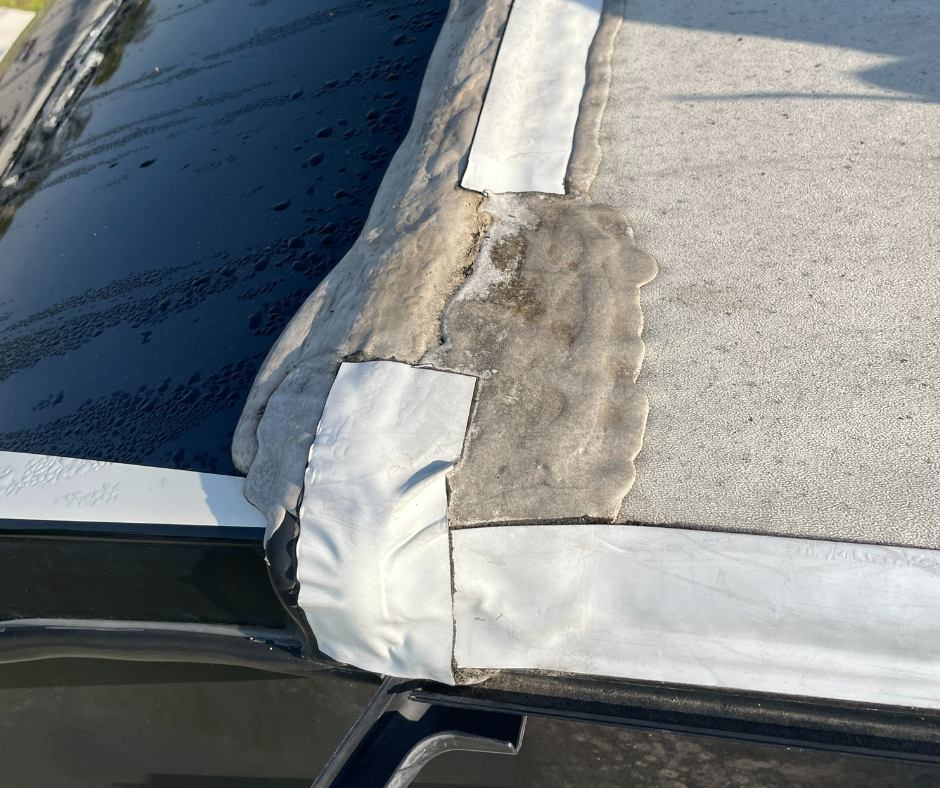
• Check Sealants and Termination Bars: Fall is a great time to inspect for cracks or lifting edges. Re-seal vulnerable areas and consider replacing worn termination bars before winter sets in.


🍁 Fall Resealing Tips for DIY RV Owners

If you're removing and replacing caulk this fall, the key to a long-lasting seal is proper surface prep. Start by fully removing the old caulk—don’t just patch over it. Once it's cleared, wipe the area thoroughly with denatured alcohol to eliminate any oils, dirt, or debris that could interfere with adhesion.


When applying new caulk, make sure you're using the right type for the job. The ideal sealant will depend on where you're resealing—roof seams, windows, vents, or trim all require different formulations. Using the wrong product can lead to early failure, leaks, or cracking.

A little extra care now can save you from major repairs later!


• Use Gutter Guards or Leaf Diverters: These can help redirect falling debris away from roof edges and reduce buildup in hard-to-reach corners.


You need a seasonal defense plan to Protect Your Roof This Fall


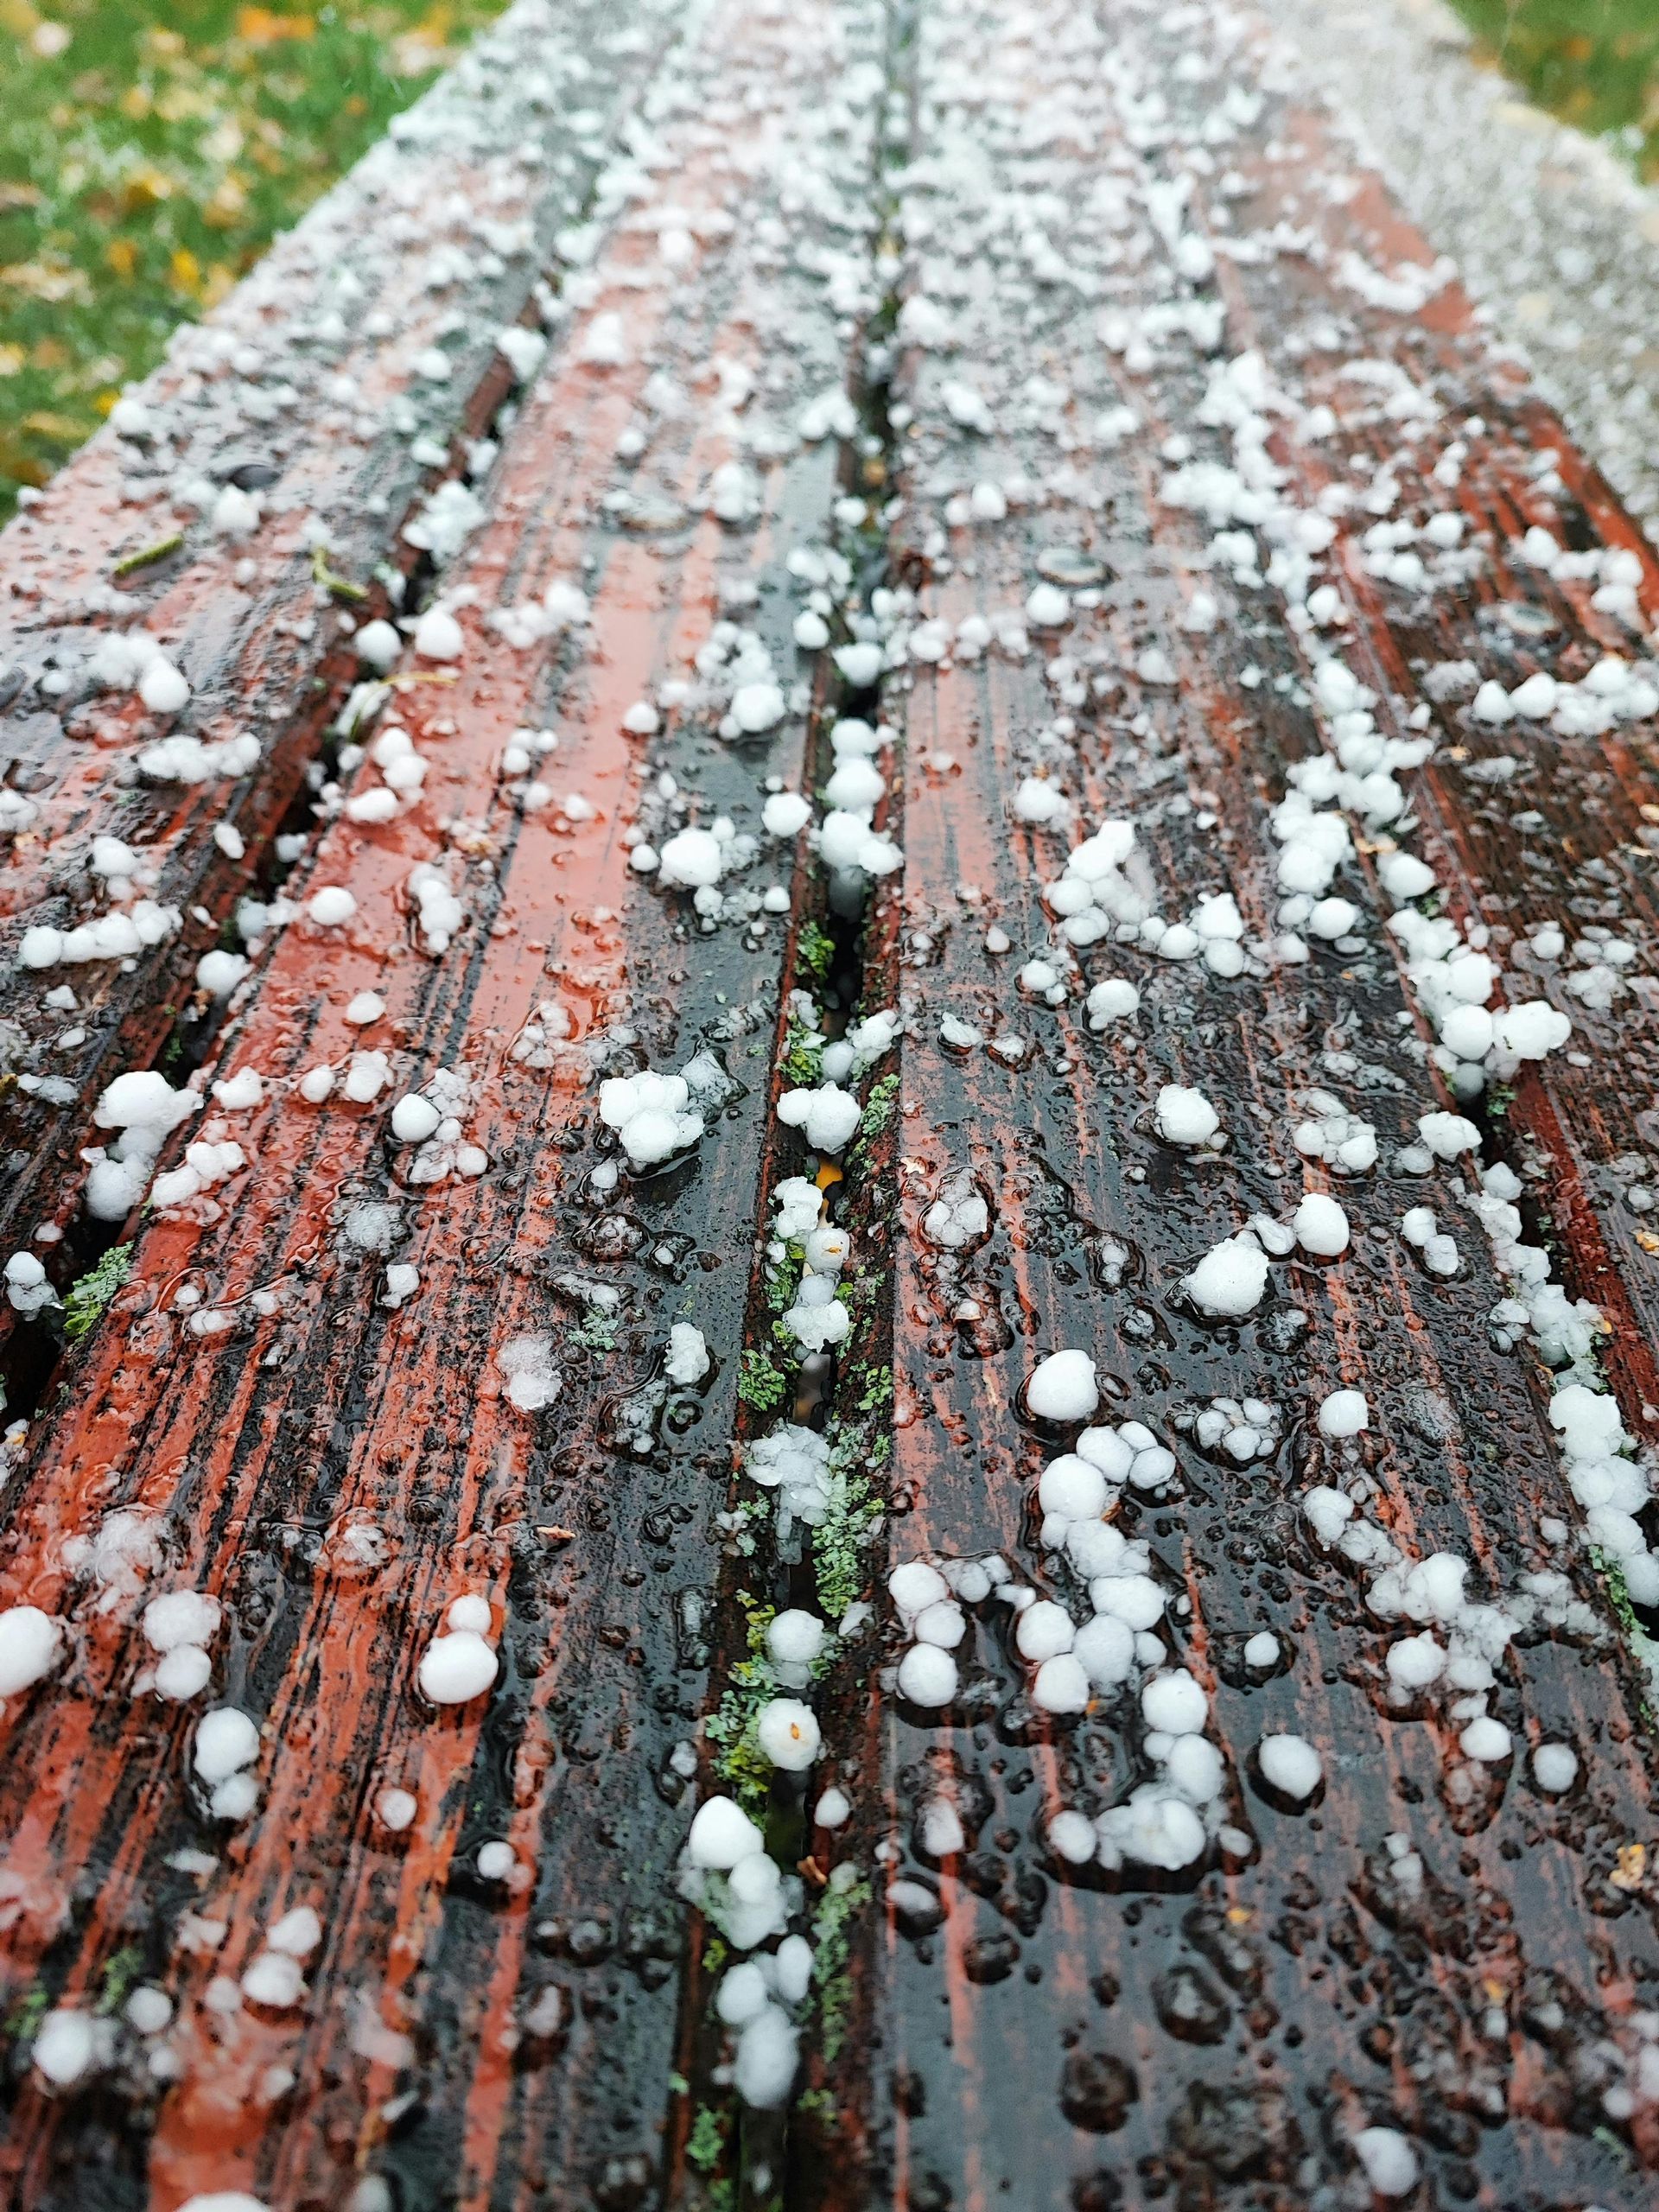
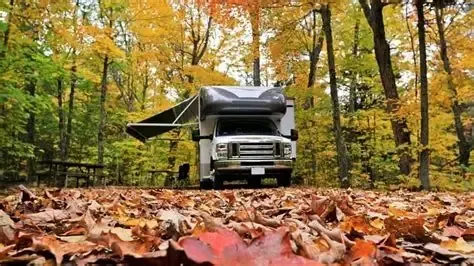
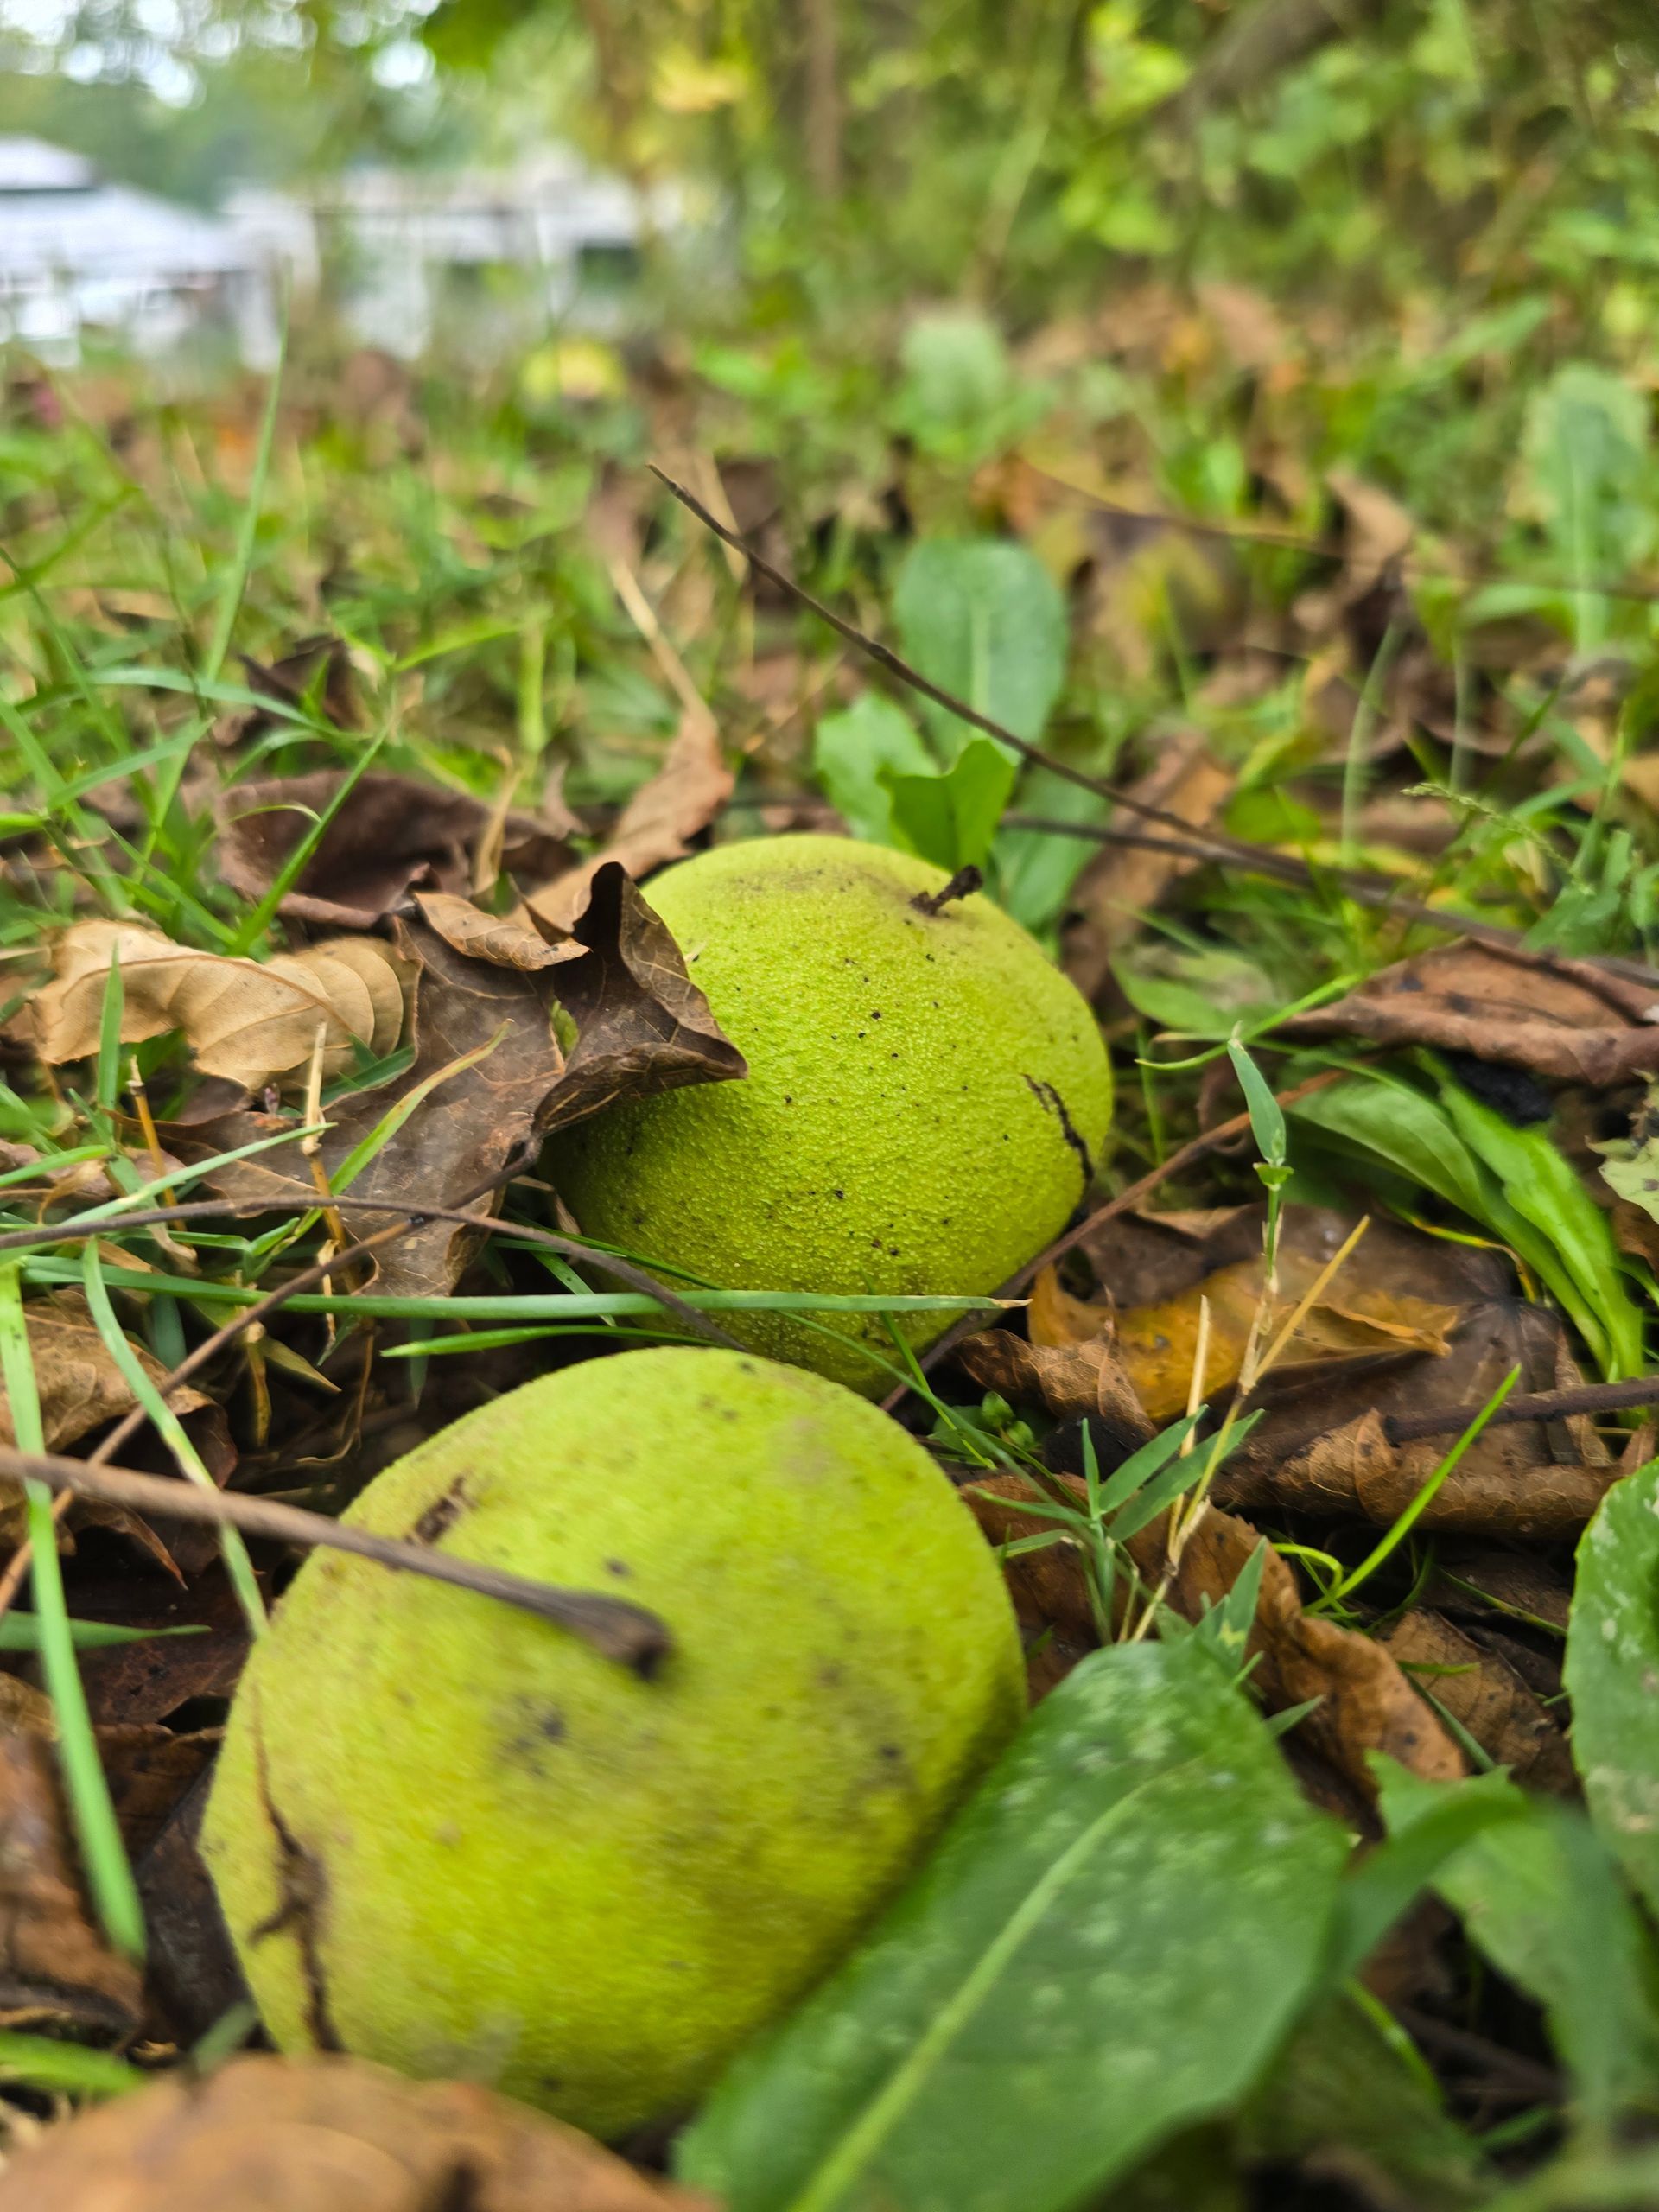
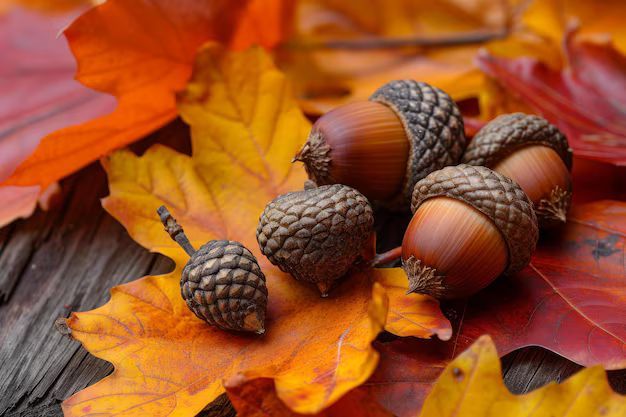
Parking under nut-bearing trees like walnut, oak, or hickory may seem ideal for shade, but it can spell trouble for your RV roof. Falling nuts, especially walnuts and acorns, are dense and drop with surprising force, often propelled by wind or squirrel activity. These sharp projectiles can dent, crack, or puncture roof membranes, skylights, and vent covers, especially on aging or silicone-coated systems. Over time, repeated impact can compromise sealants and lead to water intrusion. Even if the damage isn’t immediately visible, it can weaken protective layers and create costly issues down the line. If you spot shells on the ground or critters overhead, it’s best to relocate before your roof takes the hit.


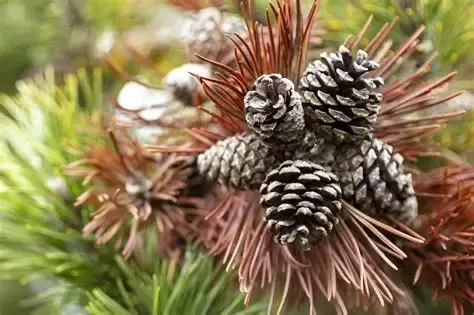
Pine trees may look picturesque in a fall campsite, but they pose a real threat to RV roofs. Pine cones, especially when dried or wind-blown, can fall with force and have sharp, jagged edges that scratch, dent, or even puncture roof membranes and vent covers. Over time, repeated impact can compromise sealants and lead to water intrusion. On top of that, pine sap is notoriously sticky and acidic—it clings to surfaces, attracts debris, and can degrade roof coatings if not cleaned promptly. Parking under pine trees might offer shade, but it also invites a mix of impact damage and chemical wear that’s tough to undo. When scouting a site, it’s worth looking up before you settle in.


RV covers can seem like a smart seasonal investment, especially in fall when sharp debris like acorns, walnuts, and branches pose a real threat. A well-fitted, breathable cover can help absorb impact, shield against UV damage, and prevent sap and tannin stains from settling into the roof membrane. But not all covers are created equal, and  unfortunately, when used improperly, they can do more harm than good. Non-breathable or poorly secured covers trap moisture, leading to mold, mildew, and hidden roof rot. In windy conditions, loose covers can flap and chafe against the surface, wearing down sealants and causing abrasion. The key is choosing a high-quality, breathable material and ensuring a snug, secure fit—especially around vents and edges. Used wisely, a cover protects your investment; used carelessly, it can accelerate damage.


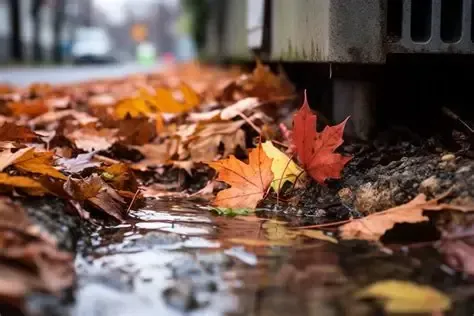
Fall is one of the most critical seasons for RV roof inspections. With trees shedding leaves, nuts, and branches, your roof becomes a landing zone for sharp projectiles and moisture-trapping debris. Weekly inspections help catch early signs of damage—like dents, scratches, or compromised sealants—before they escalate into costly repairs. Pay close attention to termination bars, vent edges, and skylight frames, where impact and buildup are most common. Regular checks also allow you to clear leaf piles that can trap moisture and accelerate membrane breakdown. A few minutes on a ladder each week can save thousands in water damage and keep your rig road-ready all season long.


Sealing vulnerable edges is one of the most effective short-term fixes you can make to protect your RV roof during fall. Areas like skylight frames, vent bases, and corners are especially prone to impact damage from falling nuts and branches. Applying EternaBond tape or a roof-safe sealant creates an immediate waterproof barrier, preventing moisture intrusion while you wait for a full inspection or repair. It’s a fast, reliable way to reinforce weak spots and buy time—especially when you're parked under trees or dealing with unpredictable weather. Just make sure surfaces are clean and dry before sealing to ensure proper adhesion.


Roof care isn’t just a solo responsibility -it’s a team effort, especially when traveling with family. Involving everyone in weekly roof checks not only lightens the load but builds shared awareness and responsibility. Even young kids can help by spotting fallen nuts, branches, or signs of damage from ground level, while adults can safely inspect sealants, skylights, and vent covers. When everyone knows what to look for, small issues get caught early—before they become costly repairs. Plus, it turns maintenance into a teachable moment, reinforcing the value of stewardship and teamwork on the road. Your RV protects the whole crew, and the whole crew can help protect it.

Fall Roof Prep Essentials


EternaBond Tape

Your emergency MVP. This ultra-durable tape seals punctures, cracks, and vulnerable edges in minutes which is a good temporary fix and can be ideal for surprise walnut strikes or post-storm inspections. Keep a roll in your toolkit for peace of mind on the road.


While Eternabond tape is a popular quick fix for sealing roof leaks, it's important to understand that it’s a temporary solution—not a long-term repair. Think of it as a band-aid: it can stop water intrusion in the short term, but it doesn’t address underlying issues like membrane degradation, seam separation, or structural damage. 


Telescoping Roof Broom or Leaf Blower (Soft Tip)

Gentle but mighty. These tools help you clear leaf piles, acorns, and pine needles without damaging your roof membrane. Bonus: they make weekly inspections faster and safer.


Biodegradable Roof-Safe Cleaner

Sap happens. Tannins stain. A roof-safe cleaner helps you remove sticky residue without harming your sealants or coatings. Choose biodegradable formulas to protect your rig and the environment. Aero cosmetics Wash Wax can give you a clean finish without the use of harsh products.  That's why we equip each of our installers with an industry trusted product.


Protective Gloves & Safety Goggles

DIY doesn’t mean risky. Whether you’re sealing edges or sweeping debris, gear up with gloves and goggles to stay safe and confident during roof care.


When it comes to fall roof prep, short-term fixes like EternaBond and roof covers offer valuable defense—but nothing compares to the long-term security of a professionally installed seamless system from RV Roofing Solutions.


Our  maintenace free seamless roofing systems eliminates weak points where water, debris, and sharp projectiles typically cause damage. No exposed seams. No patchwork sealants. Just a continuous, reinforced barrier that stands up to acorns, walnuts, pinecones, and freeze-thaw cycles alike.


Whether you're parked under nut-bearing trees or navigating unpredictable fall weather, a seamless roof system gives you peace of mind, and protects the memories your RV holds.


Celebrate the Season but don't forget to Protect Your RV Roof

Fall camping is full of magic—crackling fires, golden leaves, and tailgate traditions. But nature doesn’t always play nice with RV roofs. Sharp projectiles, sticky sap, and moisture traps are part of the seasonal package. By staying ahead of the debris, you’re not just preserving your rig—you’re protecting the memories it holds. Your RV roof is your first line of defense, and fall is its toughest season. A little prevention now can save thousands later.

You might also like

RV Roofing Solutions' Blog

By RV Roofing Solutions February 19, 2026
RV Roofing Solutions is excited to announce our new partnership with Open Roads VIP Access!
Side by side comparison of silicone roof coating and RV Roofing Solutions maintenance-free system
By RV Roofing Solutions February 16, 2026
Nothing sticks to silicone. Before you coat your RV roof, Read what RV Roofing Solutions has learned from years of inspections, tearoffs, and real repairs.
By RV Roofing Solutions January 21, 2026
A step‑by‑step, real‑talk guide from RV Roofing Solutions At RV Roofing Solutions, we don’t use standard caulks in our maintenance‑free roofing system, but that doesn’t stop people from asking us about caulk every single day. And if you know Frank, you know he’ll walk you through your roof concerns, whether you ever buy our system or not. Some might call that crazy. We call it honesty, education, and doing right by the RV community. After all, not everyone is ready to commit to a maintenance-free full roofing system, and that’s okay. The truth is: not all caulking is created equal. The wrong product can sag, crack, react chemically with your existing roof, or fail prematurely. The right product can buy you time, prevent leaks, and keep you safely on the road. So let’s break down the most common types of RV roof caulks, how they’re used, and when they’re the right choice. Knowing your roof type is the first step to choosing the right caulk, sealant, or repair method, and avoiding the chemical reactions, peeling, and sagging that happen when you use the wrong product. You know how it goes: you climb up on the roof “just to check something,” and suddenly you’re staring at cracks, gaps, and mystery goop from three owners ago. Then comes the big question: “What caulk do I even use on this thing?” Let’s walk through it step by step—like Frank would if he were up there with you. Step 1: Figure out what kind of roof you have Before you touch a tube of anything, you need to know what you’re working with. • EPDM: Rubber-like, usually white, black underneath. • TPO: White, more plastic-like, often on newer rigs. • Fiberglass: Hard, shiny, smooth surface. • PVC: White, more rigid than TPO. • Vinyl: slick, smooth surface that is naturally resistant to UV exposure, cracking, and general weathering. • PET- Grand Design’s new PET composite roof is designed to move away from traditional rubber membranes (TPO/EPDM) and toward a rigid, molded, low‑maintenance composite panel, similar in concept to fiberglass but engineered to be lighter, stronger, and more impact‑resistant. While official long‑term maintenance guidelines are still emerging, PEC behaves much more like a composite/fiberglass roof than a membrane roof. That means no membrane chalking, no rubber conditioners, and far fewer chemical restrictions. • Aluminum/metal: Rigid panels, seams, and fasteners visible. Important Notes for Resealing Alpha Roofs • Use Alpha Systems sealants whenever possible—they are engineered to be chemically compatible with Alpha roofing membranes. • Avoid silicone sealants unless you are removing all existing silicone first; silicone contamination prevents proper adhesion of other products. If you’re not sure, check your owner’s manual or manufacturer’s site. Knowing the material matters because not all caulks are compatible with all roofs. Step 2: Decide what you’re actually trying to do Ask yourself: • Are you patching an active leak? You need something that seals well and bonds strongly. • Are you just maintaining existing seams? You’re likely topping off or replacing old sealant. • Is this a “get me through this trip” fix or a long-term solution? Your answer changes which product makes sense. Being honest about whether this is a band-aid or a real repair will save you frustration later. Step 3: Look at the surface: horizontal or vertical? This is where “sag” (lap) vs “non-sag” comes in. • Horizontal (flat roof, around vents, skylights, AC units): You want self-leveling (lap sealant) caulk. It flows out and creates a smooth puddle over the seam. • On the top of the roof away from edges (sidewalls, ladder mounts, trim, front/rear caps): You want non-sag (non-leveling) caulk. It stays where you put it instead of running down the side of your rig. This would be drip rails along the radius, edges the termination bars and sidewalls. Think: Flat = self-leveling. Anything that fights gravity = non-sag.

Book a Service Today