Keeping your RV roof clean & happy
Jennifer Schillaci • February 29, 2024
When washing your RV, always clean the roof FIRST! Cleaning your roof makes a mess of everything else!

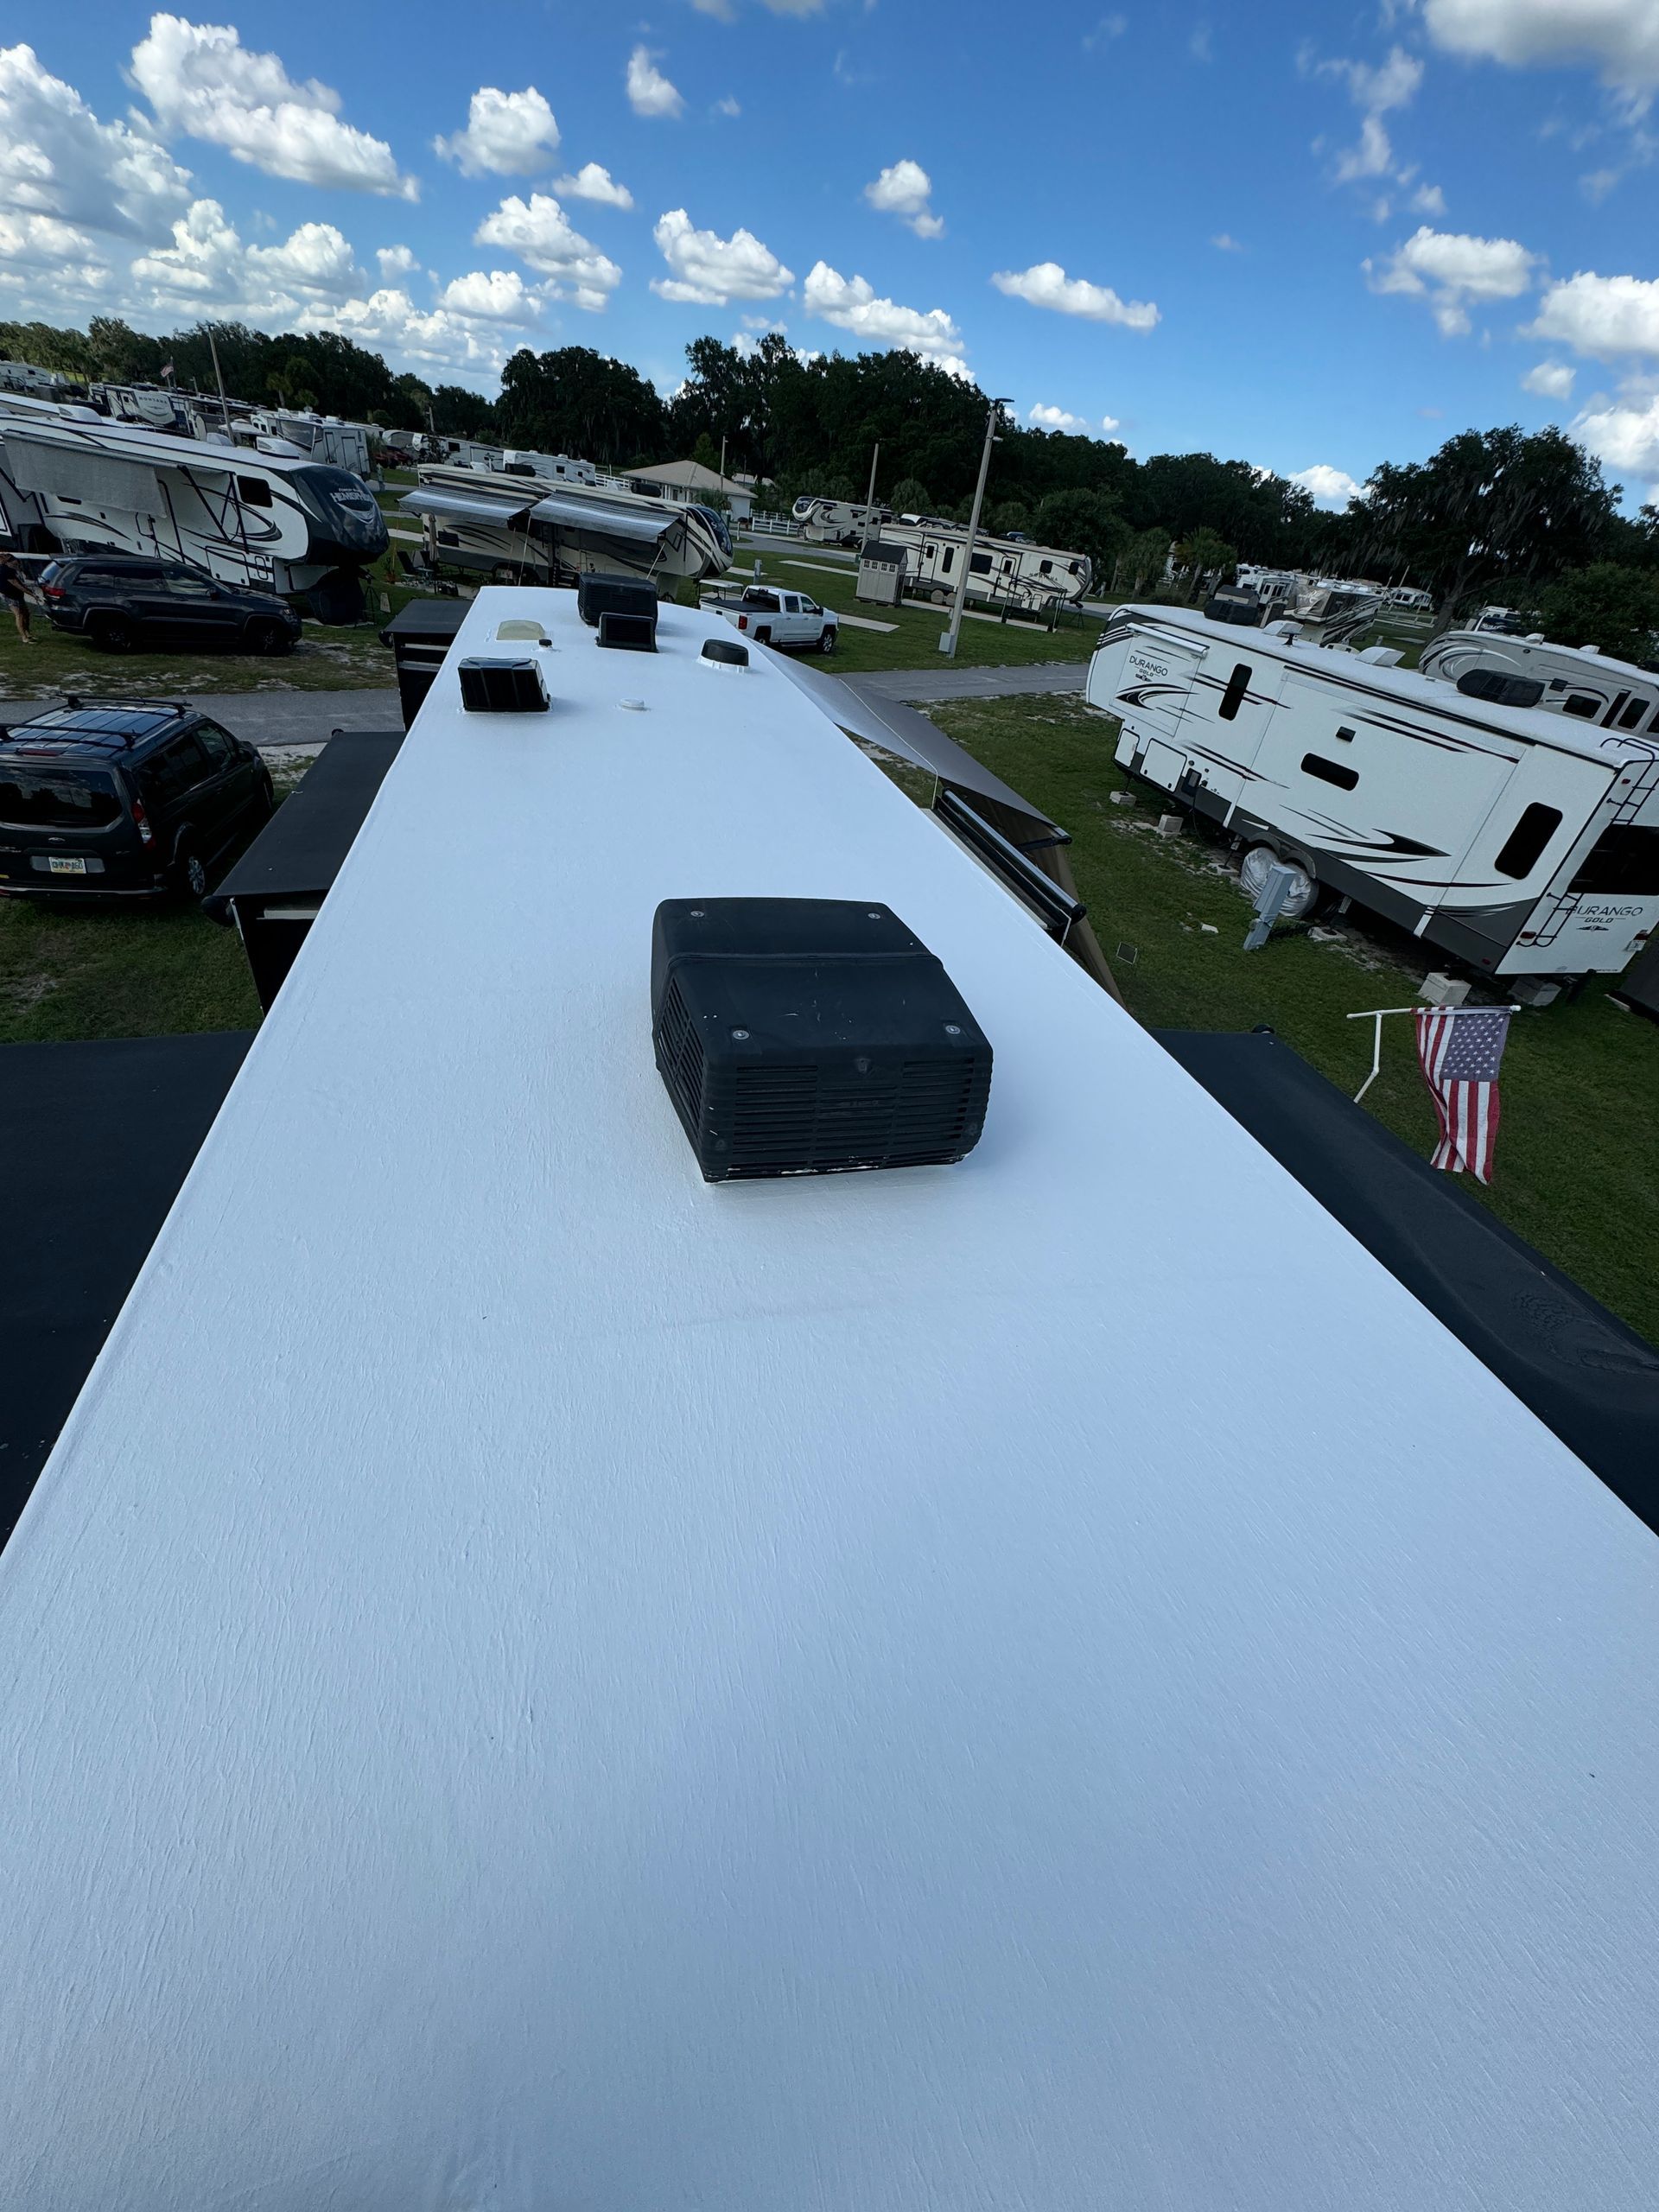
RV roofs are often out of sight, out of mind, so it's easy to forget about cleaning them. But if you're on this page, you've no doubt realized your RV roof needs some TLC, too. The #1 most important tip when it comes to RV roof maintenance is to keep it clean. Regularly cleaning your roof will extend its lifespan, which is good, but if your roof looks like the one in our picture it may be at the end of its lifespan. If you decide you want to take the worry out of your RV roof, replacing RV roofs is exactly what we do. We have a professionally installed maintenance-FREE RV roofing system with technicians that come to you - but you still need to wash it from time to time.
Take precautions to avoid tearing the material, which could lead to leaks and potential water damage to your rig. Knowing how to clean your RV roof properly includes being aware that the surface of your roof isn't impervious to damage. Here are a few of our tips to get the job done right.
All RV roofs can be slippery, especially when wet. When you work up there, wear soft-soled shoes and use caution. In many areas, there are mobile RV wash teams if you'd rather pay someone to do this.
If you decide to tackle this job, start by gently sweeping away any loose dirt and debris using a broom with soft or medium bristles. If you've never been up on your roof before, you should first determine whether or not you can safely climb up there. A general rule of thumb is that if your rig came with a factory ladder or built-in ladder-mounting location, it's walkable. If you don't have this, it's probably not walkable. Some RVs come with a weight capacity sticker with this information, and you can also check with your manufacturer or dealer to be sure. If you can't walk on your RV roof, we recommend using a ladder placed adjacent to your rig. To clean your roof, climb up on your ladder and remove any branches or other large objects. Then, sweep the roof with a broom to clear most of the debris. Finally, spray it down with a hose.
Use a cleaner that’s specifically designed to be safe for use on your roof’s material. Avoid abrasive cleaners or those with petroleum distillates or citrus, as they can damage the membrane. For this step, you'll need a medium-bristled brush and the right type of cleaner for your roof type. Then, it's time to soap it up, rinse it off, and let it dry. Just keep in mind that what works for one roof material may end up destroying another. Always check the roof cleaner for an indication of what RV roof material it's meant to be used on. You may need some elbow grease to remove sap, leaf stains, mold, or other stubborn stains. Make sure you have determined if its rubber, PVC, fiberglass, or aluminum. If you're not sure what type of roof you have, check out out this handy guide h ere for help identifying your roof material.
Pro tip: It's often easiest to work on smaller sections of the roof at a time.
Rinse the roof once you’ve finished cleaning. This is a good time to rinse the rig’s sides, front, and back, which will likely be a mess after cleaning the roof.
We see a lot of RVers turn to bleach to clean their RV roof (any material), particularly when it comes to scrubbing away mold spots. Most of the time, if you mix a 50/50 bleach/water solution, you won't have any trouble. However, some RVers have reported streaking when the bleach has run down the sides of the RV. In our opinion, there's no real reason to risk damaging your RV with bleach when there are so many other go-to products to turn to. If you prefer to stick with household products, we'd recommend a soapy Dawn solution over bleach.
After thoroughly cleaning the roof you can use a rubber roof UV protectant that repels dirt and protects it from damaging UV rays. A squeaky clean roof means it's time to check all the sealants ... but that's a post for another day!
You might also like
RV Roofing Solutions' Blog
A step‑by‑step, real‑talk guide from RV Roofing Solutions At RV Roofing Solutions, we don’t use standard caulks in our maintenance‑free roofing system, but that doesn’t stop people from asking us about caulk every single day. And if you know Frank, you know he’ll walk you through your roof concerns, whether you ever buy our system or not. Some might call that crazy. We call it honesty, education, and doing right by the RV community. After all, not everyone is ready to commit to a maintenance-free full roofing system, and that’s okay. The truth is: not all caulking is created equal. The wrong product can sag, crack, react chemically with your existing roof, or fail prematurely. The right product can buy you time, prevent leaks, and keep you safely on the road. So let’s break down the most common types of RV roof caulks, how they’re used, and when they’re the right choice. Knowing your roof type is the first step to choosing the right caulk, sealant, or repair method, and avoiding the chemical reactions, peeling, and sagging that happen when you use the wrong product. You know how it goes: you climb up on the roof “just to check something,” and suddenly you’re staring at cracks, gaps, and mystery goop from three owners ago. Then comes the big question: “What caulk do I even use on this thing?” Let’s walk through it step by step—like Frank would if he were up there with you. Step 1: Figure out what kind of roof you have Before you touch a tube of anything, you need to know what you’re working with. • EPDM: Rubber-like, usually white, black underneath. • TPO: White, more plastic-like, often on newer rigs. • Fiberglass: Hard, shiny, smooth surface. • PVC: White, more rigid than TPO. • Vinyl: slick, smooth surface that is naturally resistant to UV exposure, cracking, and general weathering. • PET- Grand Design’s new PET composite roof is designed to move away from traditional rubber membranes (TPO/EPDM) and toward a rigid, molded, low‑maintenance composite panel, similar in concept to fiberglass but engineered to be lighter, stronger, and more impact‑resistant. While official long‑term maintenance guidelines are still emerging, PEC behaves much more like a composite/fiberglass roof than a membrane roof. That means no membrane chalking, no rubber conditioners, and far fewer chemical restrictions. • Aluminum/metal: Rigid panels, seams, and fasteners visible. Important Notes for Resealing Alpha Roofs • Use Alpha Systems sealants whenever possible—they are engineered to be chemically compatible with Alpha roofing membranes. • Avoid silicone sealants unless you are removing all existing silicone first; silicone contamination prevents proper adhesion of other products. If you’re not sure, check your owner’s manual or manufacturer’s site. Knowing the material matters because not all caulks are compatible with all roofs. Step 2: Decide what you’re actually trying to do Ask yourself: • Are you patching an active leak? You need something that seals well and bonds strongly. • Are you just maintaining existing seams? You’re likely topping off or replacing old sealant. • Is this a “get me through this trip” fix or a long-term solution? Your answer changes which product makes sense. Being honest about whether this is a band-aid or a real repair will save you frustration later. Step 3: Look at the surface: horizontal or vertical? This is where “sag” (lap) vs “non-sag” comes in. • Horizontal (flat roof, around vents, skylights, AC units): You want self-leveling (lap sealant) caulk. It flows out and creates a smooth puddle over the seam. • On the top of the roof away from edges (sidewalls, ladder mounts, trim, front/rear caps): You want non-sag (non-leveling) caulk. It stays where you put it instead of running down the side of your rig. This would be drip rails along the radius, edges the termination bars and sidewalls. Think: Flat = self-leveling. Anything that fights gravity = non-sag.

What a year it’s been! At RV Roofing Solutions, we believe in giving back to the RV community that inspires us every single day. That’s why at every rally we attend, we offer FREE roof inspections—because your safety, peace of mind, and confidence on the road matter most. And in 2025, we went above and beyond. The Numbers Tell the Story This year, RV Roofing Solutions proudly completed 544 FREE roof inspections at rallies across the country. Each inspection carries a $395.00 value, which means we provided an incredible $214,880.00 in free services ar rallies alone to RVers in 2025. But these numbers aren’t just statistics—they represent real people, real rigs, and real peace of mind. Hundreds of RVers now know the true condition of their roof. Many avoided costly surprises like hidden leaks or water damage, and countless families can travel with confidence knowing their home on wheels is safe and secure. More Than Just Inspections—A Path to Peace of Mind For some, the inspection was the wake‑up call they needed. Instead of waiting for trouble to arise, many RVers chose to upgrade to a maintenance‑free RV Roofing Solutions system right then and there. • No more climbing ladders with a caulking gun every year. • No more worrying about seams failing in the middle of a trip. • No more stress about whether the roof will hold up through storms or sun. Instead, they gained peace of mind—the freedom to focus on adventures, family, and the joy of RV life without the shadow of roof maintenance hanging overhead.

Let’s be honest—nobody wakes up Christmas morning hoping Santa left a new RV roof under the tree. It’s not shiny. It doesn’t beep. It won’t fit in a stocking. But here’s the thing: a maintenance-free roofing system from RV Roofing Solutions might just be the most underrated gift you could give (or get) this season. While others are wrapping gadgets and gizmos, you could be wrapping up years of worry-free travel. No more climbing up ladders with sealant in hand. No more surprise leaks during your holiday road trip. Just peace of mind, durability, and a roof that’s built to last—season after season. Why It’s a Holiday Hero • Zero maintenance means more time sipping cocoa and less time patching seams. • Just wash it twice a year—that’s it. No annual resealing, no stress. • Weatherproof UV protection keeps your rig cozy through winter storms and summer heat. • Long-term savings make it a gift that keeps on giving—far beyond the holidays. • Veteran-approved: Our systems are trusted by RVers who value strength, reliability, and no-nonsense solutions. So while it may not sparkle like tinsel, a new roof is a gift of freedom, security, and smart investment. And for those who’ve spent the year chasing sunsets and campfire memories, it’s a way to say: “I’ve got your back—literally.” Bonus Holiday Savings Lock in our 2025 pricing before rates increase in January and unwrap exclusive end-of-year savings! Approve your estimate and pay your deposit by December 15th to secure your spot, claim your FREE Wash Wax ALL Kit, and enjoy the peace of mind that comes with planning ahead.


