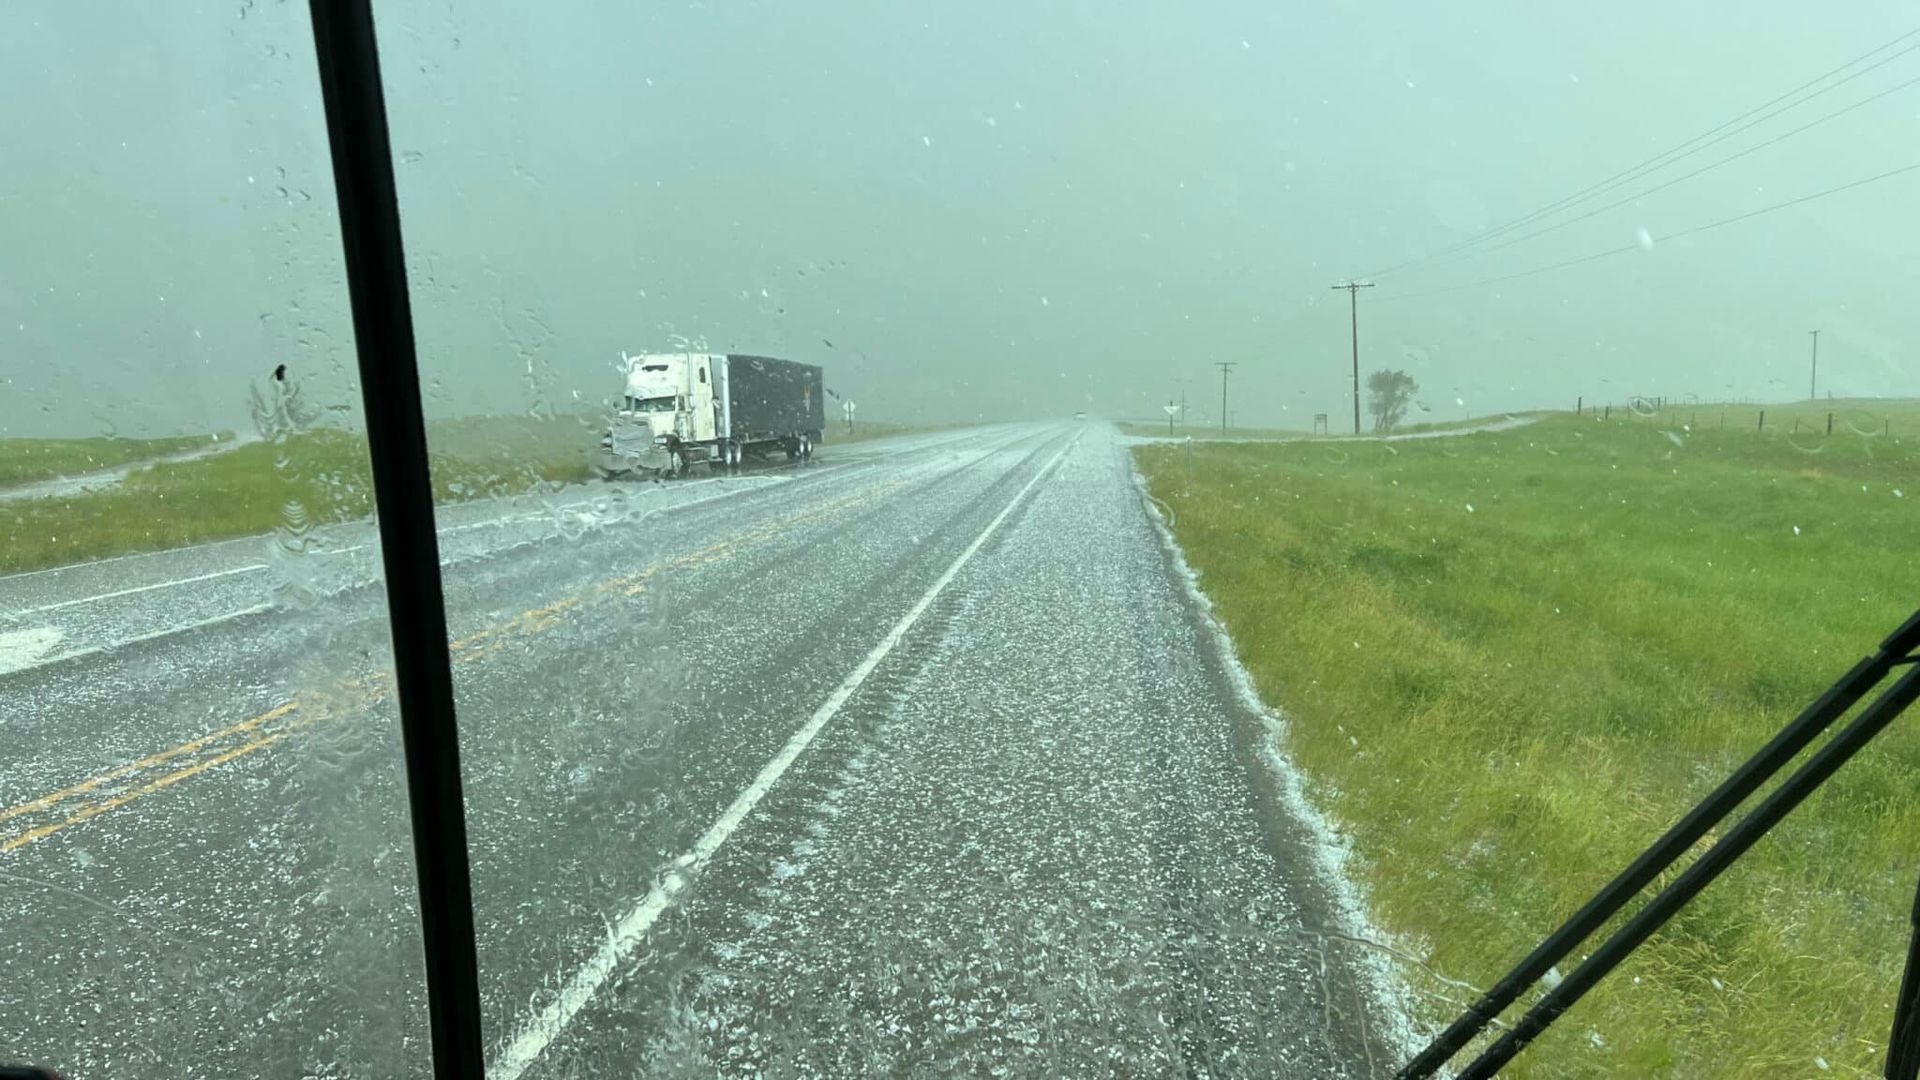
Hail Storms and Your RV Roof: Can Your Rig Take a Beating and Still Be OK?
How to Assess Your RV Roof After a Spring Hail Storm
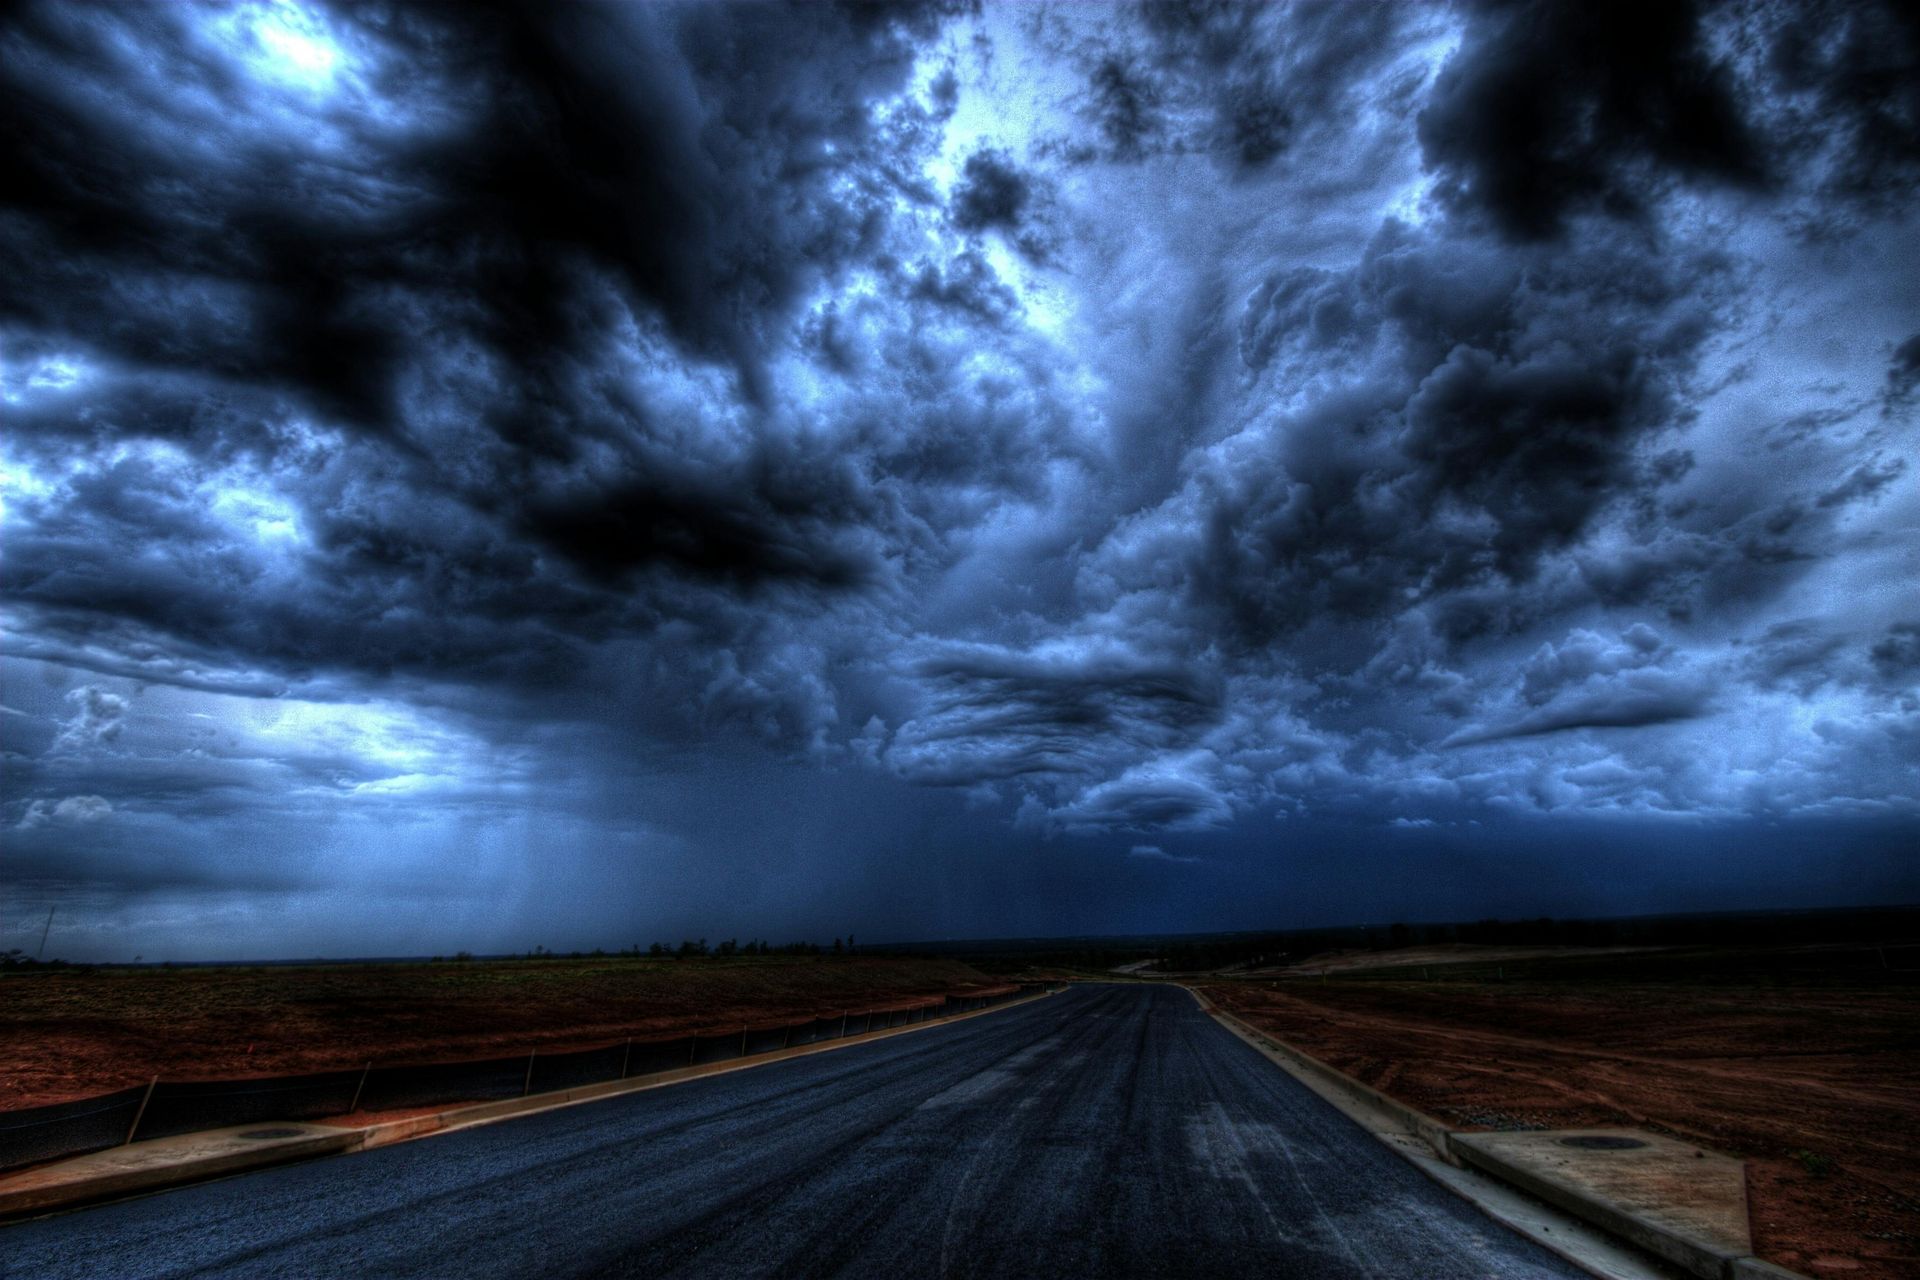
- Pull over and stop driving. This one cannot be overstated. Hail hits hard enough on its own — at 65 mph you are multiplying that impact force significantly with every stone that makes contact. The moment hail begins, find a safe place to stop.
- Get under cover if you can. A gas station canopy, an overpass, a parking garage, a big box store overhang — anything that puts a roof between the sky and your rig buys your membrane real protection. It is worth the detour.
- Position your rig strategically. If cover isn't available, try to angle your RV so the smallest surface faces the storm. Parking nose-in toward the direction of the wind reduces the surface area taking the beating.
- Close your slide-outs. Open slides create additional roof surface and exposed seams. Bring them in before the storm hits if you have any warning at all.
- Stay inside and away from windows. Large hailstones can break RV windows. Get to the interior and let the rig take the hit so you don't have to.
- Check your weather apps religiously during travel days. The best hail protection is not being in it. Apps like RadarScope give you the kind of real-time storm tracking that a basic weather app simply won't.
What Hail Actually Does to an RV Roof
First, let's talk about what you're dealing with.
Hail is not just a cosmetic threat. The impact energy from even small hailstones traveling at speed creates compressive force on your roof membrane & that force that doesn't always leave a visible mark but can absolutely leave a structural one.
What size hail causes damage?
This is where a lot of RV owners get a false sense of security. They hear "golf ball sized hail" and assume anything smaller is harmless. That's not necessarily how it works on an RV roof.
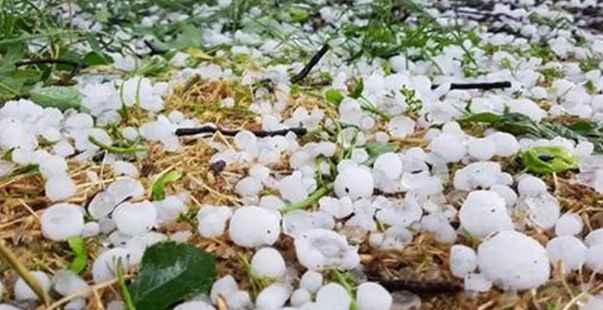
Hailstones as small as a quarter inch, barely larger than a pea, can cause microfractures in rubber EPDM and TPO membranes when they're traveling fast enough. Dime-sized hail hitting a roof at 40 to 50 miles per hour carries significant impact force. Marble-sized hail in a sustained storm doesn't just hit once, it hits hundreds or thousands of times across the entire roof surface.
Here's how to think about damage by size:
- Pea-sized hail (under half an inch) is often dismissed entirely but can cause microfractures in aged or UV-weakened membranes, stress existing sealant, and compromise adhesion at seams and transition points.
- Quarter to golf ball sized hail (half inch to one and three quarter inches) is where visible damage begins — will likely cause denting on metal components, cracking on fiberglass, and more significant membrane stress.
- Golf ball sized and above (one and three quarter inches and larger) -causes obvious, immediate, visible damage that is hard to miss and easy to document.
The problem is that most hail storms don't drop golf balls. They drop pea-sized and marble-sized hail, the kind that leaves your roof looking mostly fine while silently compromising the membrane underneath.

The Hidden Danger: Microfractures
This is the part of the hail damage conversation that almost never gets talked about & it's the part that catches almost everyone off guard.
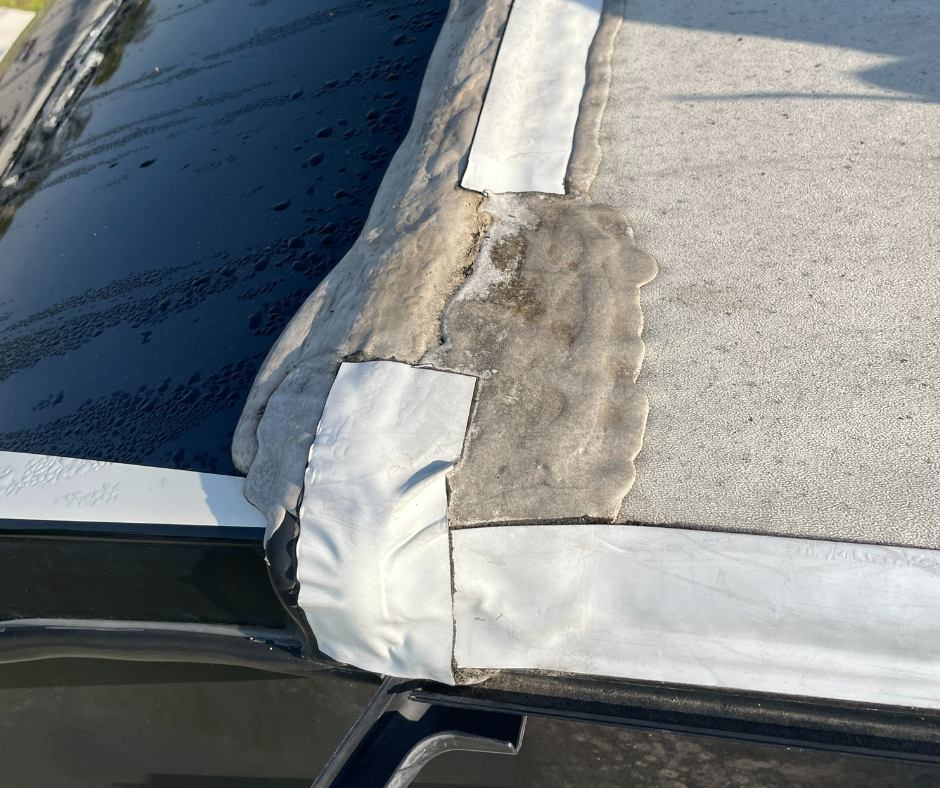
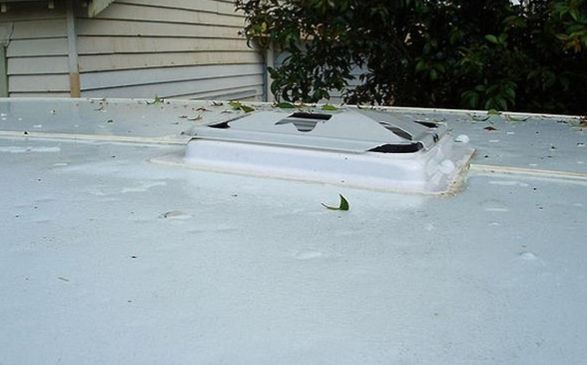
When hail strikes an RV roof membrane, the impact can create microfractures. Tiny, often invisible cracks in the membrane material that the naked eye simply cannot detect. These fractures don't immediately let water in. The membrane holds. You walk the roof, you don't see anything alarming, and you move on.
Microfractures are not stable. They expand with heat, contract with cold, flex with road vibration, and slowly, gradually, become pathways for water intrusion.
Four months later, it's summer & your roof has been through a dozen temperature cycles since the storm. Those microfractures have widened just enough. Water starts finding its way through, not in a visible stream, but in the slow, silent seep that RV roof damage almost always begins as. The water has slowly worked its way into the decking. The decking starts to swell, not all at once but over several months, slowly. You press on a spot that used to feel firm & all of a sudden it seems to give way under your foot.
We saw exactly this play out with one of our own customers. They had significant hail damage, but when they walked the roof after the storm, they genuinely couldn't find anything wrong. No visible tears. No obvious impact marks. Nothing that said "Danger!".
So they did what most of us would do. They moved on.
Then one day, months after the storm, their roof ballooned. Literally lifted and expanded like a balloon being inflated from the inside. (See our post on why that happens and what causes it) There are several reasons an RV roof can do that, and a pinhole can be all it takes. Negative air pressure builds, finds the path of least resistance, and the membrane lets go. In this case, hail had done the work silently, invisibly, long before that moment ever arrived.
Here's the sobering reality: it doesn't matter what kind of membrane roof you have. EPDM, TPO, rubber, and yes, even fiberglass can be impacted by storm damage - if your rig has a standard membrane roof and it has been through a hailstorm, there is a real possibility your roof could easily be carrying invisible damage right now. Not damage you can see. Not damage that's letting water in yet.
But damage that is working toward both of those things with every mile you drive and every temperature swing you roll through.
The storm you remember may not be the problem anymore. The damage you can't see, that's the problem worth worrying about.
By the time you feel that soft spot, the damage has been happening for months. And the hail storm that started it? That was back in the spring. Your insurance claim window may have expired. The connection between cause and damage is now nearly impossible to prove.
This is how RV owners end up paying out of pocket for damage that should have been covered.
Why This Puts You Outside the Scope of an Insurance Claim
Insurance companies work on documentation and timelines. A claim filed the day after a storm with photos, weather reports, and a professional inspection report is a straightforward case. A claim filed five months after a storm because you just noticed your decking is soft & with no documentation of the original event, no professional assessment or one-on-one consultation at the time, and no evidence connecting the hail to the current damage — is probably going to be an uphill battle & many RV owners lose.
The insurance company isn't necessarily acting in bad faith. They're working with what they have at the time you finally file your claim. What they have, is a damage report with no documented connection to a weather event, so they have every reason to treat it as wear and tear rather than storm damage.
The gap between "the hail hit" and "the damage appeared" is exactly where insurance claims fall apart & exactly where proper documentation saves you. The single most important thing you can do after any hail storm, even one that seems minor, is to act immediately & document everything.
Step 1: Document the storm itself the same day.
Pull up a weather service, like RV Weather, Weather Underground, or your local news station. Take the time to screenshot or save the weather report showing hail in your area on that date, from multiple sources. Note the storm time, the hail size reported, and your exact location. This becomes the foundation of your claim and your paper trail. Do this the same day — weather reports get harder to retrieve as time passes.
Step 2: Photograph everything before anything is touched or cleaned.
The moment the storm passes, photograph the hail. It feels unnecessary & maybe a little silly in the moment — but that automatic date and time stamp on your phone creates an undeniable record, and that record matters more than you think when an insurance adjuster gets involved.
Get up on the roof safely and photograph every inch of it. Photograph every vent, every seam, every skylight, every AC unit, every antenna mount. Photograph any denting on metal components, even if it looks minor. Photograph the sidewalls, the front cap, and the rear. More photos than you think you need is always the right answer. Use your phone's timestamp feature and make sure location services are on so the metadata is embedded in the images.
Step 3: Call a professional RV roofing company if you are concerned.
A dealership walk-around is not a roof inspection. It never has been. When you pull into a dealership service bay after a hailstorm, you're likely getting a visual once-over from a general technician whose job is to write up repair orders, not to assess membrane integrity, microfracture patterns, or sealant failure along penetration points. There's no malice in it. It's simply not what they're trained or equipped to do.
What you actually need is someone who will get on the roof. Assess the membrane. Check for microfractures. Evaluate sealant integrity around every vent, skylight, and seam. And then put all of it in writing.
That written report is not just for your peace of mind, it's a document that can be submitted directly to your insurance company as part of a claim. It carries weight because it comes from a specialist, not a general service writer.
Here's a step most people skip — and shouldn't.
Even before you schedule an in-person inspection, send photos to the roofing company and request an estimate. You may never need it. The damage may be minimal. But if it turns out you do need it, you already have documentation in hand with a timeline that supports your claim. That kind of preparation can be the difference between a smooth insurance process and a frustrating one.
And while we're here — let's talk about what not to do.
Don't hand this one over to a handyman. We understand the impulse. They're local, they're available, they're a less expensive alternative, and they've probably fixed plenty of things around the campsite. But RV roofing after a hail event is a different animal entirely.
Companies that specialize in RV roofing know how to write an estimate that insurance adjusters actually respect. They know which photos to take, how to document membrane damage, how to describe microfractures in language that translates to a claim, and how to communicate directly with the insurance company if questions come up during the process. A handyman, no matter how skilled, typically doesn't always have that fluency & a poorly documented claim or an improperly written estimate can cost you far more than the repair itself.
We don't start with a service bay. We start with a phone call.
At RV Roofing Solutions, our initial consultation happens over the phone — a real conversation about your rig, your roof, and what you need. From there we can easily provide an estimate, add your photos to it & if you're ready to move forward, we get a signed contract and deposit in place. That's when we come to you.
You receive a complete inspection report with an assessment of the photos that document your roof's condition from the ground up. That document can be invaluable down the road when insurance claims, weather events, or resale conversations come into play.
Step 4: File your claim promptly — even if damage isn't fully visible yet.
Don't wait to see if damage develops. File the claim, submit your documentation, and put the insurance company on notice that your rig was in a hail event on a specific date. Even if the initial assessment shows limited to no visible damage, having an open or documented claim creates the paper trail you need if additional damage surfaces in the following months. Make sure to specifically mention microfracture risk and request that the assessment include membrane integrity evaluation.
Step 5: Follow up in writing — always.
Every conversation with your insurance company should be followed by an email confirming what was discussed. Every adjuster visit should be documented. Every decision should be in writing. Insurance claims are paper trails — build yours carefully from day one.
The truth is most adjusters are trained to look for visible, obvious damage. They are not always trained in the specific failure patterns of RV roof membranes. When they come to assess your rig, be prepared to advocate for yourself.
Ask them specifically to document microfracture risk in their assessment. Ask whether membrane integrity testing will be performed or whether the inspection is visual only. Ask for their report in writing before you accept or reject any settlement offer. If you have a professional inspection report from an RV roofing specialist, present it. An adjuster's visual assessment and a professional technician's written report carry very different weight & having both protects you.
If your claim is denied or undervalued, you have the right to request a second inspection and to involve a public adjuster who works on your behalf rather than the insurance company's.
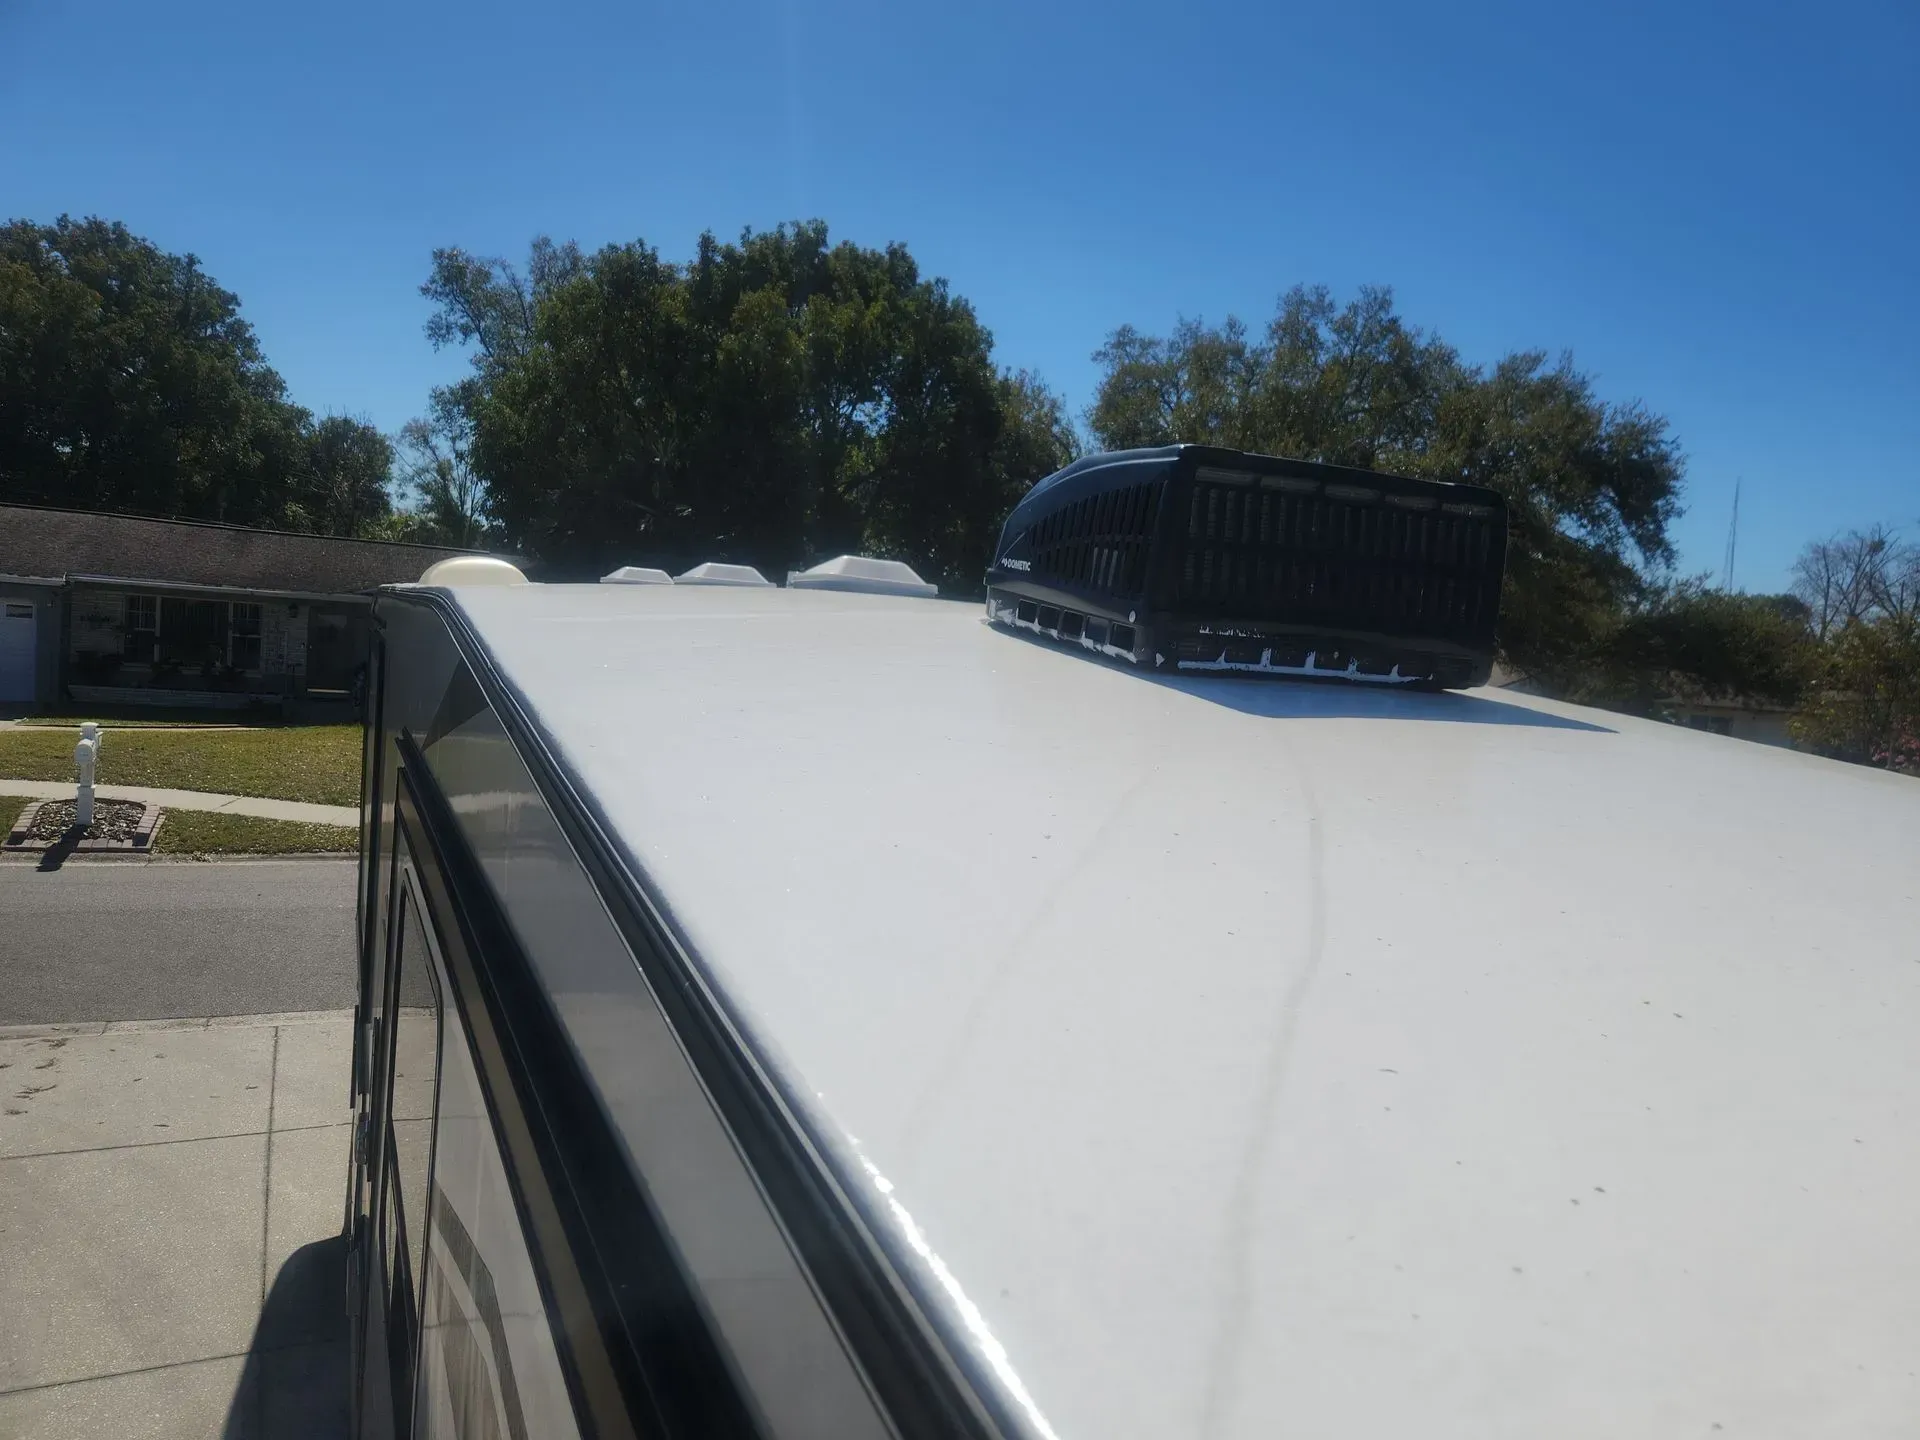
The Inspection You Should Have Done Before Storm Season
The best position to be in after a hail storm is one where you already have a documented baseline for your roof's condition before the storm hit.
A pre-storm season professional inspection gives you a written record of your roof's condition — membrane integrity, sealant condition, any existing areas of concern — against which post-storm damage can be clearly compared. That comparison is exactly what makes an insurance claim airtight.
If you can show an adjuster a professional inspection report from three months ago showing a healthy membrane, and then show them a post-storm report showing new microfractures and compromised sealant, the connection is undeniable. That's not a wear and tear claim. That's a storm damage claim — and it's documented.
After the Claim: Why a Maintenance-Free System Changes Everything
Here's the hard truth about hail and RV roofs: if you have a traditional rubber or TPO membrane, you will always be vulnerable to this cycle. Hail hits. Damage may or may not be visible. Time passes. Problems develop. Claims become complicated.
The RV Roofing Solutions maintenance-free system is engineered with some impact resistance and flexibility that standard RV roof membranes simply don't have. It's designed to handle the stresses that RV life puts on a roof and to maintain its integrity in ways that reduce the microfracture risk that makes hail damage so insidious on traditional membranes.
It also means that when a storm does roll through, you have a documented professional installation record, a 10-year transferable labor and material warranty, and a system that was built to take what the road, and the sky, throw at it.
Hail doesn't have to leave a crater to cause damage. The smallest storms, the lightest hail, the events that look totally survivable on the surface, those are the ones that show up months later as soft decking, swollen seams, and water stains that your insurance company will call a maintenance issue.
Don't let that happen to you.
If your rig has been through a hail event, even a minor one, don't hesitate to get a professional opinion, document everything, and file your insurance paperwork before the clock runs out.
One more thing worth knowing — RV Roofing Solutions attends rallies throughout the year, and when we're there, we offer roof inspections at an affordable rate right on site. No hauling your rig anywhere, no waiting weeks for an appointment. And if you decide to move forward with having an RV Roofing Solutions system installed, that inspection fee gets credited back toward the final cost of your installation.
If you're within 30 miles of Conroe, Texas or Clermont, Florida, we also offer an on-site roof inspection special for just $349.
We come to you. We get on the roof, document everything we find, and deliver a professional inspection report along with 20 to 25 photos — so you have a complete picture of exactly what your roof looks like right now, and documentation in hand if you ever need it for an insurance conversation down the road.
And here's the part that makes this a genuine no-brainer: that $349 inspection fee? When you choose RV Roofing Solutions for your installation, it comes right off the final cost. You're not paying for an inspection on top of your roofing system; you're putting $349 toward the best roof decision you'll make for your rig. You get the documentation, the photos, the professional report, and the peace of mind — and when you move forward with us, the documentation is already in our system.
RV Roofing Solutions. Maintenance Free RV Roofing Systems, Repair, and Protection. We Come to You. www.rvroofingsolutions.com
You might also like
RV Roofing Solutions' Blog