Don't Wait Until It's Too Late: Know the Warning Signs of a Failing RV Roof
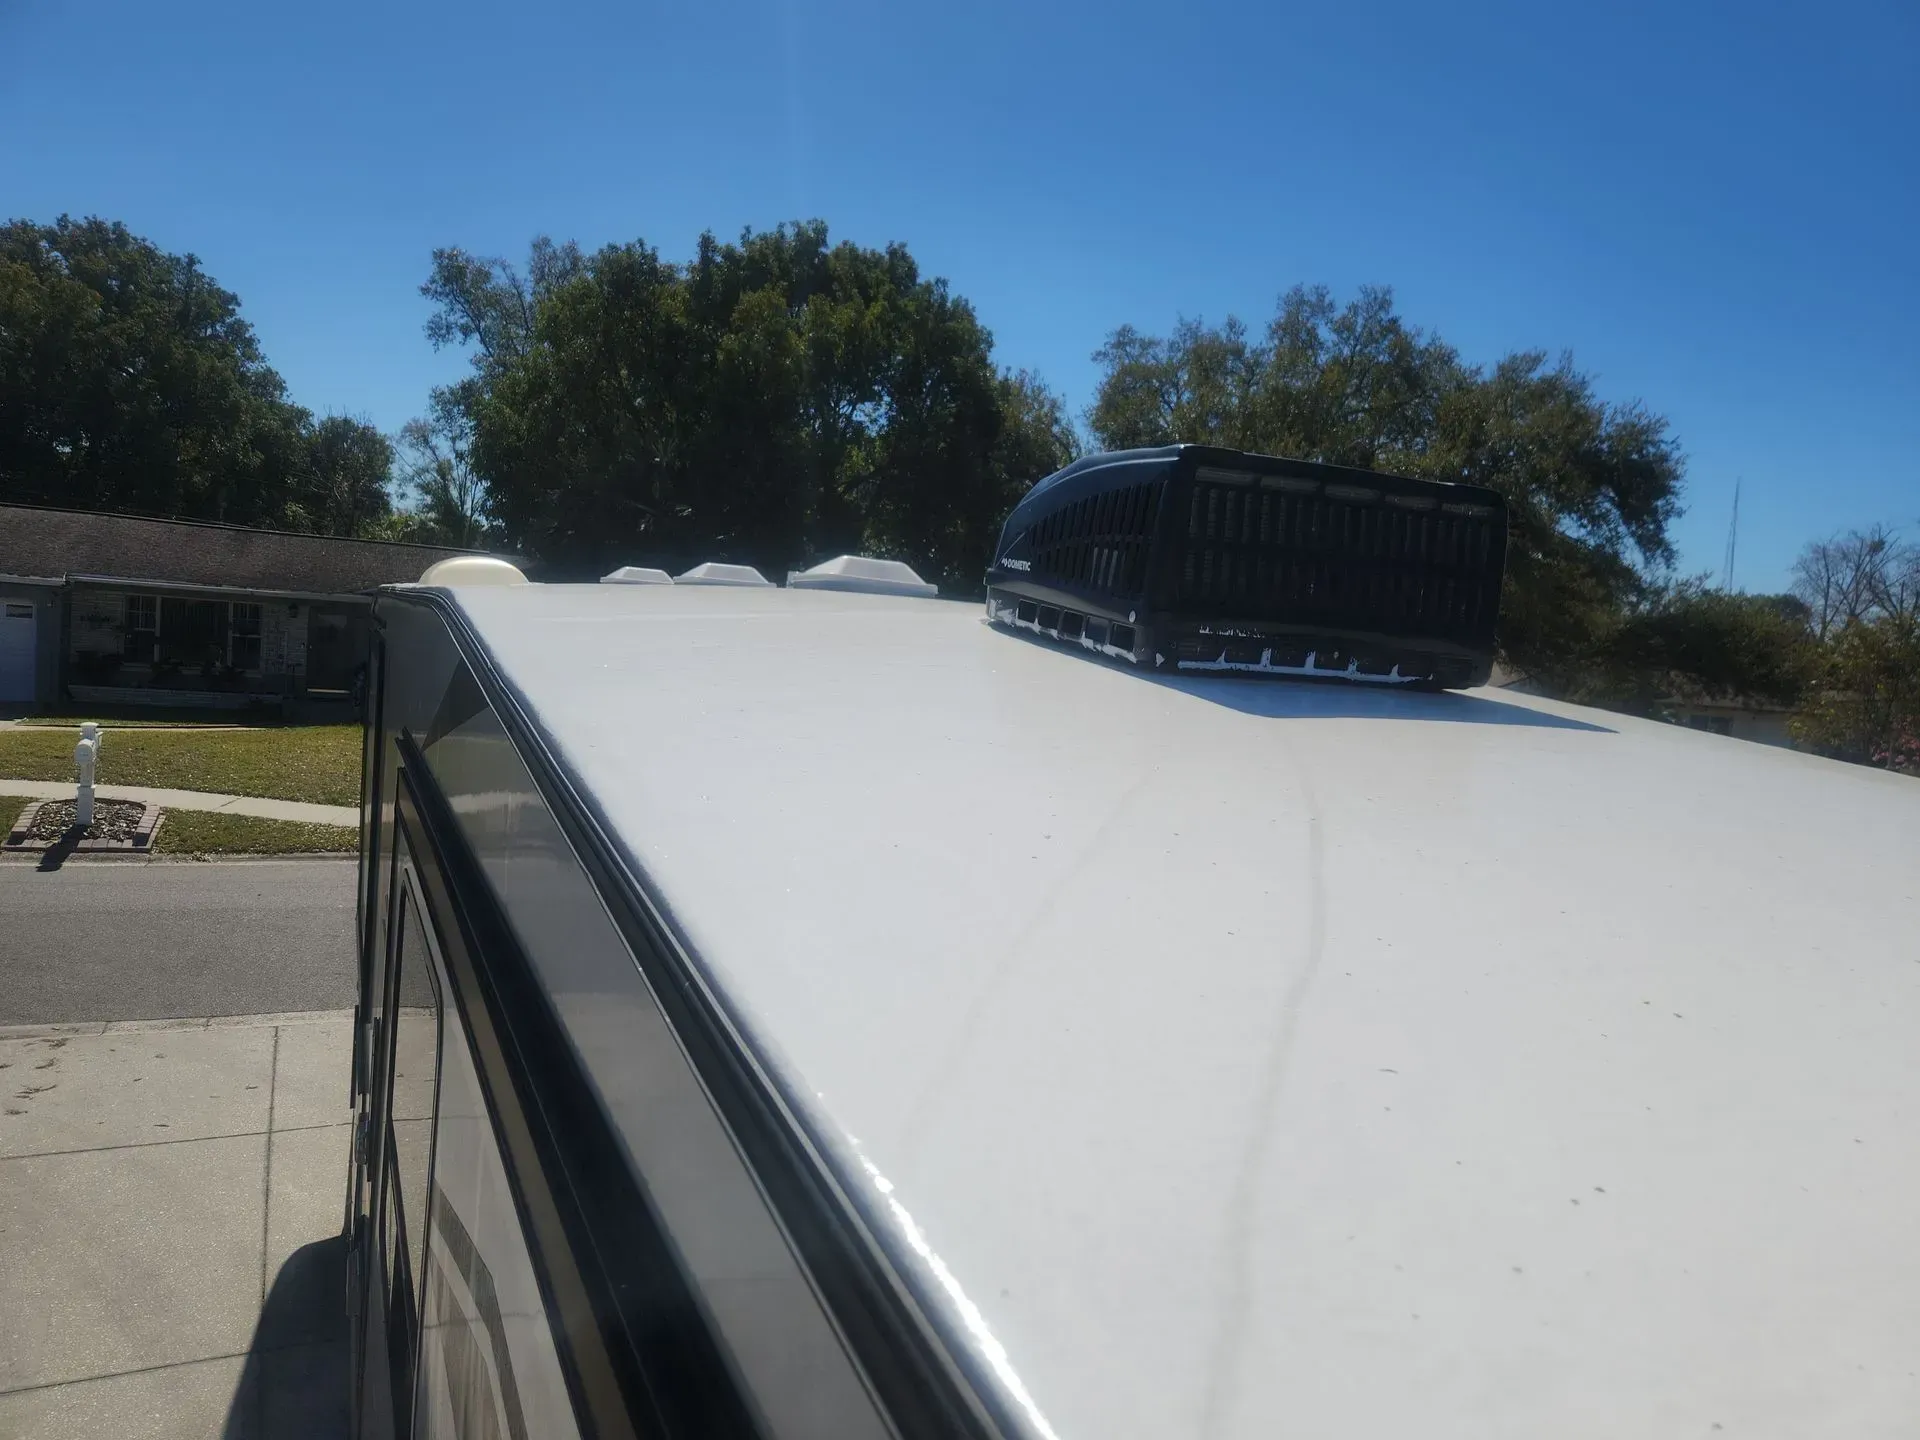
Your RV roof is one of the most critical, and often the most overlooked, components of your rig.
"My Roof Is New" — The Most Expensive Words in the RV World
We hear it constantly at shows and rallies. When most RV owners walk by our booth at a slow or rally when we bring up a roof inspection, or roof maintenance... often within seconds, we hear one of two things: "My roof is new" or "I don't need a new roof."
And here's where it gets interesting. When we hear that, we'll often ask one follow-up question:
When was the last time you had a full peel and seal?
In english that means " When was the last time all your caulk was removed and replaced?"
Blank stares. Silence. Sometimes a confident "it's fine."
A full peel and seal means exactly what it sounds like — the old caulking is completely removed and replaced with fresh sealant. Not patched over. Not touched up. Fully removed and redone. It's the difference between actually protecting your roof and just assuming it's protected.
The answer we hear most often? Never.
Not once in the life of the rig. Not once since they bought it. In many cases, the original factory sealant — which was never meant to last the lifetime of the roof — is still sitting up there, years or decades later, dried out and cracked and doing almost nothing.
Another question we ask is "Do you know the current condition of the existing caulk?"
Here's the hard truth: most RV owners have no idea what condition their roof sealant is actually in. They trust that it's fine. They assume someone would have told them if it wasn't. They think "new roof" means "no problems." And they keep thinking that right up until the moment they're standing in a puddle inside their rig wondering how this happened.
Water is patient. It finds the smallest gap or crack and works it's way in slowly. By the time you see the evidence of water moisture may have already been sitting inside your walls and roof structure for weeks or even months. The sealant is where the real protection lives — and it's the first thing to go.
Why 60% of RV Roofs Already Need Help
Here's a number that stops most RV owners in their tracks.
Every year, RV Roofing Solutions installs our maintenance-free roofing system on brand new RVs — rigs that just rolled off the lot, never been rained on, never been down a rough road. And in 60% of our installations every year, we find that the factory roof doesn't have a single leak or visible issue.
So why are those owners doing it?
Because they understand something that takes most RV owners years & often an expensive water damage claim... to learn: the best time to protect your roof is before it ever has a problem.
That 60% isn't a failure statistic. It's a success story. Those are RV owners who decided not to wait for a soft spot, a water stain, or a musty smell to tell them something was wrong. They invested in protection before the problem had a chance to start, and in doing so they essentially removed roof failure from the list of things they'll ever have to worry about.
The other 40%? Those installs uncovered issues that were already developing — dried sealant, minor membrane concerns, decking that had to be replaced, or factory seams that weren't going to hold up for the long haul — that the owner had no idea existed. Caught early, those were manageable fixes. Left alone for another season or two, several of them would have become serious, expensive repairs.
Your roof doesn't send you a calendar invite when it's about to fail. It just fails. And the gap between "everything looks fine" and $12,000-15,000 in water damage problem can be as small as one rainy season.
The Peel & Seal Math Nobody Talks About
Here's something most RV owners don't know: a full peel and seal — where the old caulking is completely removed and replaced, not just patched — should be done every 12 to 18 months to maintain real protection. Not a touch-up. A full removal and replacement of all sealant at every seam, vent, and penetration point on your roof.
Costs vary across the country, but when you do that math over time it tells a story that stops people cold.
Do a proper peel and seal every 12 to 18 months, and by the time you've had it done five times over the next several years, you've often spent as much as our maintenance-free system costs. Sometimes more. And you still have a roof that needs to be done again.
With our maintenance-free system, you pay once. You don't schedule the next appointment. You don't wonder if the sealant is holding. You don't find out two seasons later that it wasn't. You just travel.
We're not saying the math works out exactly the same for everyone, costs can and do vary by region, by rig size, by who's doing the work.
But we've seen it play out enough times to say with confidence: for a lot of RV owners, the maintenance-free system doesn't cost more than the alternative. It just feels like it does, until you run the numbers. The difference is that one option buys you protection, and the other buys you maintenance. Only one of those lets you think about something other than your roof.
Why RV Roof Damage Is More Serious Than You Think
Water is patient. It finds the smallest crack, the tiniest gap, the loosest seal — and it works its way in slowly, silently, and steadily. By the time you see a water stain on your ceiling, moisture may have already been sitting inside your walls and roof structure for weeks or even months.
The consequences of ignored roof damage include rotted roof decking, delaminated walls, mold and mildew growth, damaged electrical systems, compromised insulation, and structural failure that can total a rig entirely.
And the cruel irony? Most of it was preventable — if only someone had explained what to look for and when to look for it.
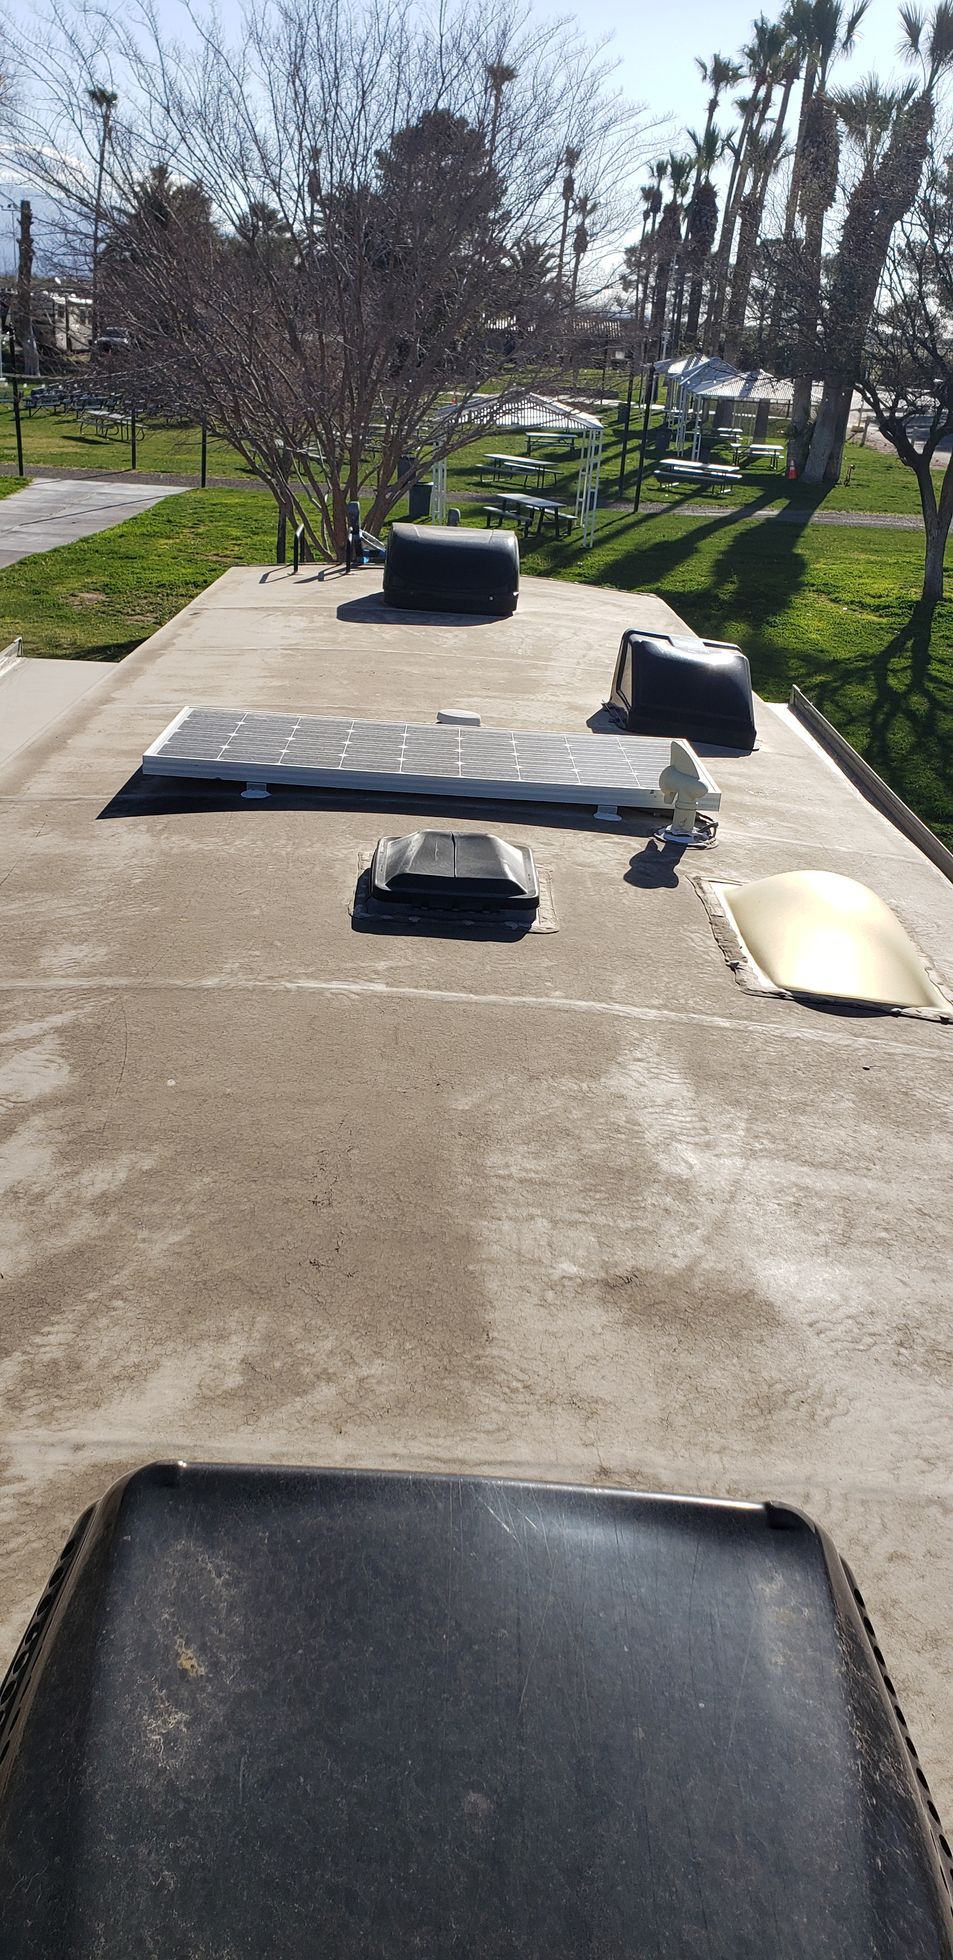
10 Warning Signs Your RV Roof Needs Immediate Attention
1. Visible Cracks, Tears, or Punctures in the Roofing Material Rubber
(EPDM and TPO), fiberglass, and aluminum roofs all develop cracks over time from UV exposure, temperature swings, and physical impact. Even a hairline crack is an open door for water intrusion. Most RV owners never see these because they rarely get up on their roof. If you see any break in the surface material, treat it as urgent.
2. Soft Spots or Spongy Areas When Walking the Roof
Healthy roof decking should feel solid and firm. Softness means moisture has already penetrated and begun breaking down the wood or composite decking underneath the membrane. This is structural damage that will only worsen with time and weight.
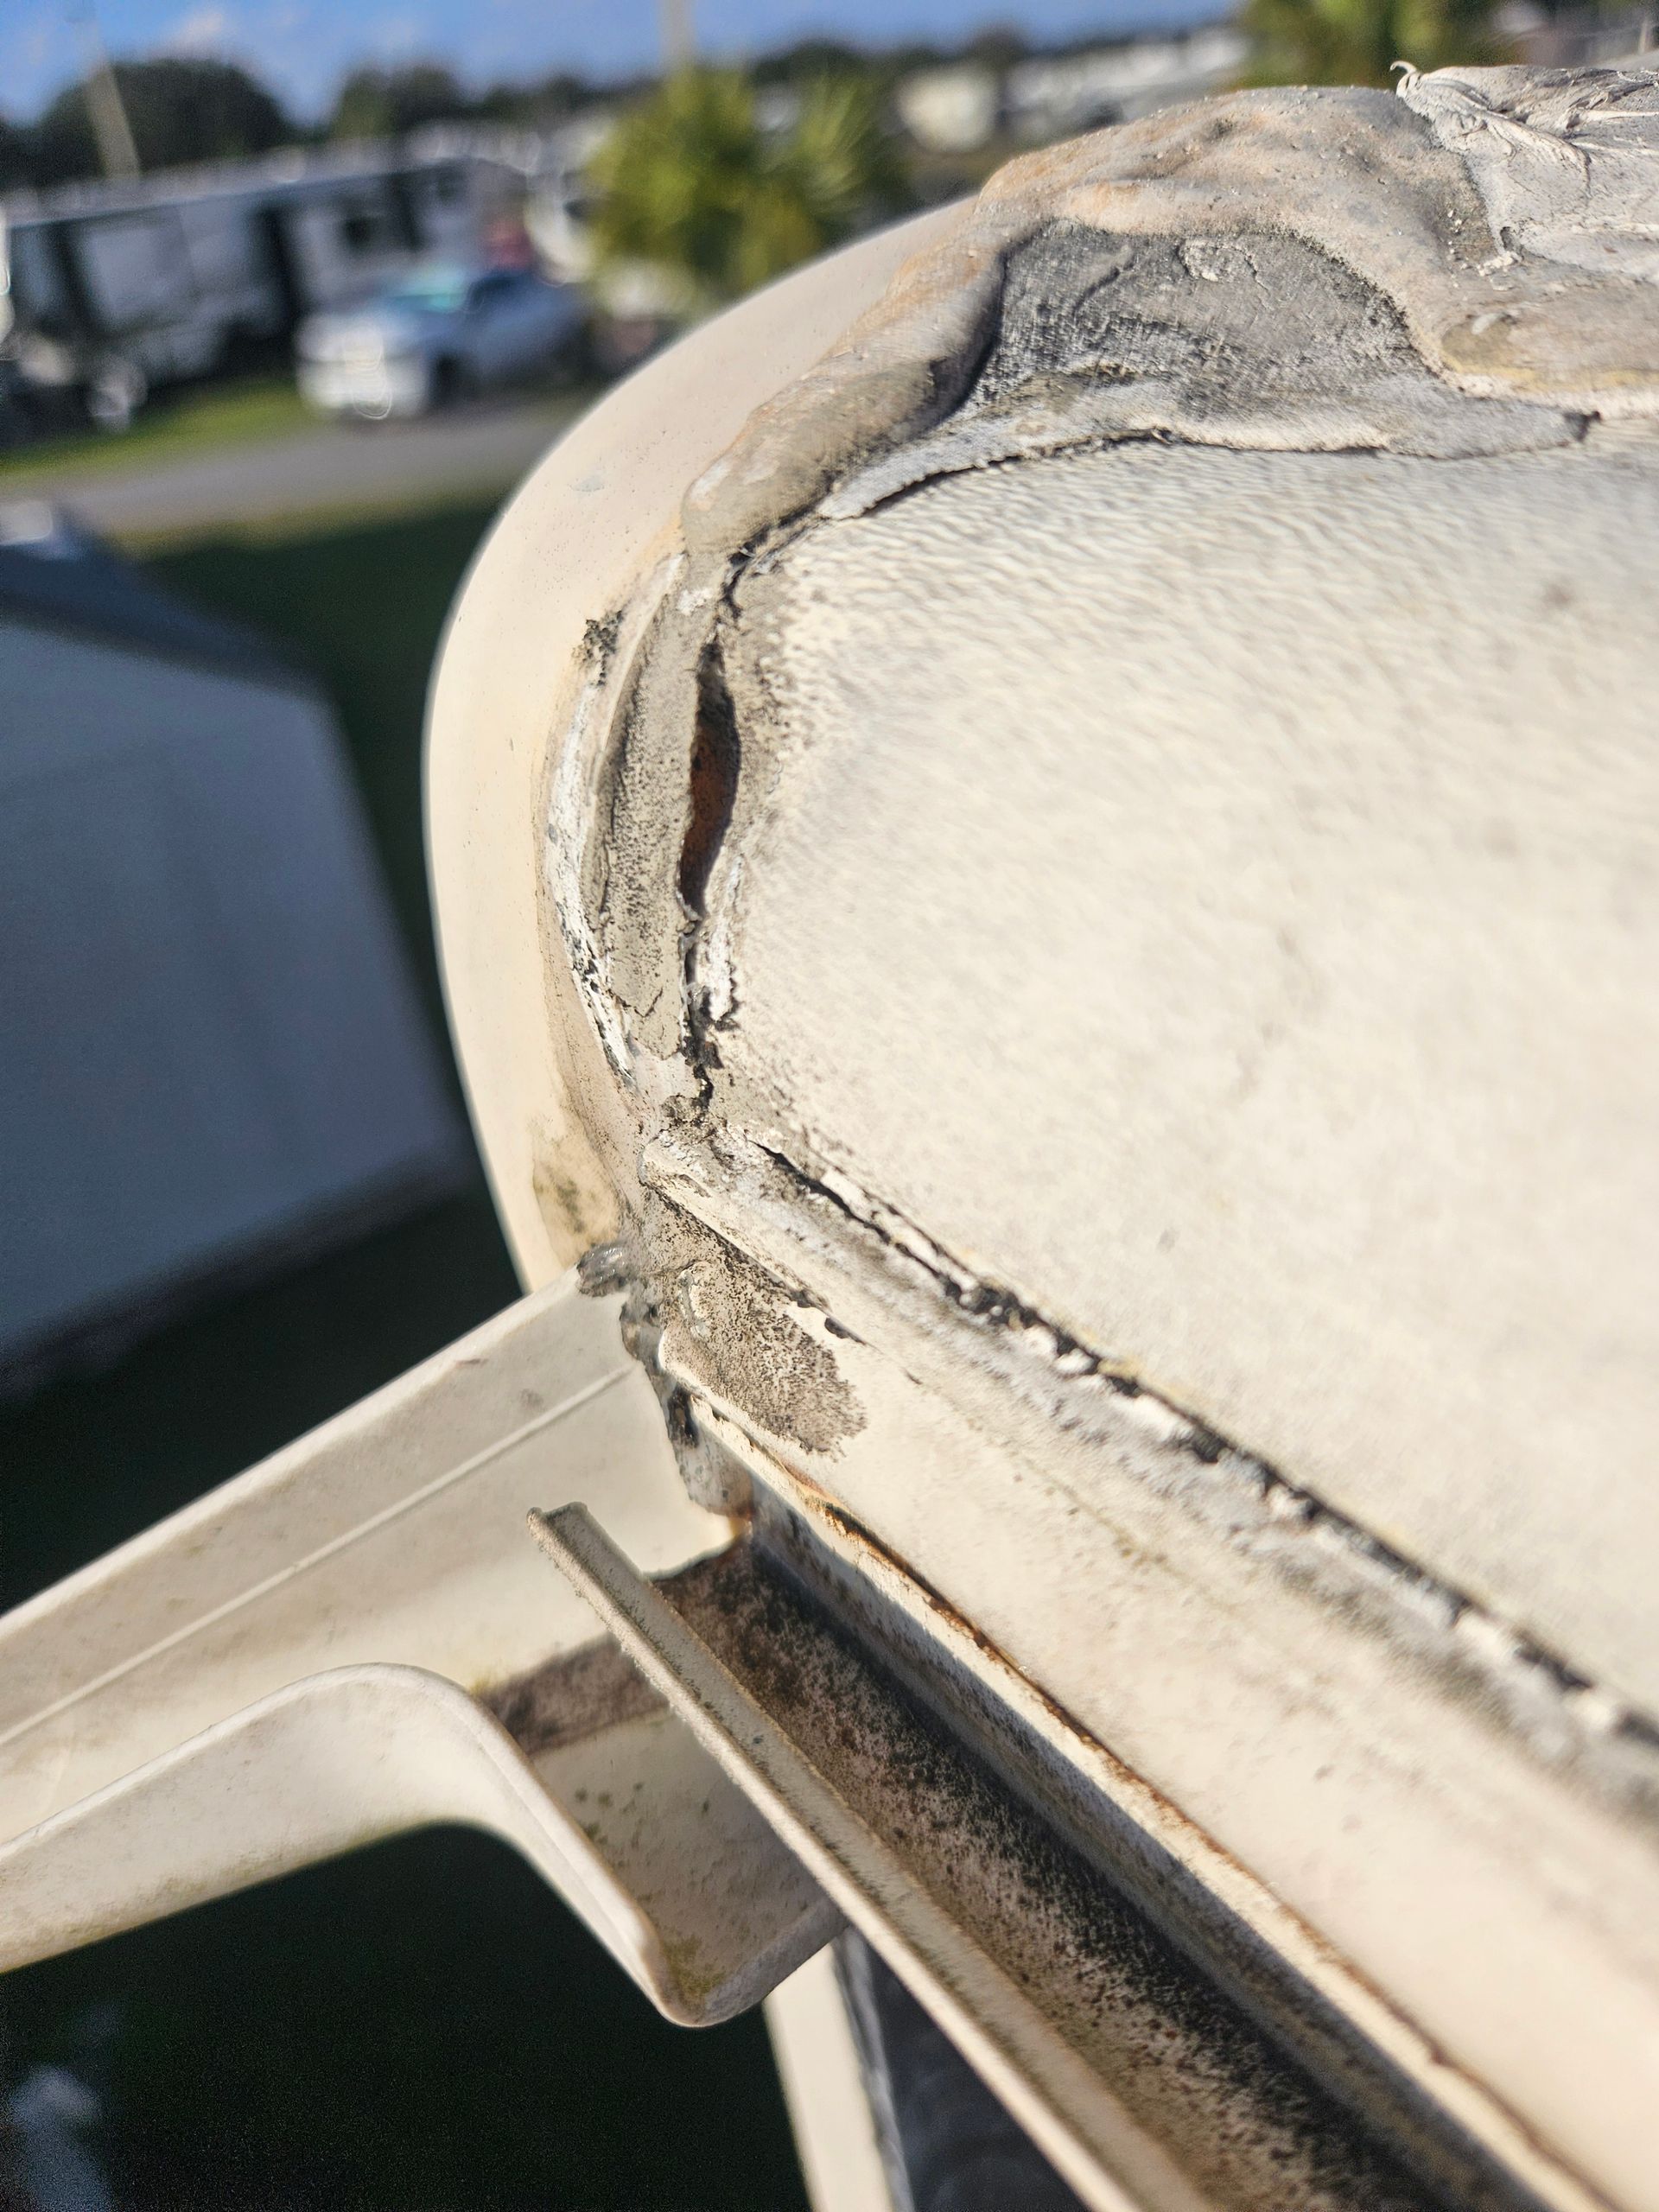
3. Bubbling, Lifting, or Peeling Roof Membrane
A rubber or TPO membrane that is bubbling, lifting at the edges, or peeling away has lost its adhesion. Once the membrane separates from the decking, water has an easy path underneath. Bubbling can also indicate that moisture is already trapped beneath the surface and actively causing damage from the inside out.
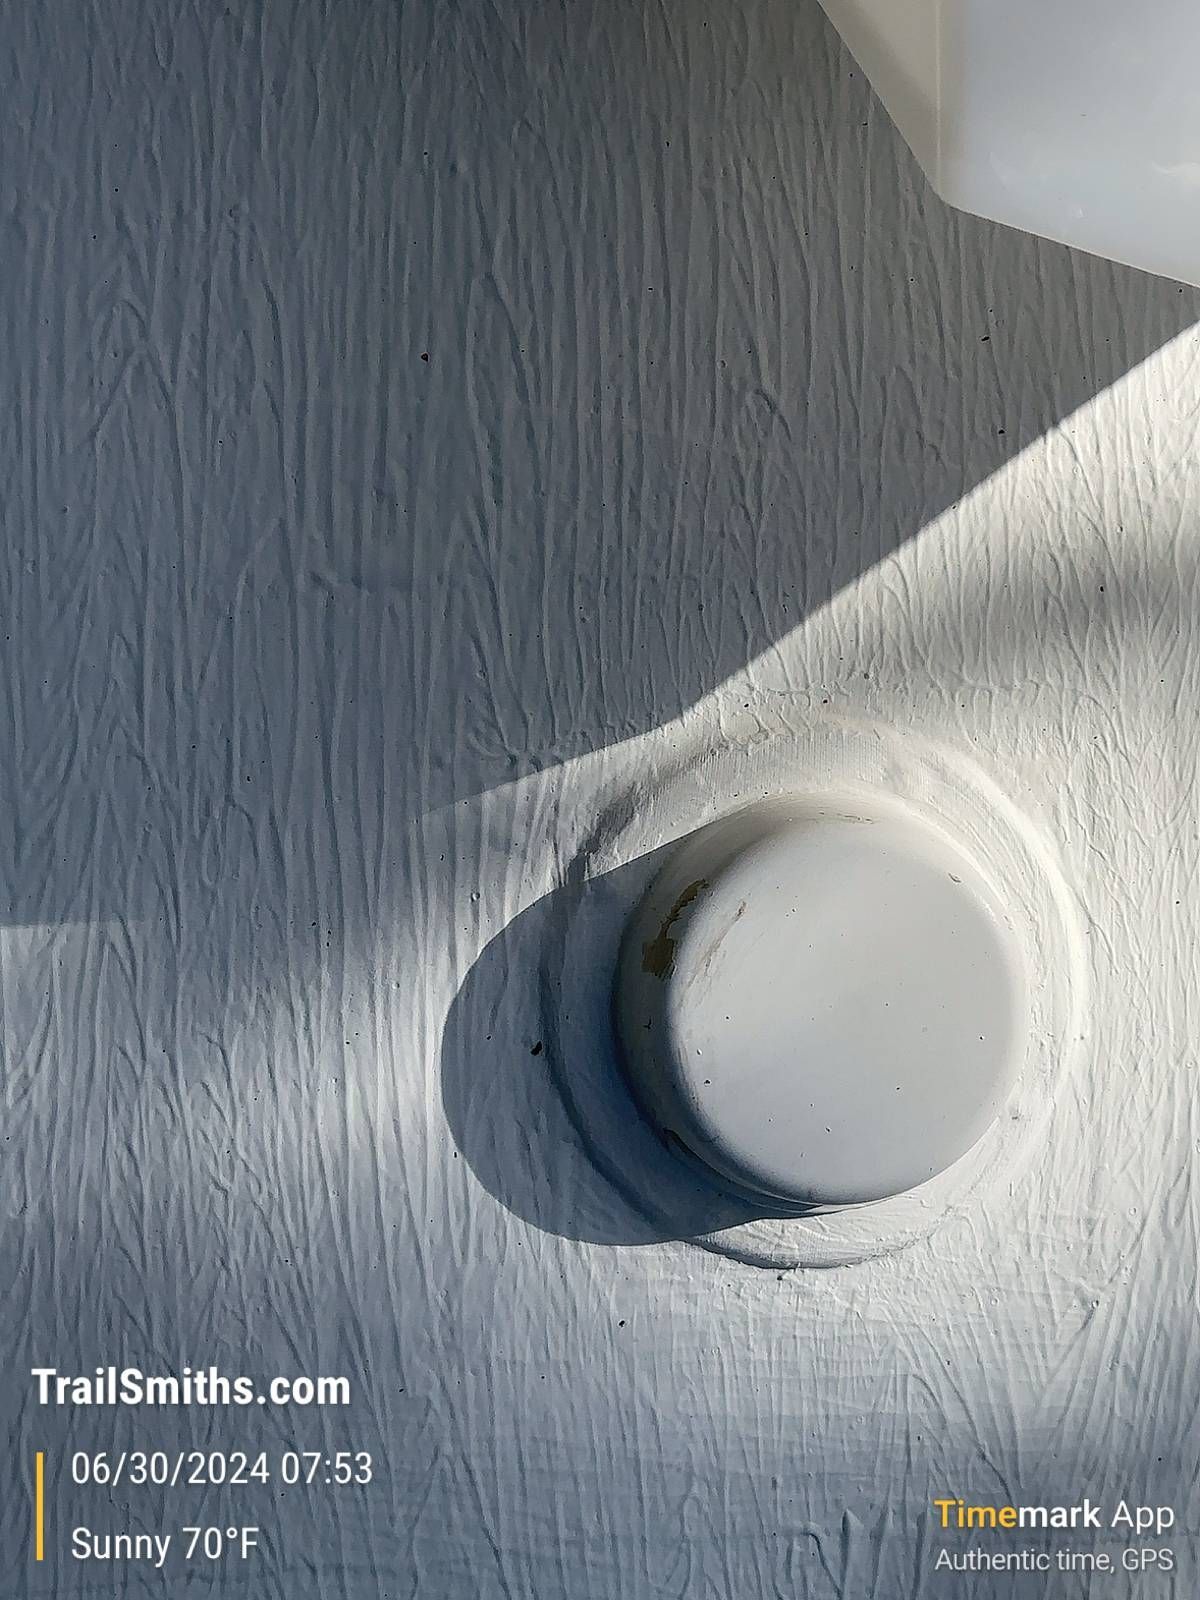
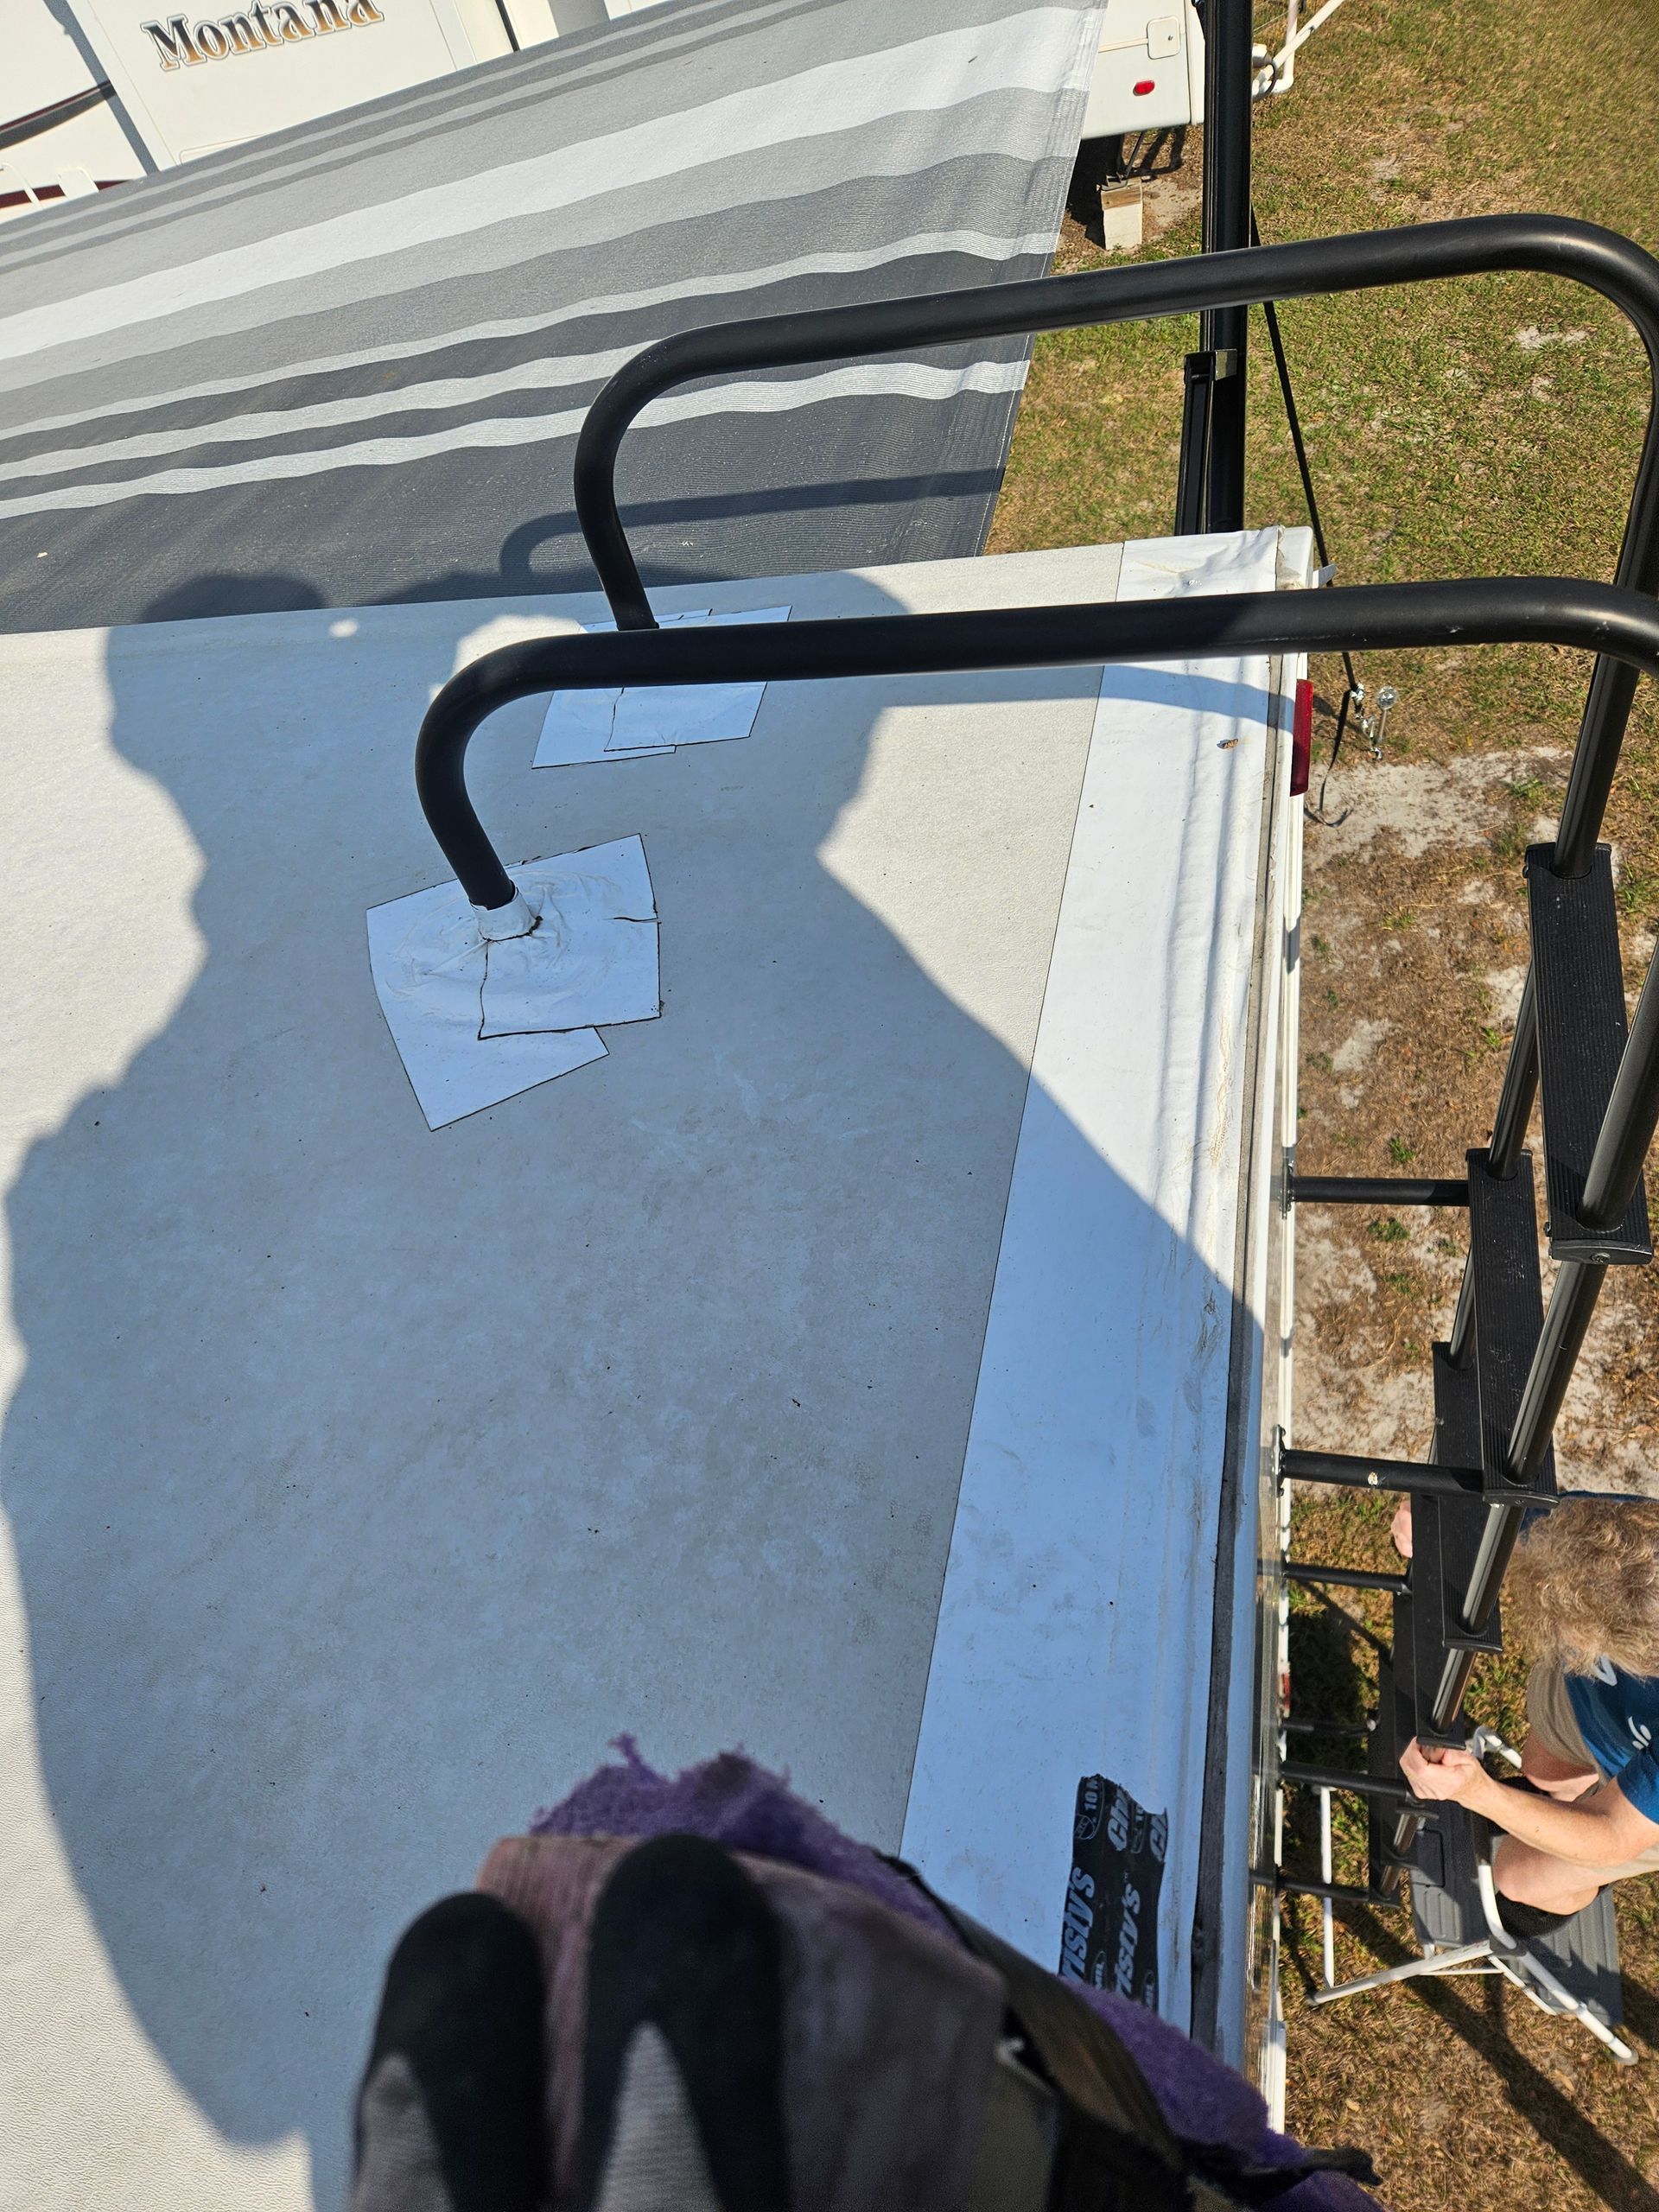
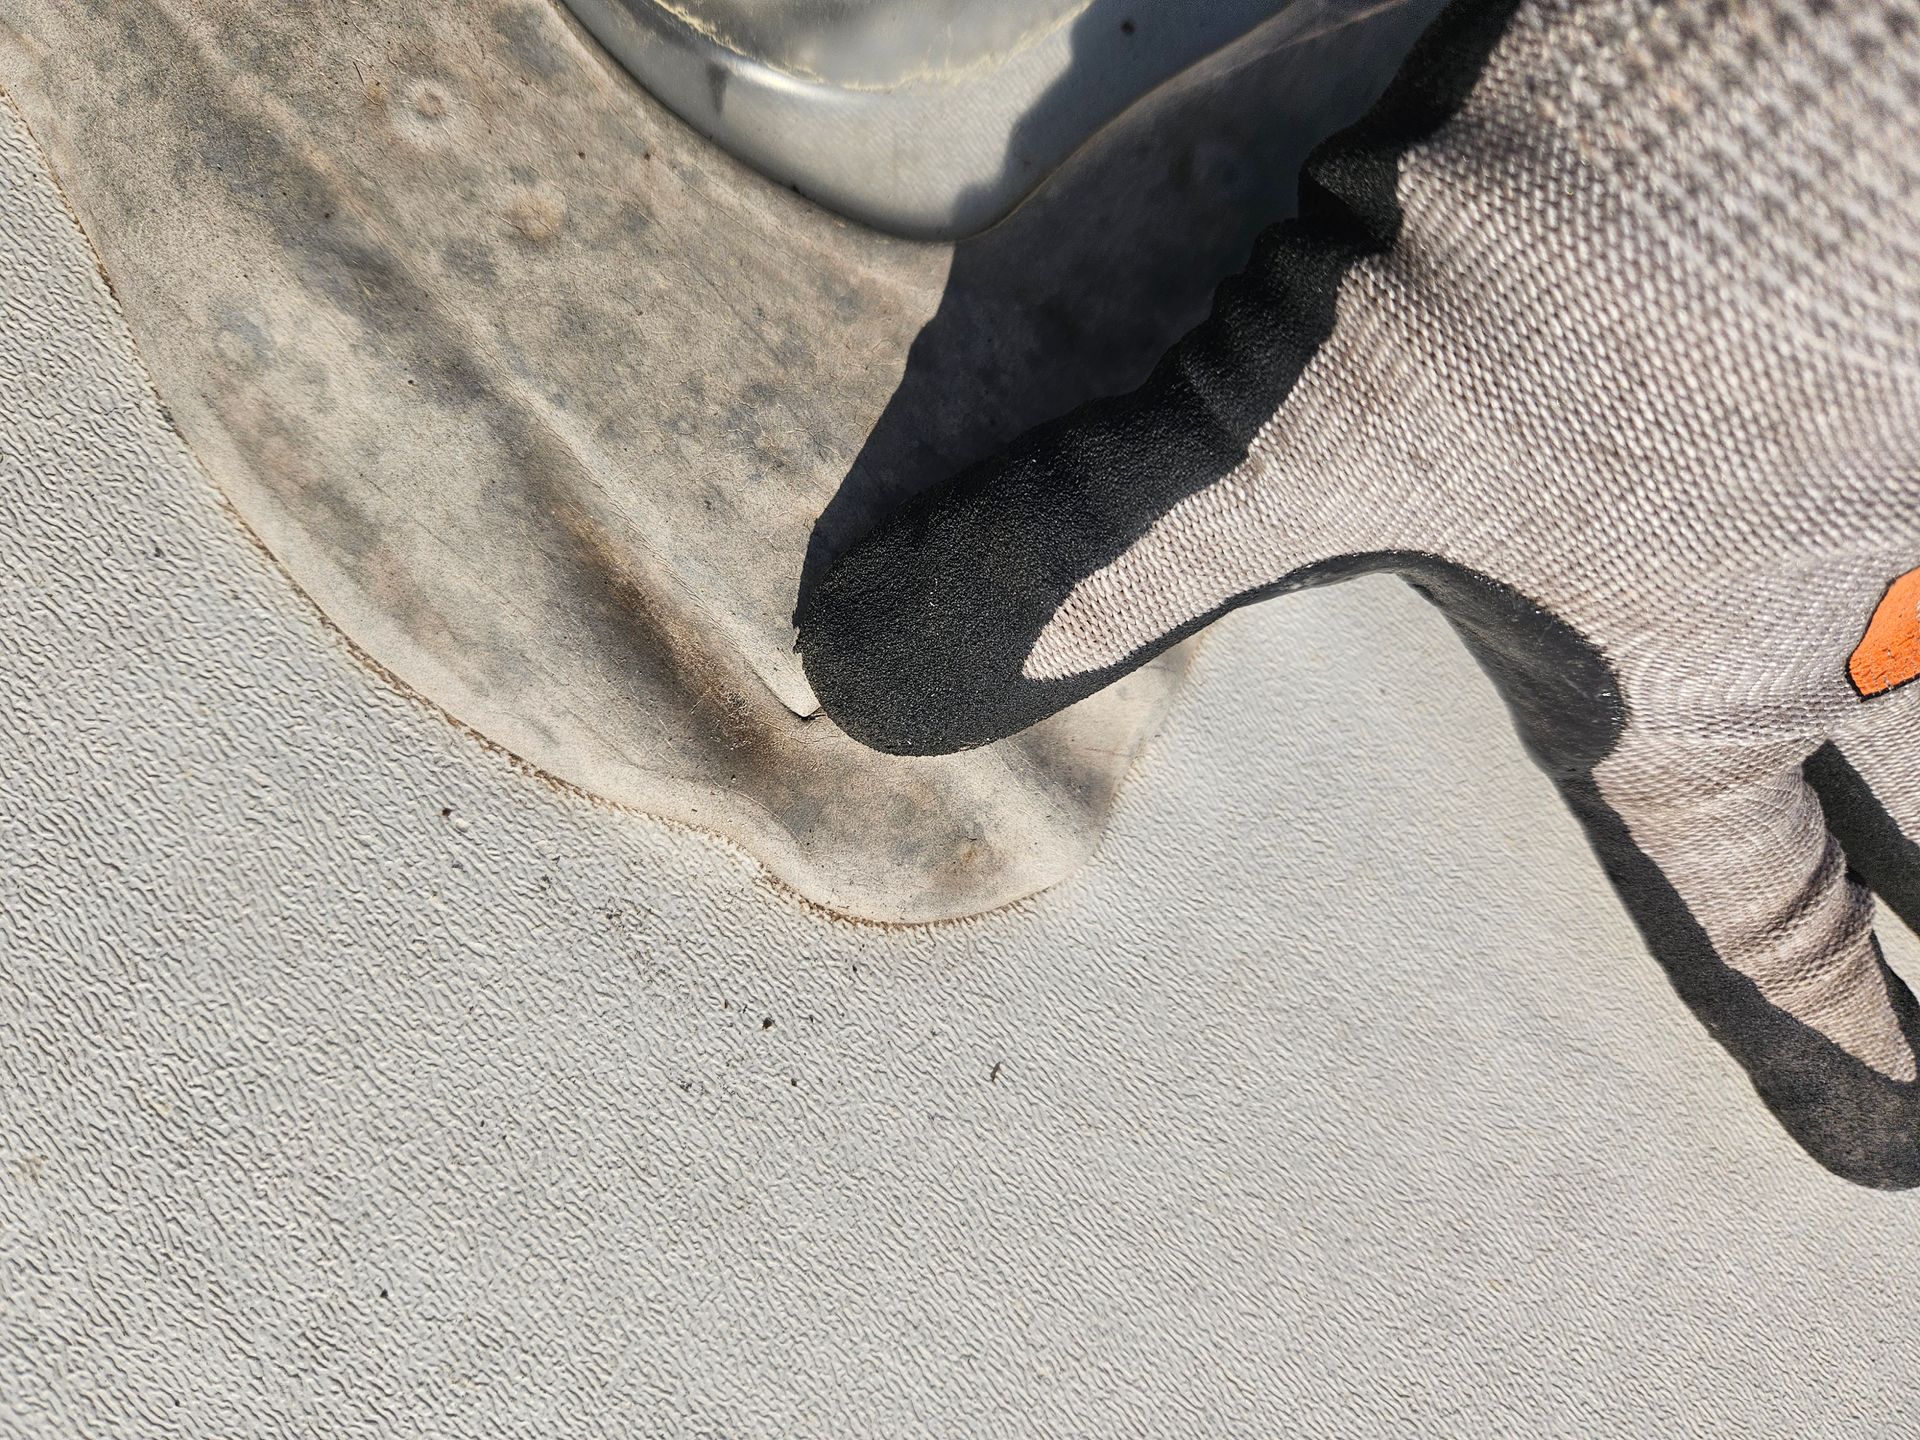
4. Cracked, Dried Out, or Missing Sealant Around Vents, Skylights, and Seams
RV sealant is designed to remain flexible, but UV exposure and age cause it to dry out, crack, and pull away. Cracked or missing sealant around any roof penetration should be considered an active leak risk — even if you haven't seen water inside yet.
5. Water Stains on Interior Ceilings or Walls
Brown or yellow staining on your interior ceiling or upper walls is one of the clearest signs that water has already entered your rig. The stain rarely appears directly below the source — water travels along rafters and structural members before dripping down. If you see interior staining, the actual entry point may be several feet away from where the damage appears.
6. Delamination on Exterior Walls
Bubbling, waviness, or separation between the outer fiberglass skin and the wall beneath it is delamination — and it's almost always caused by water intrusion from above. It gets worse rapidly. Catching it early is critical. In advanced cases the wall itself can begin to bow or flex in ways that compromise the entire structure of the rig. At that point, you are no longer talking about a wall repair. You are talking about a structural restoration that can cost as much as the RV is worth, or more.
7. Mold, Mildew, or Musty Odors Inside the RV
A persistent musty smell, even after airing out, is often the first sensory clue of hidden moisture damage. Mold and mildew thrive in the dark, damp spaces inside walls and ceiling cavities where a slow roof leak is feeding them.
8. Rust Stains or Discoloration Around Roof Fixtures
On metal-roofed RVs, rust streaking around vents, brackets, or seams indicates water has been sitting long enough to corrode fasteners or metal components. On any roof type, dark staining or discoloration around fixture points to a compromised seal.
9. Daylight Visible Through Roof
Seams or Around Fixtures Get inside your RV on a bright day, close all the blinds, turn off the lights, and look up. Any pinprick of light coming through a seam, around a vent, or near a skylight edge means you have an opening. If light can get in, so can water.
10. Age and Lack of Maintenance History
Most RV roof membranes have a functional, realistic lifespan of 10 to 20 years, depending on material, climate, and maintenance. If your rig is approaching or past that window and you don't have a documented history of regular inspections and resealing, the roof should be considered at risk regardless of how it looks from the ground.
The RV Roof Inspection Checklist
Make this part of your pre-season and post-season routine:
- Walk the entire roof surface looking for cracks, tears, or membrane separation
- Press gently in multiple spots to check for soft or spongy decking
- Inspect all sealant around every vent, skylight, AC unit, antenna, and seam
- Check interior ceilings and upper walls for any staining or discoloration
- Look at exterior sidewalls for signs of delamination
- Check inside cabinets and overhead storage near the roofline for moisture or mold
- Note the age of your roof membrane and the last time sealant was fully refreshed
What to Do If You Find Warning Signs
Don't ignore it and don't delay.
Even small issues compound quickly once water finds a path inside.
If the damage is limited to sealant failure, a professional reseal can often stop the problem in its tracks. If you're seeing soft spots, delamination, or interior staining, a full professional inspection is necessary to assess the extent of moisture damage before any repair begins. In cases of widespread membrane failure or severe structural damage, a full roof replacement may be the right solution — and catching it before it cascades into wall damage makes that repair significantly less expensive.
The Bottom Line
The RV industry owes its owners better education on roof care. Until that changes & until there are standardized guidelines, certified inspection protocols, and consistent product education that every owner receives when they drive off the lot, the responsibility falls on you to seek out trustworthy information and act on it before the water does.
Don't rely on the dealership that sold you the rig. Don't trust a comment thread to give you a definitive answer. And don't assume that because your roof looks fine from the driveway, everything is fine up there.
Get eyes on it. Get a professional assessment if you have any doubt. And if someone at a rally or a show asks you when the last time you had a full peel and seal was, don't give them a blank stare.
At RV Roofing Solutions, we specialize in diagnosing and repairing every type of RV roof — rubber, TPO, EPDM, PVC, fiberglass, and aluminum. We work with RV owners at every stage, from routine maintenance to emergency repairs to full replacements.
Contact us for a one-on-one consultation and let us help you get back on the road with confidence. 📞 888-847-7010
RV Roofing Solutions — Professionally Installed Maintenance-Free RV Roofing Systems & Expert RV Roof Repair
You might also like
RV Roofing Solutions' Blog