Silicone RV Roof Coatings: What Can Really Happen Under the Surface
What You Need to Know Before you use a silicone coating of any kind
Can Silicone Roof Coatings Develop Pinholes?
This is one of the most common questions we hear, and one of silicone's sneakiest problems. The short answer is yes. A silicone coating can develop microscopic pinholes or separations over time, and here's what makes that particularly frustrating: you usually can't see them. Not with a casual inspection, not even with a close one. They're there, doing damage, and your roof looks completely fine from every angle.
Water finds these entry points, because water always finds the entry points, and once it gets underneath the coating, and it's trapped. And we mean genuinely trapped. The very property that makes silicone look so good up there, that smooth, sealed, beautiful surface, is the same property that locks moisture against your roof decking with absolutely nowhere to escape. It just sits there. Quietly. Doing what moisture does.
We had a client whose silicone coating looked absolutely beautiful despite being dangerously slick when wet. No visible issues. No obvious red flags. But the soft spots developing beneath the surface told a completely different story. The coating above was doing its job visually. The wood below was paying the price.
And here's the part that really stings: you can't patch a silicone roof well, because nothing sticks to silicone. Not even more silicone. So when pinholes develop, your options get complicated fast. We'll dive into that a little further in this blog — because it's one of the most important things RV owners need to understand before they go the silicone route.
Does Silicone Repel Heat? The "Cool Roof" Claim vs. Reality
White silicone coatings are heavily marketed as "cool roofs" because they can reflect a significant percentage of the sun's UV rays. On the surface—literally—silicone does repel a meaningful amount of solar heat, and that part is true. It's one of the main selling points manufacturers lean on heavily.
But here's what doesn't make it into the marketing brochures.
Once silicone separates from the decking, which on an RV is a matter of when, not if, that air gap between the coating and the wood creates a very different thermal situation. The silicone above may be reflecting heat away from the top surface, but it's simultaneously sealing in warmth, moisture, and trapped air against the decking below. The result is essentially a slow cooker effect that the wood underneath never gets relief from.
Think of it like wrapping something in plastic wrap and leaving it in a warm car. The plastic might be somewhat reflective on the outside, but what's underneath stays warm, moist, and completely sealed off from any chance to breathe or dry out.
Blistering and bubbling are direct results of this process—moisture trapped beneath or within the silicone coating reduces adhesion and leads to premature failure. And once those blisters and separations form, that hidden environment between the silicone and the wood becomes a consistent source of accelerated decay that the surface appearance will never reveal until it's far too late.
Nothing Sticks to Silicone. Not Even More Silicone.
This is perhaps the most critical thing we can tell any RV owner considering a silicone roof coating, or anyone already living with one.
When it's time to recoat, repair, or replace a silicone-coated RV roof for any reason, every single bit of that silicone has to come off first.
Not most of it. Not just the loose or damaged sections. All of it.
And even after removal, the residue that was often left behind can still prevent proper adhesion, which means additional surface needs more preparation before anything new can go down.
Nothing bonds to silicone. Not paint. Not sealants. Not adhesives. Not acrylic coatings. Not urethane systems. And perhaps most surprisingly, not even more silicone. The same chemical properties that make silicone water-resistant make it nearly impossible to coat over, patch, or permanently adhere anything to.
On a full-sized RV roof, complete silicone removal is a major, labor-intensive job that adds substantial cost to what was already going to be a significant project. You're not just paying for the new roof system—you're paying for the hours of work required to undo the old one before the new one can even begin.
So when you see an advertisement promising an easy, affordable, one-day silicone coating solution, remember this: the day you need to move past that decision, you'll be starting completely from scratch. And starting from scratch on a silicone roof costs significantly more than starting from scratch on a roof that was never coated with silicone in the first place.
It's not just a coating choice. It's a long-term commitment with a potentially very expensive exit.
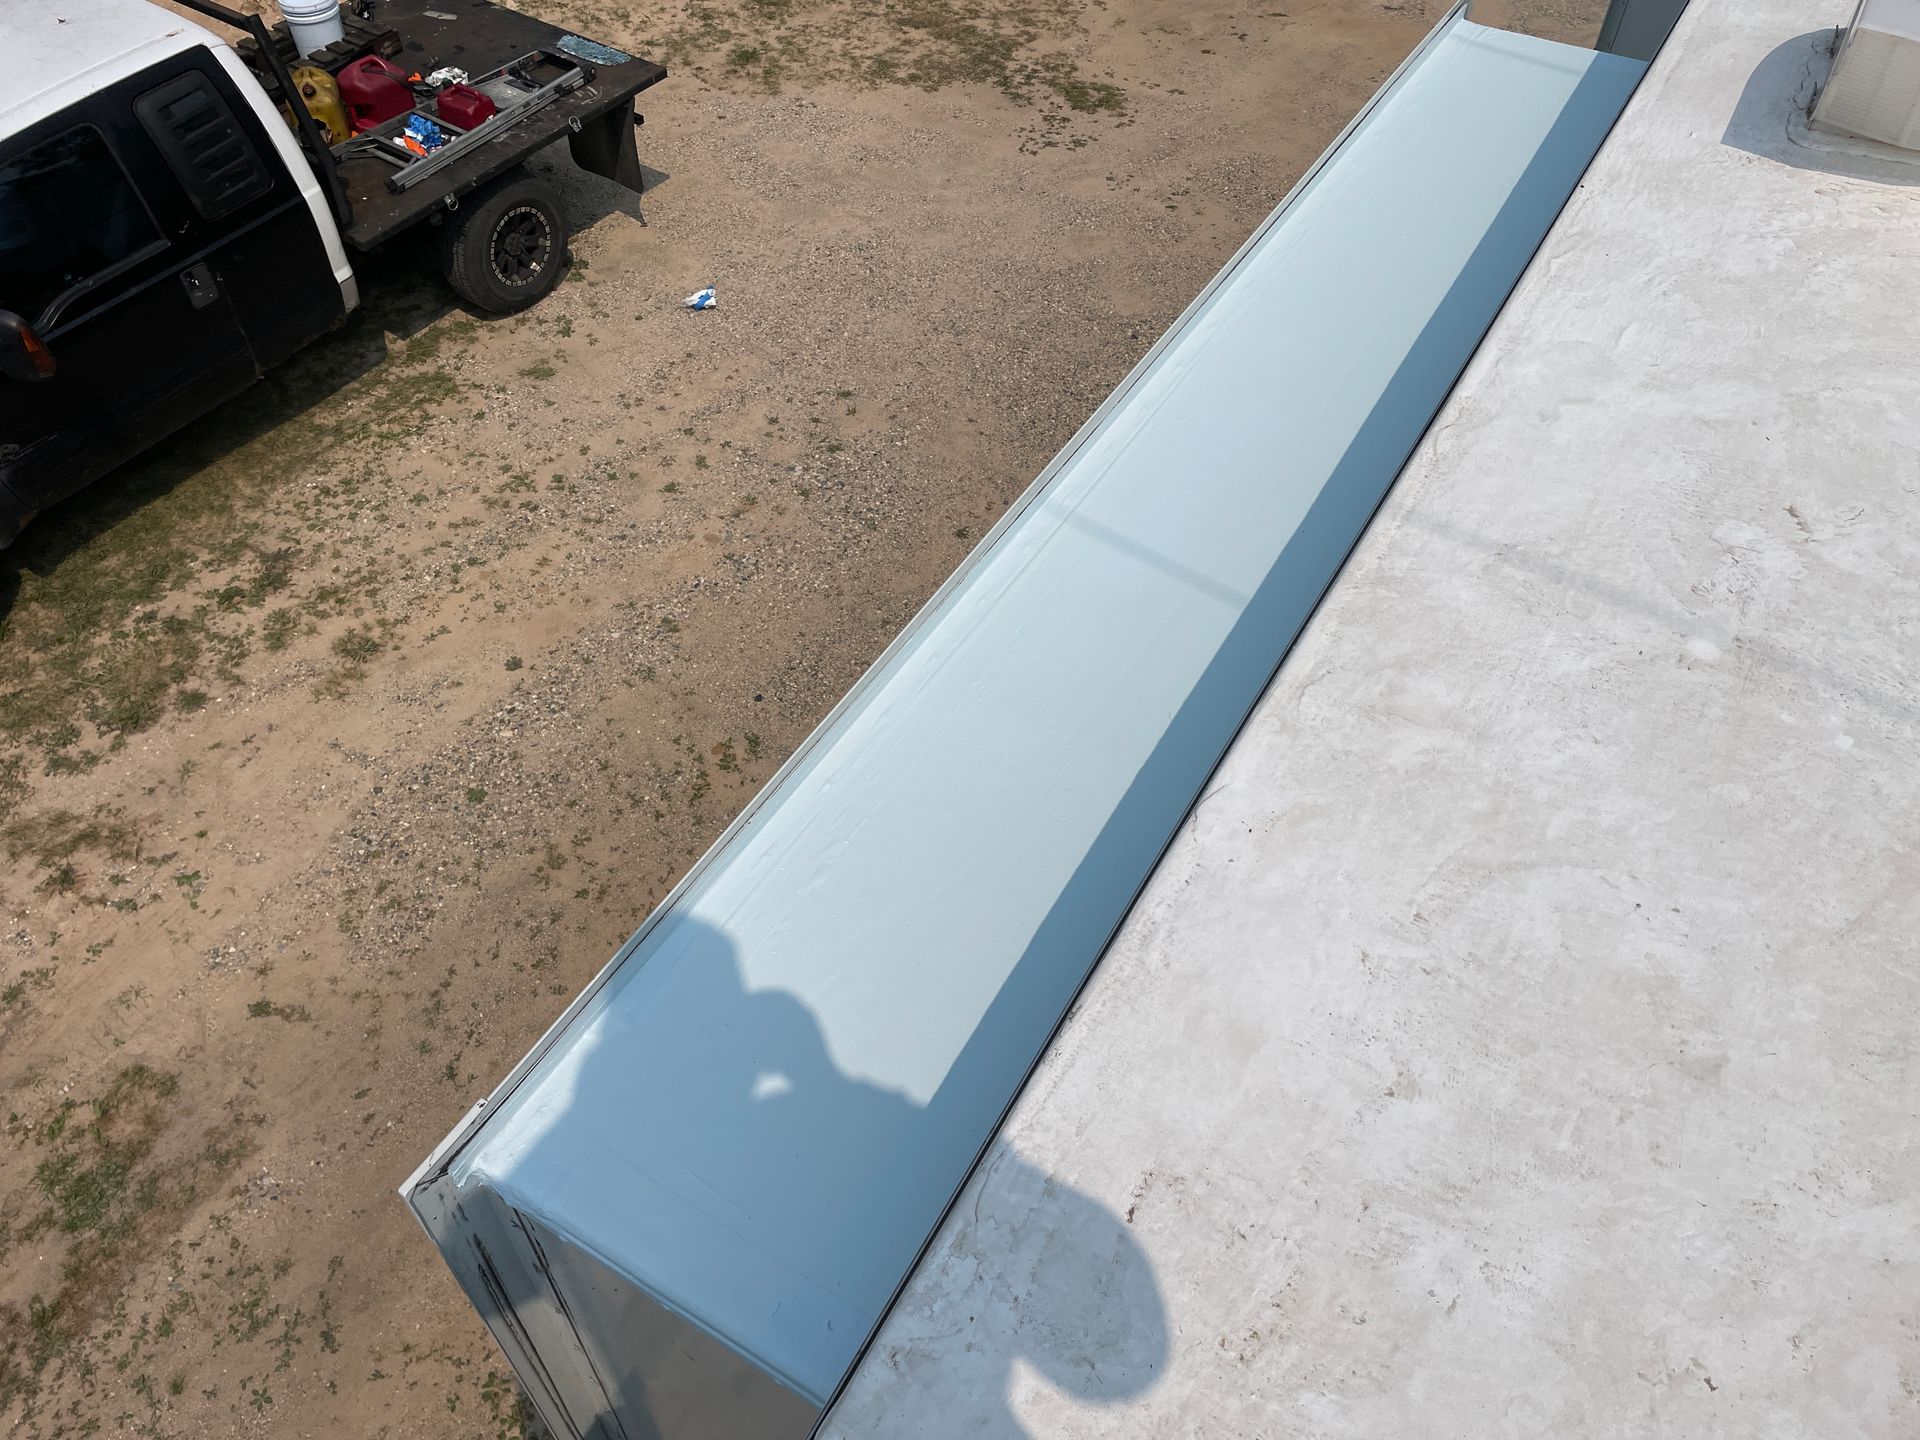
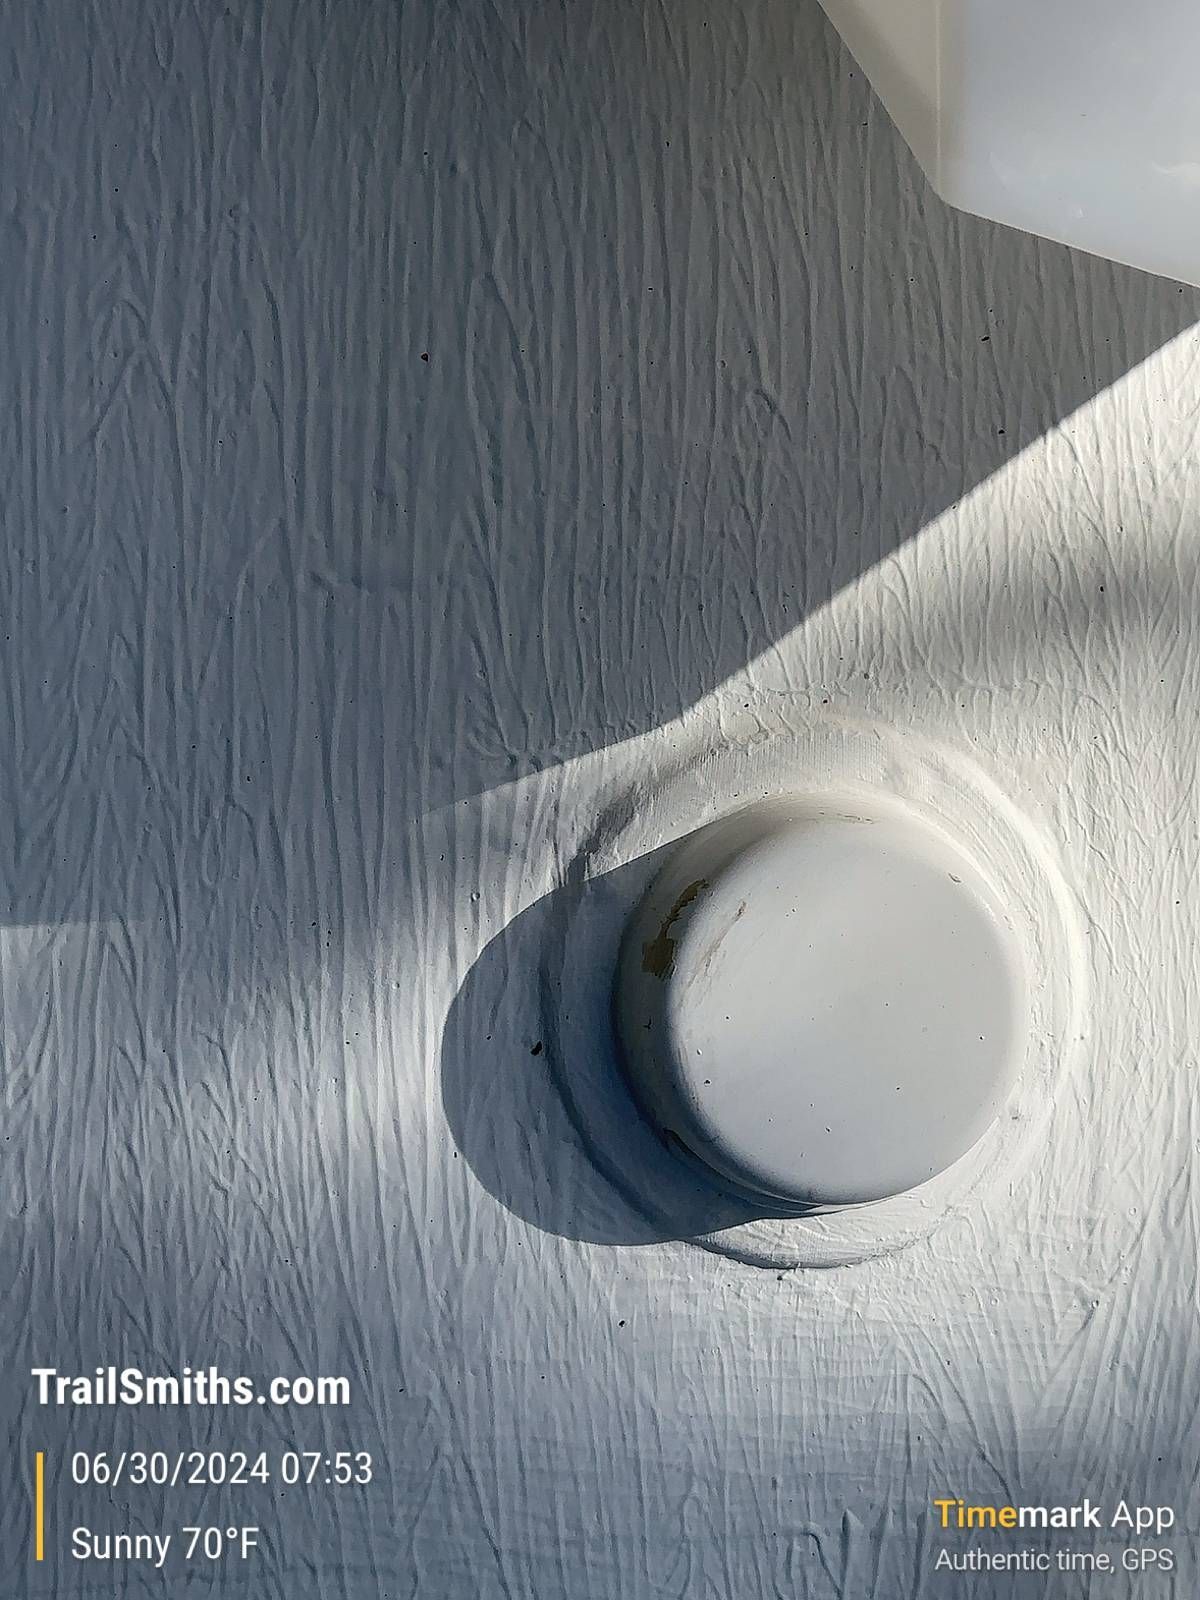
When Two Systems Meet on the Same Roof
This is one of those photos that says more than we ever could in a paragraph.
This customer came to us with a professionally installed silicone coating already on her roof — done right, done by pros, no corners cut. But she wanted added protection on her slides and wasn't ready to take on the cost of a full silicone removal across the entire roof. Given the compatibility issues between silicone and other coating systems, she hired us to treat her slides only with our maintenance-free system and leave the existing silicone roof intact.
The result? You can see it with your own eyes. There is a visible difference between the two systems — and that difference tells the whole story without us having to say a word.
We share this not to criticize her original coating or the company that installed it. We share it because this is real life. RV owners make decisions based on budget, timing, and the information they have at the moment and sometimes that means working with what's already there rather than starting from scratch. Our job is to meet people where they are and give them the best outcome possible within the reality of their situation.
Why RVs and Silicone Are a Fundamental Mismatch
If you haven't already guessed, we are not fans of silicone roof coatings for RV applications. The only place silicone belongs in an RV, in our professional opinion, is inside the shower, or when the roof is fiberglass and you don't have an RV Roofing Sollutions System and the manufacturer recommends it.
Here's the core of the problem. RVs are not static structures. They move, shift, flex, and vibrate constantly—on the highway, over rough terrain, through temperature swings that cause materials to expand and contract sometimes on a daily basis. Silicone dries down to a fairly stiff consistency, and that stiffness is a fundamental mismatch for a roofing application that demands flexibility above almost everything else.
Silicone is generally strong enough to resist cracking on its own. It looks great. But it simply isn't pliable enough to maintain its bond with a surface that never stops moving. That said, over time, it separates—and because the silicone itself isn't cracking or showing visible signs of failure, that separation goes completely undetected. No obvious leaks at first. No warning signs on the surface. Just silent, invisible damage building beneath a roof that looks perfectly fine.
By the time the damage announces itself, the water has usually been sitting under there for a very long time.
The Prep Matters More Than the Product
Here's the part of the conversation that most people skip right over, and it might be the most important part of all.
When we tell people it takes us 4 to 6 hours to properly prep a roof before any RV Roofing Solutions System installation, we are not exaggerating and we are not padding the clock, that is why we include the roof prep in the cost of every proefessional installation we do. That is the real number. And when we teach RV roof seminars across the country, we ask the room how long they typically spend washing and prepping their roof before applying a coating system. The answer we hear most often? About 45 minutes.
45 minutes is a good start for a basic wash a few times a year. It is nowhere near enough time for proper prep before putting any coating system on your roof. Proper prep means the roof is scrubbed ....genuinely, thoroughly scrubbed with a soft brush and an industry trusted RV roof cleaner, not just rinsed off and dried. It means that unless you know with absolute certainty what products are already up there and exactly what their chemical makeup is, all existing sealants need to come off before anything new goes on.
Full removal. Not a coat over the top of what's there. Not a quick clean and a prayer. Actual removal.
And here's why that matters so much — and yes, we're going to say it again because it genuinely cannot be said enough: nothing sticks to silicone. Not other coatings. Not new sealants. Not even more silicone. So if there is any silicone product already on that roof and you don't know it's there, or you know and you skip the removal step, you have just set your entire coating system up to fail. It doesn't matter how good the product is. It doesn't matter how carefully you apply it. The foundation underneath it isn't holding, and eventually that will show up, usually in the worst way, at the worst time, and cost a lot MORE to fix.
We know it feels redundant to keep coming back to this point. But we keep coming back to it because we keep seeing it, good people, well-intentioned RV owners, who researched how to DIY their RV roof to protect it, who spent real money on a coating system and did everything right except the prep. And the prep is everything.
The Science of What Happens Underneath a Failed Silicone Coating
Once separation occurs and water infiltrates that hidden space between the coating and the decking, the silicone actually works directly against you. Its waterproof properties—the very thing you paid for—become the mechanism that traps moisture against the wood with no breathability, no escape route, and no opportunity for the decking to dry out between rain events or temperature changes.
Wood and persistent moisture have a completely predictable relationship. The decking softens, weakens, and eventually rots. And because the roof above looks great, there's no urgency to investigate—no reason to suspect anything is wrong until the soft spots become impossible to ignore or something gives way entirely.
This is exactly what makes silicone failure on RV roofs so uniquely deceptive and so uniquely costly. The very qualities that make it appealing are the same qualities that hide the damage it causes.
What to Ask Before Choosing Any RV Roof Coating System
Before committing to any RV roof coating, silicone, SEBS, Acrylic or professionally installed, we'd encourage every owner to ask these questions: These are the questions that separate a good long-term decision from an expensive short-term one.
- What happens if water gets underneath it?
- How does it handle the constant movement and vibration of highway travel?
- What does repair look like five or ten years from now?
- Can it be recoated with a different product if needed?
- What is the long-term cost, not just the day-one cost?
- Is it compatible with your specific RV roof substrate?
- How long does the product off-gas?
- Is it low VOC and safe for my family?
And don't overlook chemical compatibility, products like SEBS-based coatings can actually have adverse chemical reactions with certain roof materials, creating an entirely different set of problems.
What Should You Use Instead?
We specialize in a professionally installed, maintenance-free RV roof coating system specifically engineered for the unique demands of life on the road. The difference in design philosophy is significant. Our system is built to move with your RV rather than against it—to breathe, to maintain adhesion over years of travel and thousands of miles, and to remain repairable and recoatable without requiring a complete tear-off every time it needs attention.
Many companies in our industry will tell you they can coat your RV roof in a day for a fraction of what our professionally installed system costs. That may be completely true. But the question was never just what it costs today—it's what it costs when something goes wrong. And what goes wrong that you can't even see until the damage is already done.
We'll be straight with you — we'd love to earn your business. But more than that, we believe in education. If you're trying to figure out what's going on with your roof and just need someone to talk it through with, please reach out. Whether you end up choosing us or someone else entirely, we're happy to help you understand your options and make the best decision for your RV.
The Bottom Line on Silicone RV Roof Coatings
Your RV roof is one of the most critical components of your entire investment. The wood decking beneath it is what everything else depends on. Whatever coating system you ultimately choose, make sure you understand not just how it performs when things go right—but what happens when they don't. Because that's when the real cost of your decision becomes clear.
If you have questions about your current roof condition, suspect you may have a silicone coating issue, or want to learn more about what a professional maintenance-free RV roof system involves, we're always happy to talk. That's exactly what we're here for.
Silicone Caulk vs. Silicone Roof Coating: These Are Not the Same Thing
If you read our breakdown of silicone roof coatings and found yourself wondering whether that means you can't use silicone caulk on your fiberglass RV roof—that's a great question, and an important distinction that deserves its own conversation.
The short answer is: they are completely different products used for completely different purposes.
When your RV manufacturer recommends silicone caulk for sealing seams, edges, or penetrations on a fiberglass roof, that recommendation is entirely valid and you should absolutely follow it. Fiberglass roofs have specific maintenance requirements, and many manufacturers specify silicone-based sealants for those targeted touch points. That's not what we're talking about when we discuss the problems with silicone roof coatings—and confusing the two could lead you to either ignore a legitimate maintenance step or apply a product that causes the very problems we've outlined.
Here's the core difference:
Silicone caulk is a targeted sealant applied in specific, intentional locations—around vents, skylights, edges, and seams where water could find a point of entry. It's a spot treatment. It moves and flexes with the RV in the areas where it's applied, and when used as the manufacturer intended on a fiberglass roof, it does exactly what it's supposed to do.
Silicone roof coating is a broad, blanket application spread across the entire roof surface. It's a system—or more accurately, it's meant to function as one. And as we've discussed in detail, when that system separates from the decking beneath it (which the constant movement of RV travel makes virtually inevitable), the consequences are hidden, progressive, and expensive.
Our professional roof coating system is fully compatible with fiberglass roofs, and we work with fiberglass applications regularly. But if your fiberglass roof is in good condition and you're simply maintaining it according to manufacturer recommendations—including using silicone caulk where specified—that's exactly what you should be doing. Proper, routine maintenance on a fiberglass roof is a completely different conversation than applying a silicone coating system over your entire roof surface.
The rule of thumb is straightforward: follow your manufacturer's maintenance guidelines for your specific roof type, use the products they recommend for the purposes they recommend them, and if you're ever unsure whether a product is appropriate for your roof substrate, ask a professional before you apply it. A quick conversation now is a lot less expensive than a tear-off later.
And yes, we know this topic absolutely deserves its own full blog too.
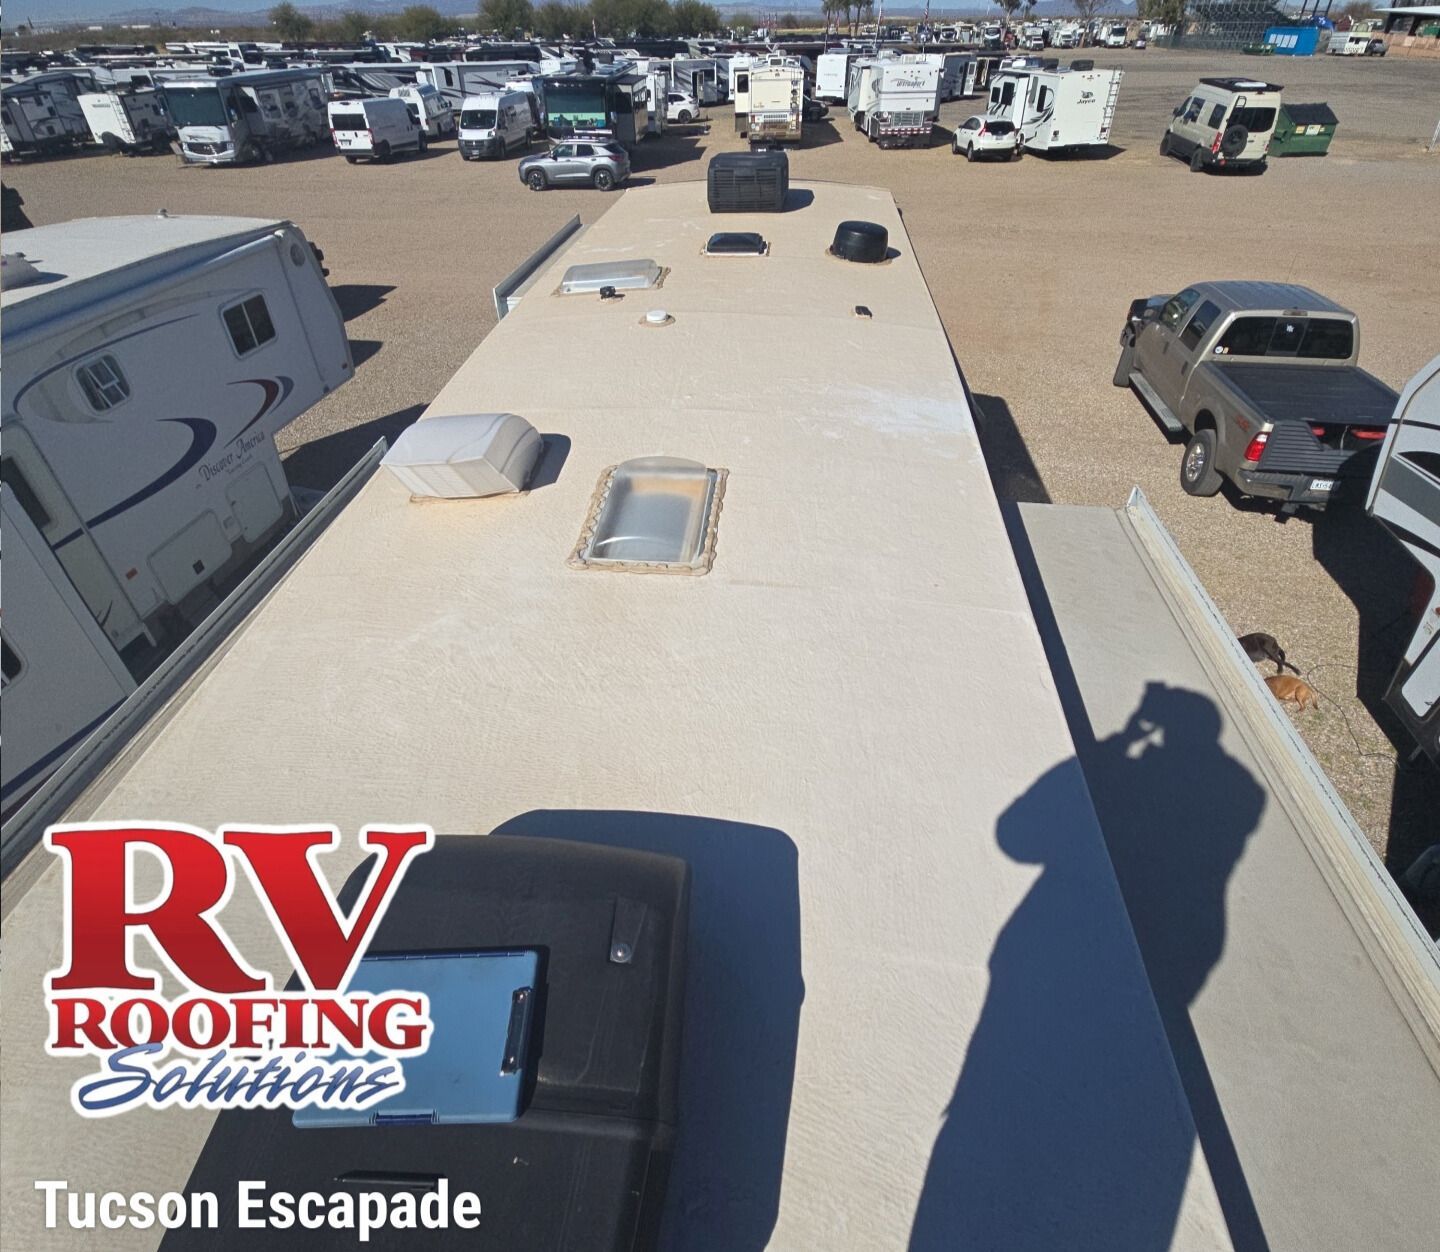
What We've Seen: These Roofs Tell the Story For Us
Every photo you see here is real. These are roofs we have personally touched, roofs we have inspected at rallies, roofs where we had to tear off silicone coatings to assess the damage underneath, and roofs where we discovered decking that had to be partially or fully replaced before any new system could go on.
We don't share these to scare anyone. We share them because most RV owners have no idea how a silicone coating can impact their RV or their wallet. By the time a roof reaches this point, the damage has usually been building quietly for a season or two, and from the outside, from the ground, there was often nothing visible that would have told the owner anything was wrong.
That's the part that gets people every time. The coating above doing its job visually. The structure below can often the price in silence.
If any of these photos look familiar — if something about your roof has been nagging at you — trust that feeling. This is exactly the kind of thing that's worth a conversation before it becomes a project. Whether you choose us or not, we are here for you & we're always happy to talk roofs. Education first, always.
You might also like
RV Roofing Solutions' Blog