From Fall Leaves to Freezing Temps: Winterizing Your RV Roof the Right Way
How to Stay Safe, Warm, and Prepared When the Temperature Drops
❄️ Top Winter Challenges for RV Roofs
Winter weather is brutal on RV roofs. Here's our hot list of common cold-weather challenges and how you can tackle them with clarity and confidence.
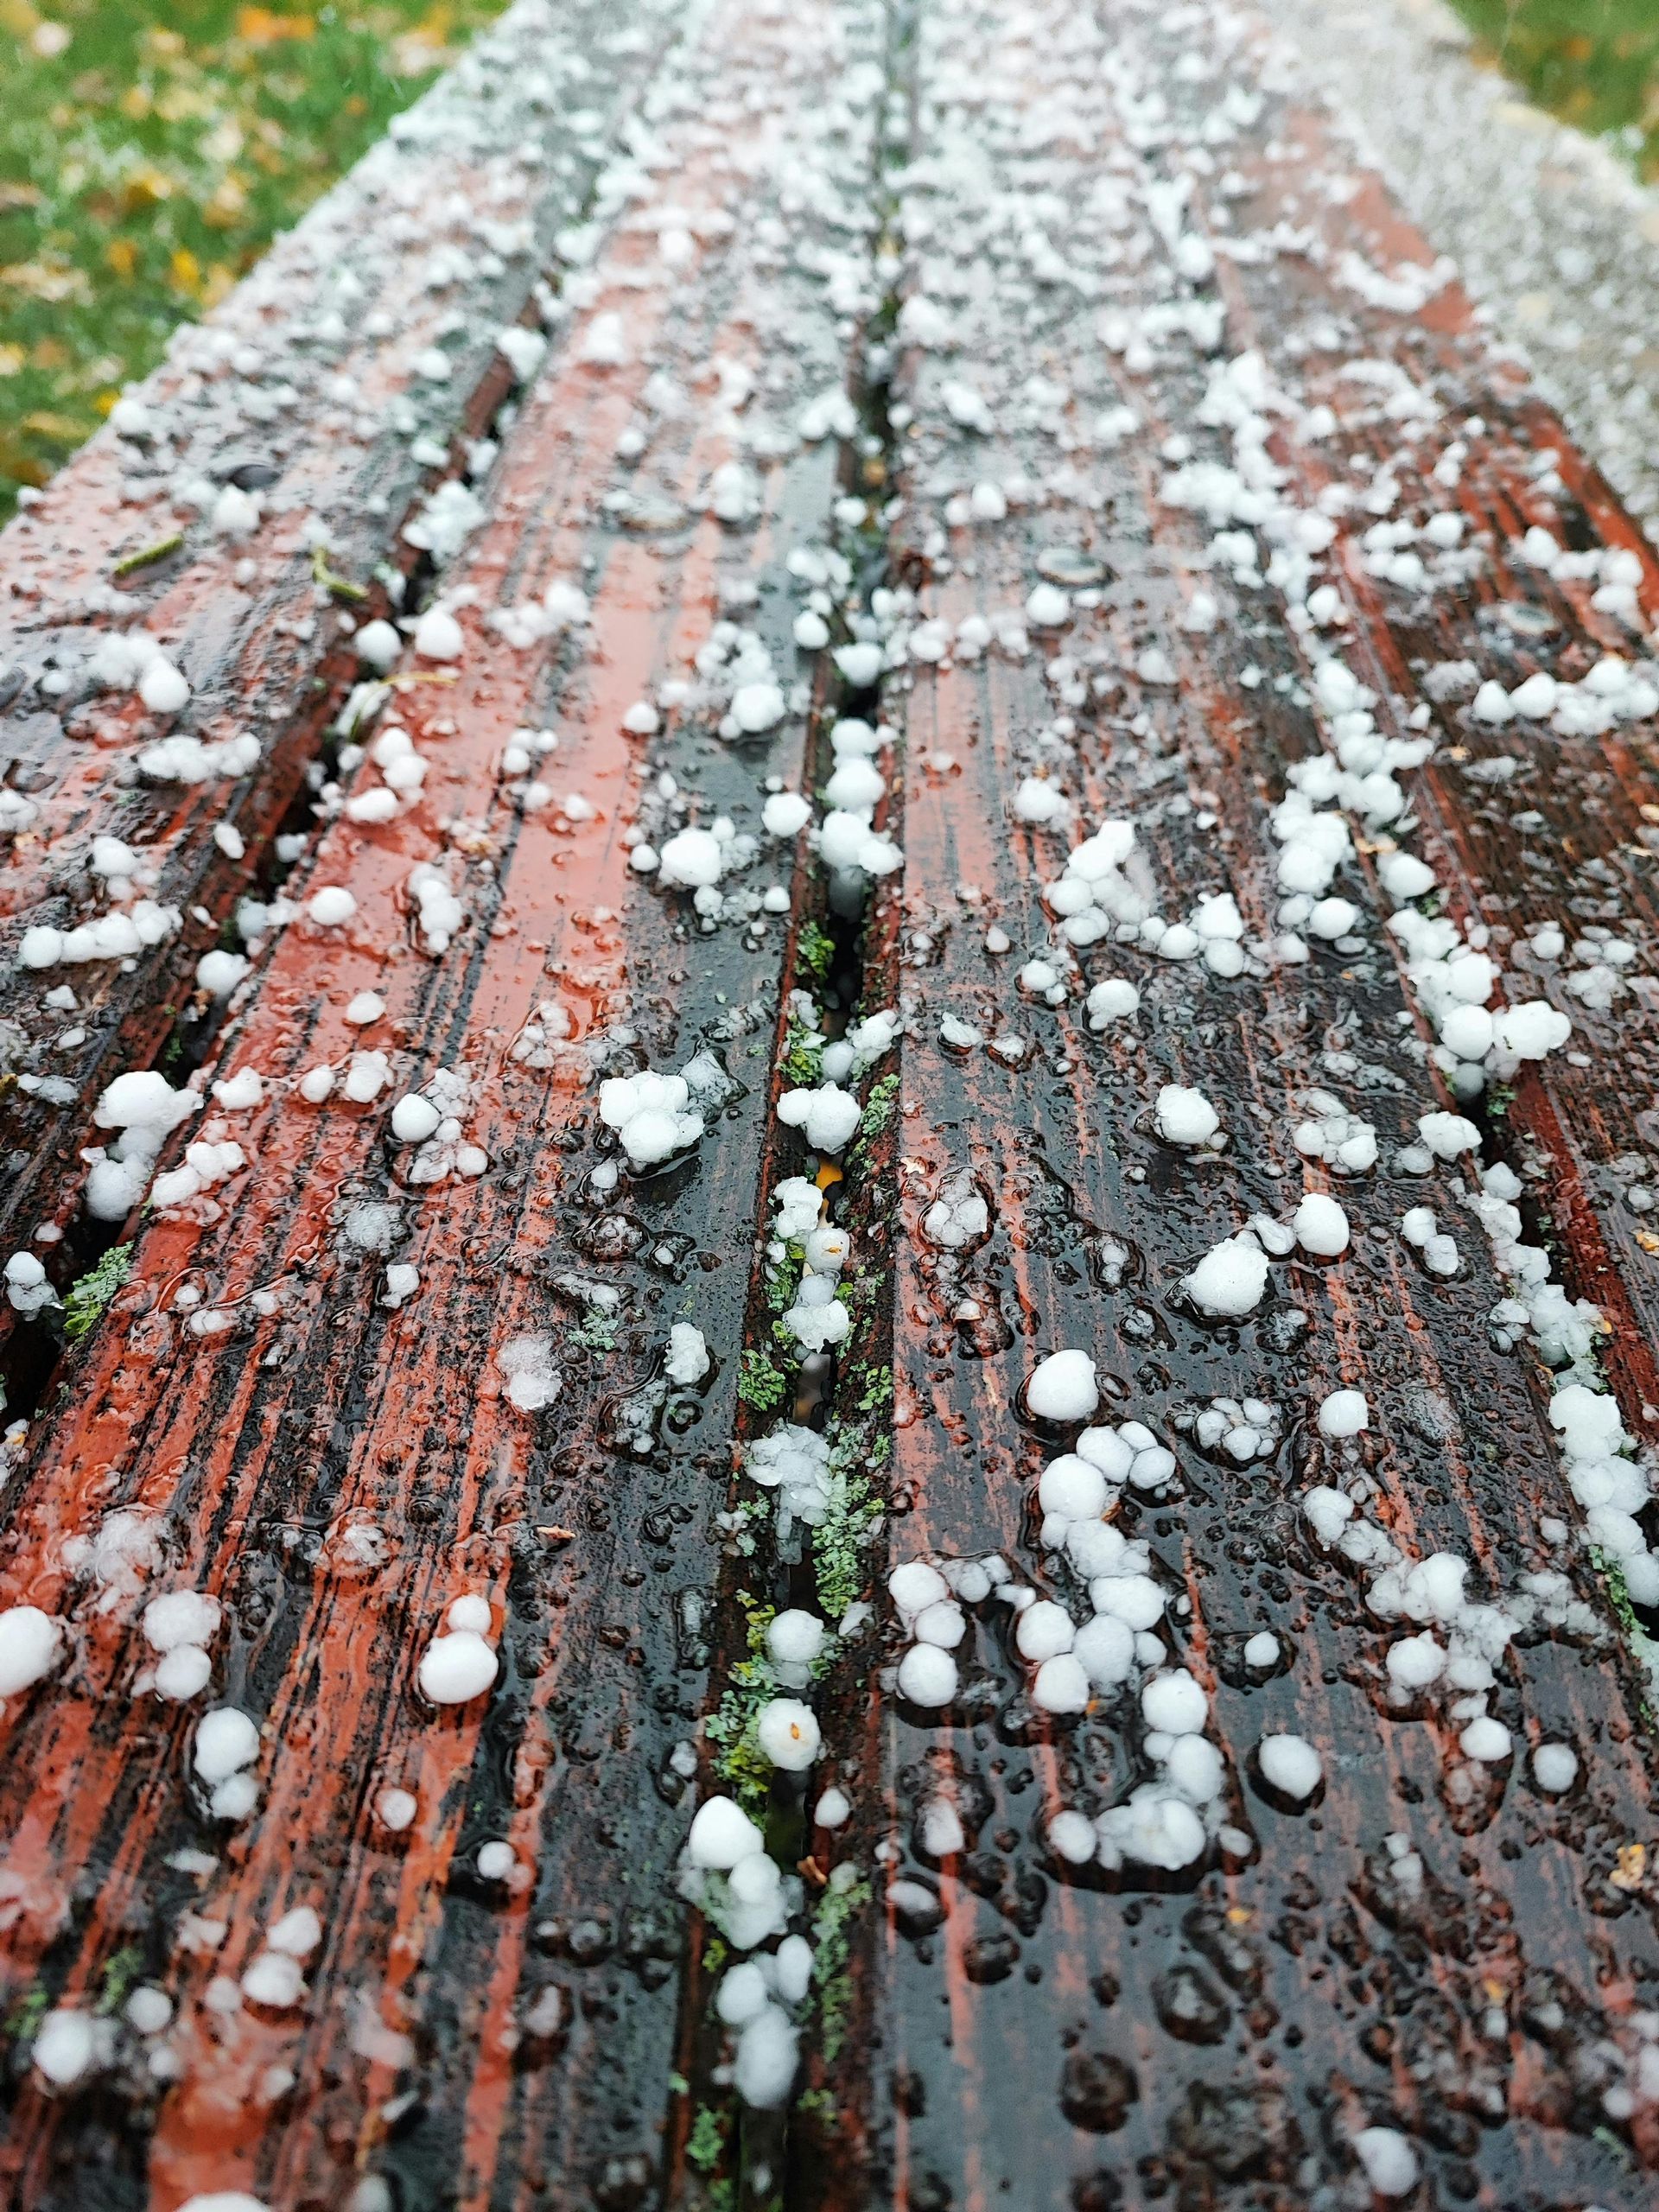
Snow Load and Ice Dams
Heavy snow accumulation on top of your RV creates serious risk. First, the added weight of the snow over time can significantly strain your roof's structure and compromise its integrity. Ice dams form when snow melts and refreezes on your roof. This causes damage and water leaks. That's why it's so important to clear snow buildup from your roof. Always use a soft broom or a snow rake designed for RVs to clear snow or any other debris from your roof, and make sure the tools don't have any sharp or metal pieces. They can puncture your roof's membrane and create new leaks. Gently clearing your roof and proactive maintenance will help you preserve your roof's longevity and ensure safe winter travel.
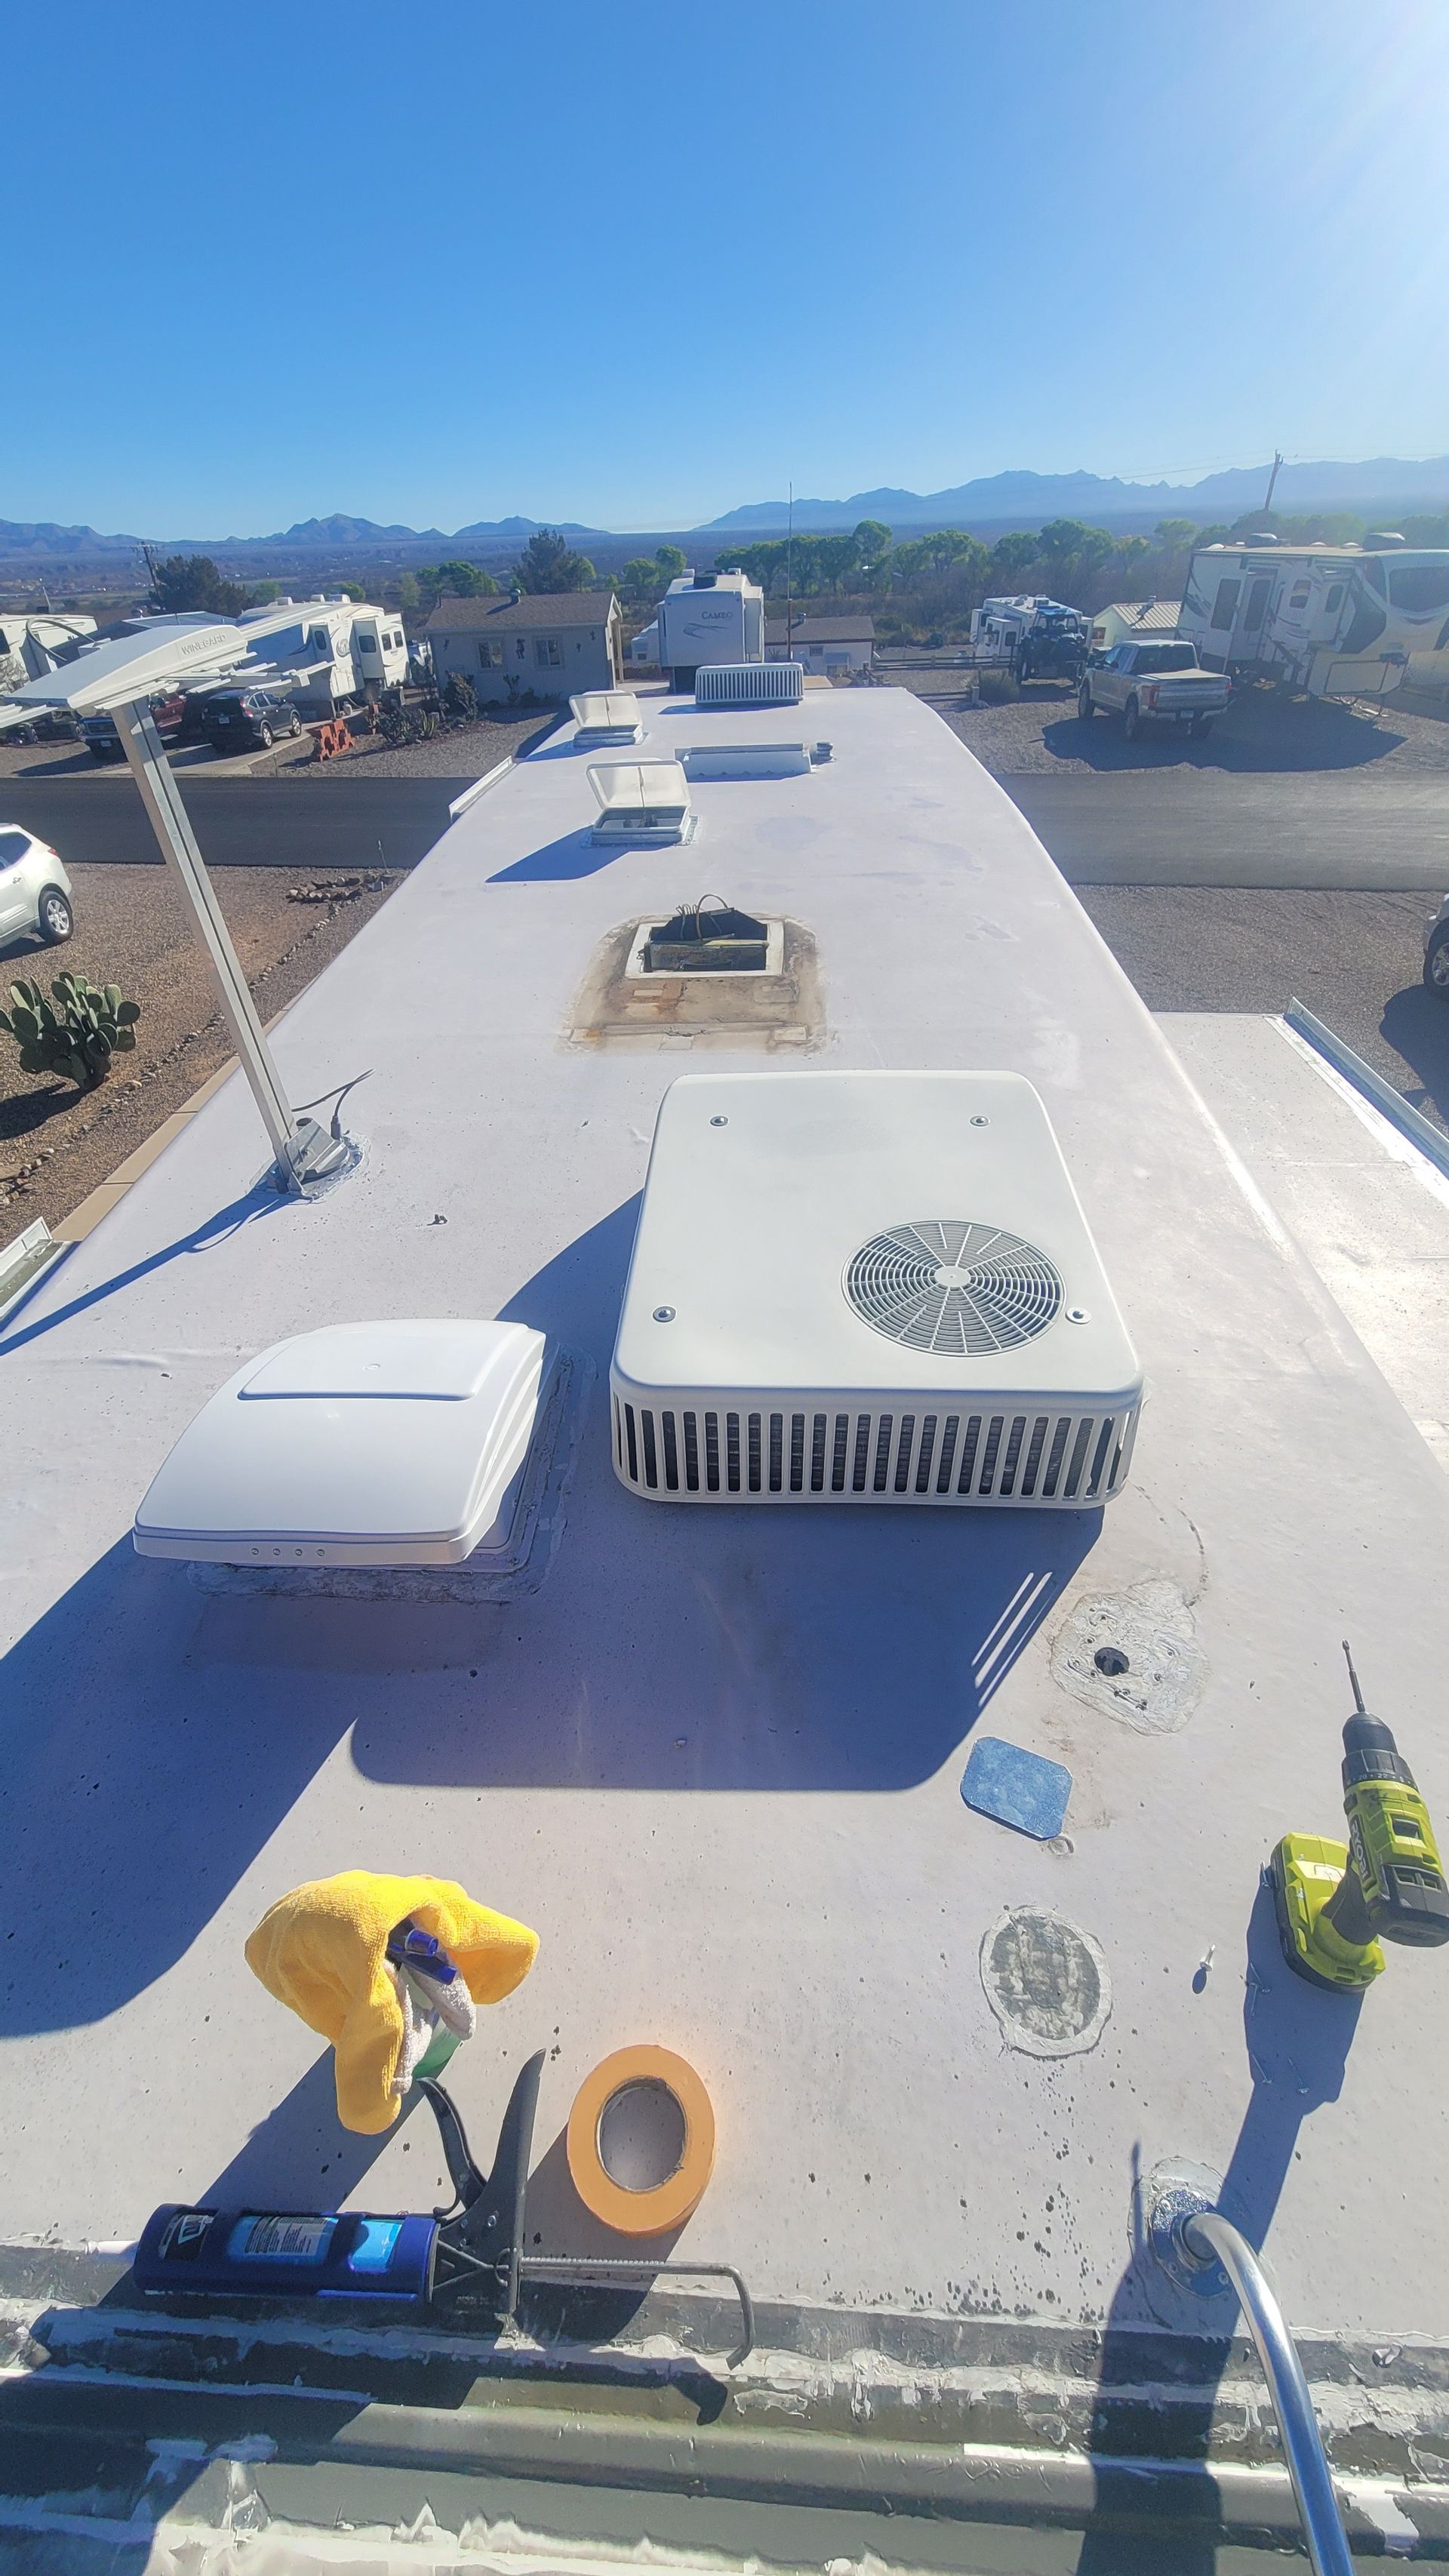
Freeze-Thaw Cycles
Freeze-thaw cycles can wreak havoc on an RV roof by causing existing cracks in sealant or caulking to expand, ultimately leading to leaks and water damage. As temperatures fluctuate, moisture seeps into tiny gaps and freezes. This forces the cracks to widen with each freeze-thaw cycle. To prevent this, it's crucial to inspect and reseal vulnerable areas, especially around vents, skylights, and AC units, before the cold sets in. Proactive maintenance protects the roof's integrity and helps avoid costly repairs so your rig is road-ready through the seasons.
Trapped Moisture
Hidden moisture threatens the lifespan of your RV's roof. Moisture often gets trapped on roofs under leaves, branches, or compromised seals. When it's not found and treated, that moisture can grow into mold and lead to wood rot and eventual delamination. These are all costly and difficult repairs. Clean your roof regularly and trim back any branches hanging over your rig to safeguard it and prevent moisture damage. Doing the work to keep your roof's surface clear and seals inspected can help your RV stay dry, healthy, and road-ready through every season.
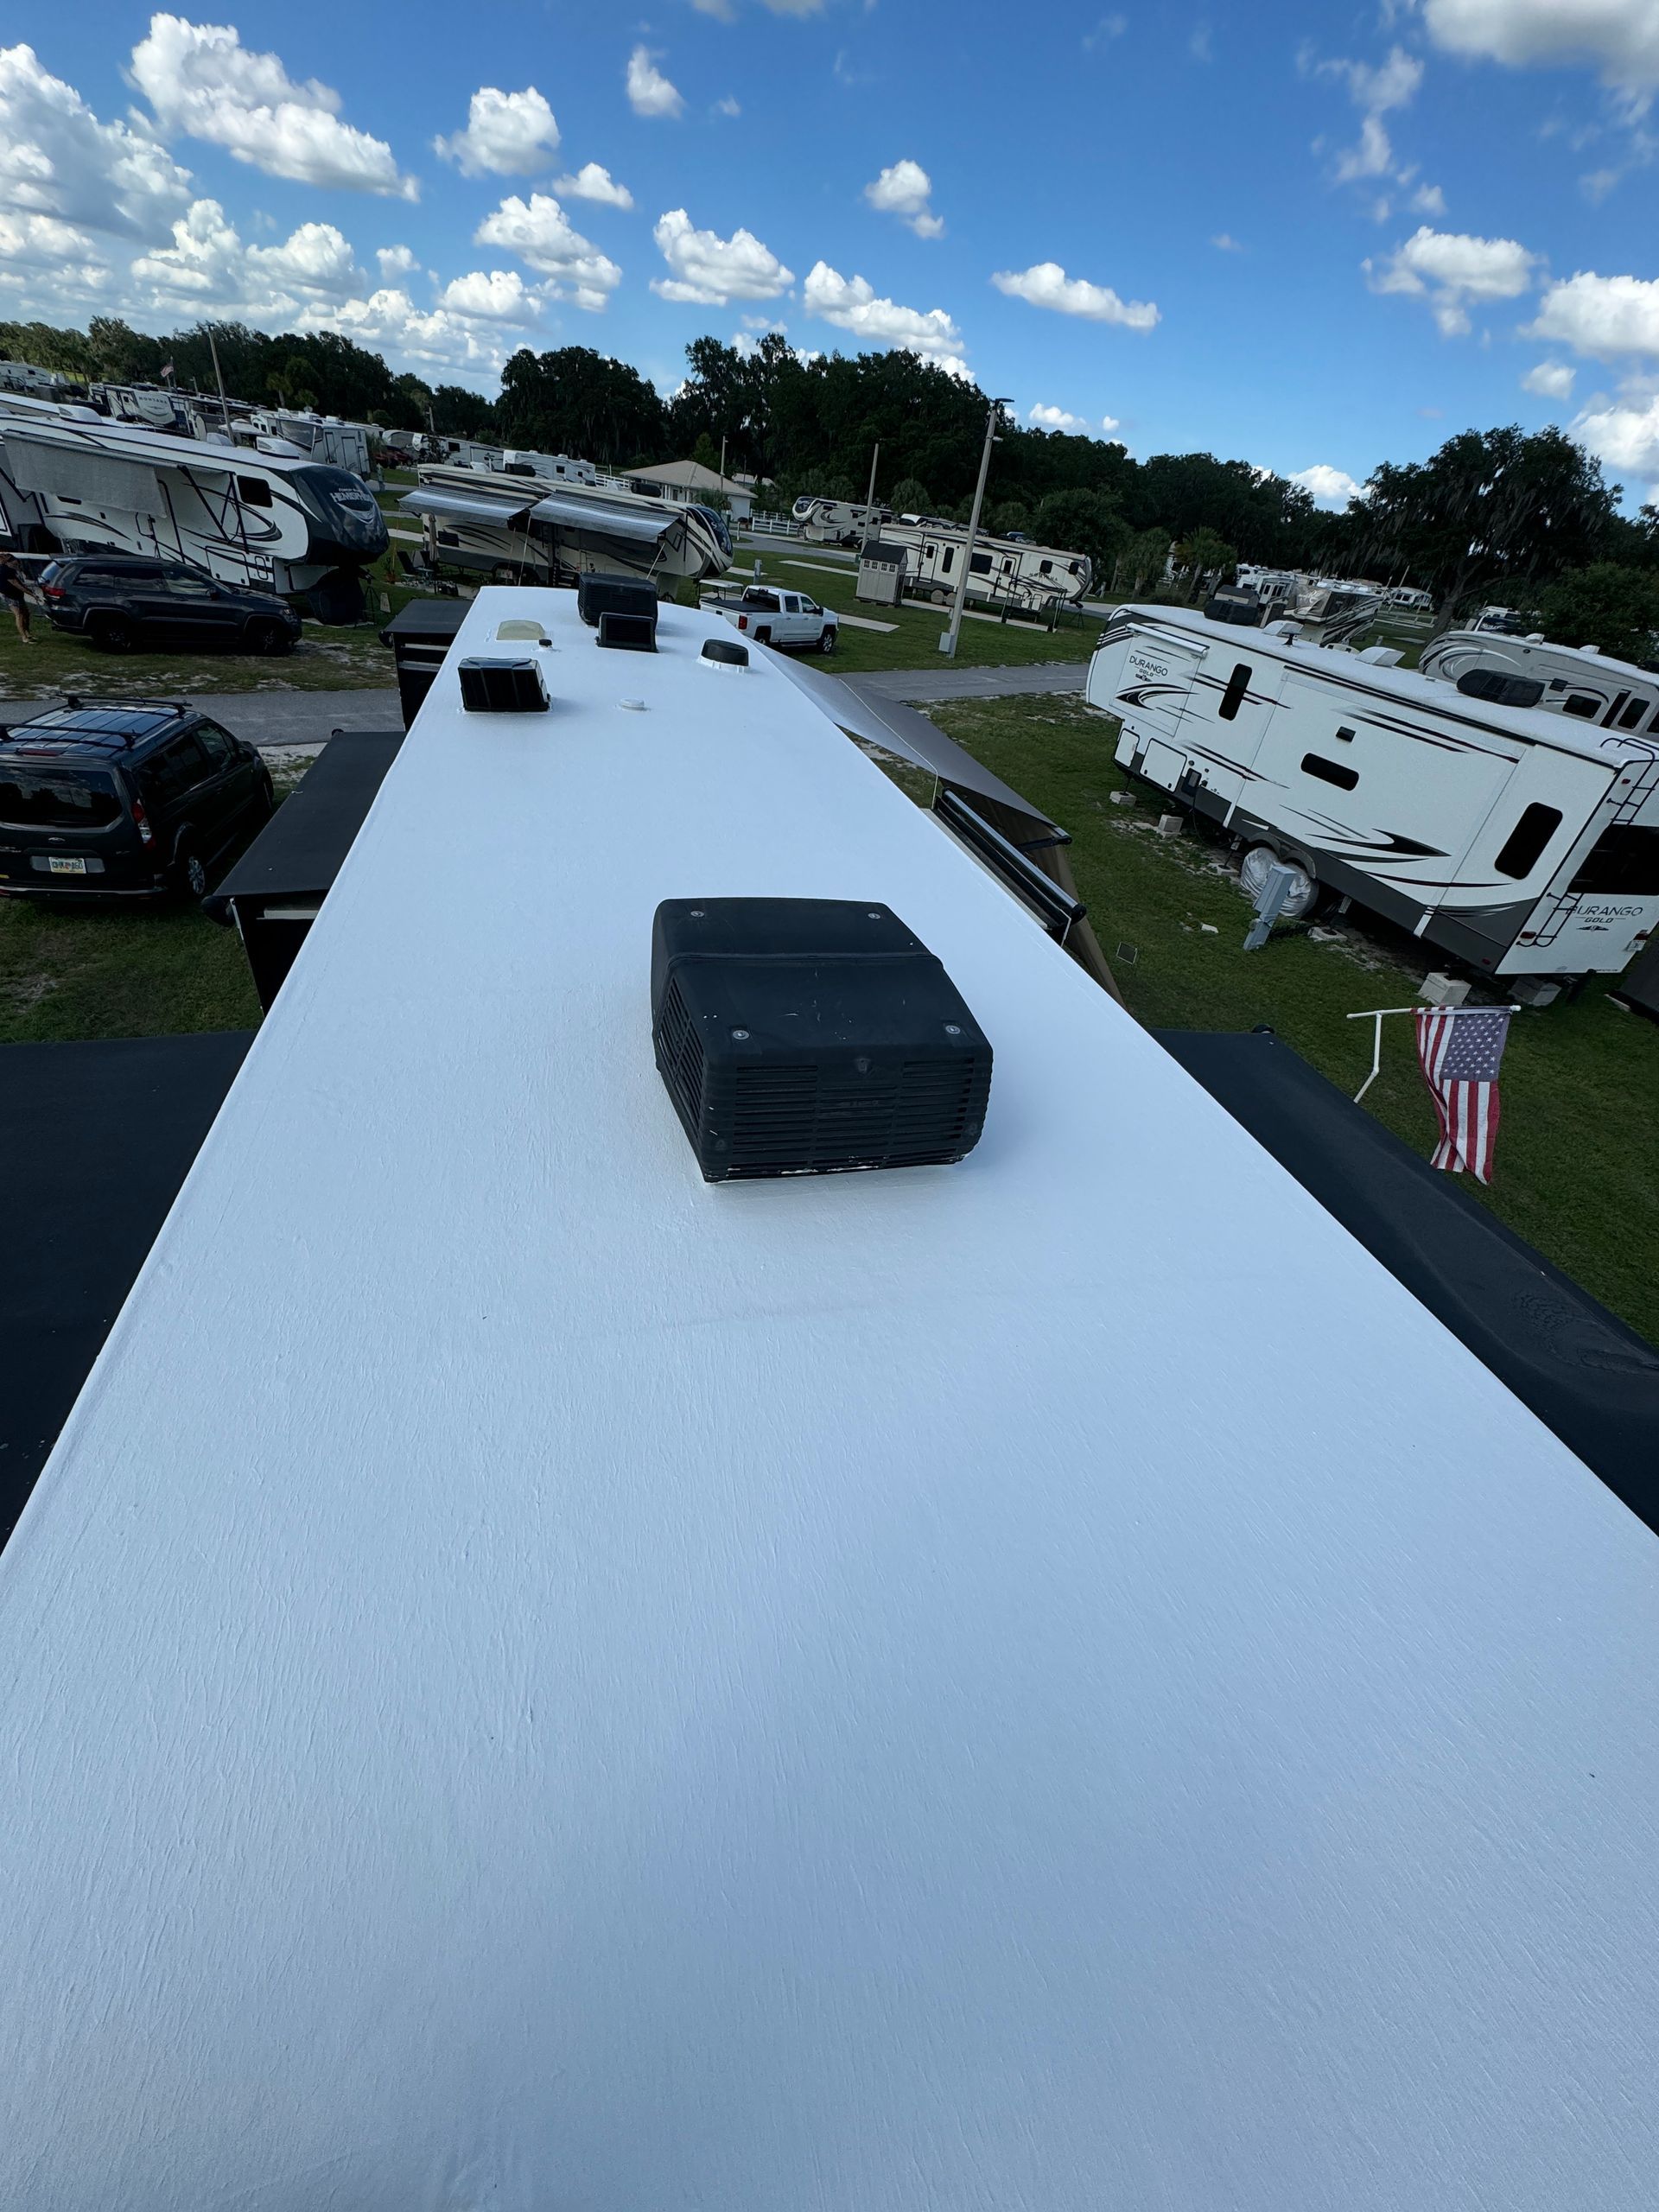
UV and Temperature Stress
UV exposure and fluctuating winter temperatures take a serious toll on RV roofs. Cold weather often makes traditional materials brittle, and the winter sun causes UV degradation. That's where a maintenance-free RV Roofing Solutions system truly shines. Our seamless coating is engineered for durability and flexibility and resists tearing, cracking, and weather-related stress. And best yet? It never needs seasonal caulking or patching. We provide a long-term solution that eliminates the hassle of constant upkeep and offers waterproof and wind-tight protection. It's peace of mind for RVers who'd rather focus on the journey than worry about their roof.
Poor Ventilation
Sometimes, trying to seal your roof tightly against the elements can create a brand new problem: poor ventilation. Over-sealing can actually trap moisture inside your rig and lead to condensation, mold, and rot. And unknowingly sealing in wet or compromised decking creates the perfect environment for long-term structural damage. Maintaining airflow is essential to preventing this. Vent covers allow circulation and keep out snow and rain. Thoughtful ventilation preserves your RV from the inside out, protecting your roof and peace of mind.
Inadequate Roof Covers
Using inadequate roof covers to protect your RV, like tarps or other ill-fitting materials, can do more harm than good. These covers can trap moisture — a breeding ground for mold, mildew, and rot. Worse still, they can shift in the wind and cause abrasion to the roof surface, especially around seals and edges. What appears to be a quick fix can actually accelerate damage. It's worth investing in a breathable, snug-fitting RV roof cover. These covers are designed to shield against snow, ice, and UV exposure without compromising ventilation or surface integrity in order to truly safeguard your rig. Even then, regular inspections should be performed.
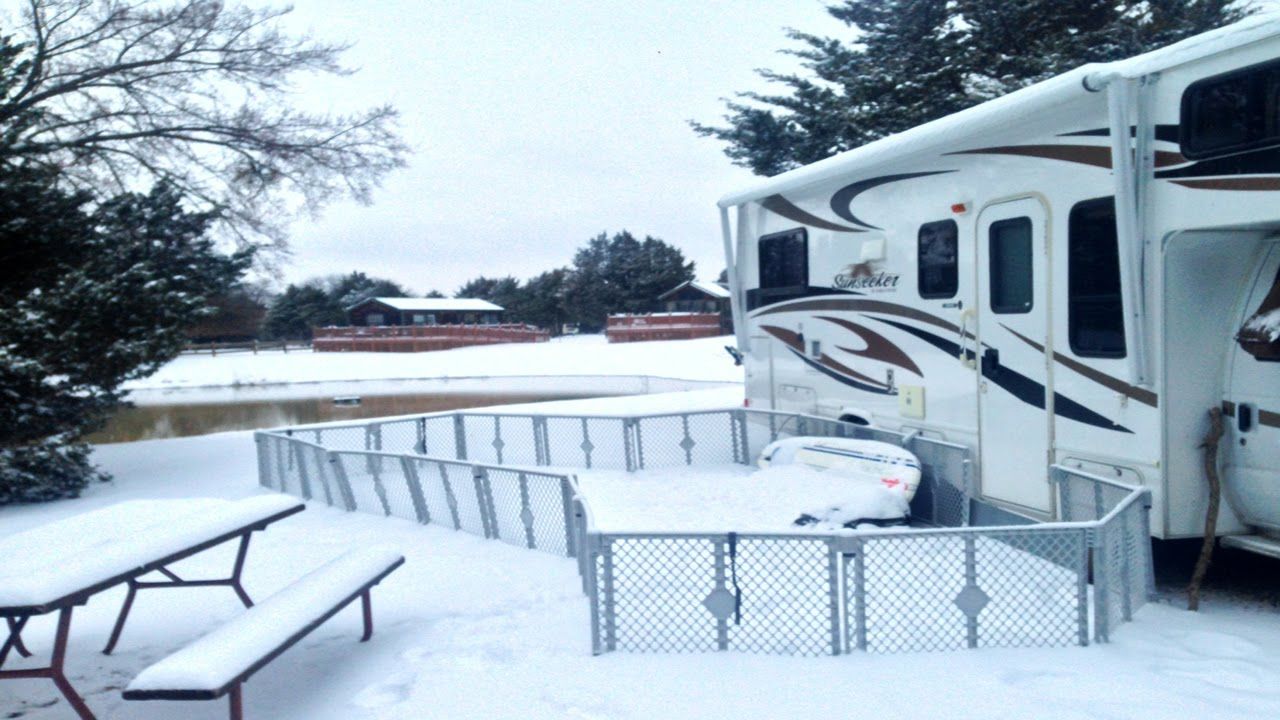
Indoor or Under Cover Storage Options
Undercover or interior storage is, hands down, the most effective way to protect your RV's roof from snow, ice, UV rays, and fluctuating temperatures. Storage completely shields your rig from the elements and prevents damage from moisture, freeze-thaw cycles, and UV exposure. Storing your rig also eliminates the risk of abrasion or trapped debris that can occur with loose coverings. For RV owners who want to preserve roof integrity and avoid costly repairs, investing in secure, climate-controlled storage offers peace of mind and long-term protection during the off-season.
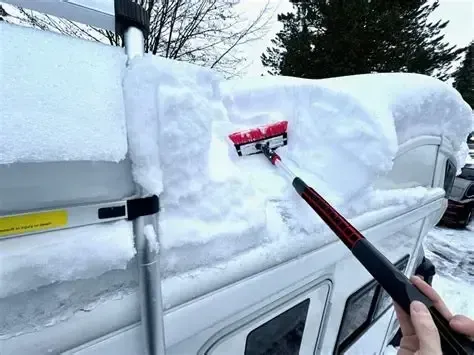
Clearing snow and ice off your RV roof safely and effectively is essential to prevent structural damage, leaks, and costly repairs.
Snow may look light and fluffy, but it's deceptively heavy, especially when it accumulates over time or becomes compacted. Ice buildup can be even more dangerous, as it adds weight and increases the risk of water intrusion when it begins to melt. The key is to act early and consistently, removing snow before it freezes into dense layers or causes pooling around vents and seams.
Start by gathering the right tools: a sturdy ladder, non-slip boots, waterproof gloves, and extendable, non-abrasive tools like soft-bristled snow rakes or foam brushes. Avoid metal shovels or sharp instruments that can puncture or tear the roof membrane. Work from the ground or a ladder when it's icy rather than walking on the roof, if you can. Start at the edges and gently pull the snow toward you in sections. Be careful around roof fixtures like skylights, AC units, and solar panels. It's often safer to leave ice alone rather than risk damaging the roof's surface. Focus on removing the snow and let the sun melt the ice.
Timing matters. The best time to clear snow is midday. The sun will have started to soften the top layer, making it easier to remove and reducing your risk of slipping. Getting the melting snow at midday helps prevent it from refreezing into hard ice overnight that's harder to remove and more likely to damage your roof. Regular maintenance throughout the winter season is far more effective than waiting for major buildup.
Ultimately, a proactive approach to snow removal not only protects your roof but also extends the life of your RV and keeps your travels worry-free, regardless of the weather. For added protection, consider undercover storage or a breathable RV cover — but be cautious. Poorly fitted covers or generic tarps trap moisture and cause abrasion. Choose a snug-fitting, ventilated cover if outdoor storage is your only option.
Managing snow effectively is essential for winter RVers who embrace cold-weather travel. A solid snow strategy isn't just about comfort. It's about protecting your rig's roof, systems, and long-term investment.
Take simple steps to enjoy your rig all season long:
Roof Maintenance and Snow Removal
Clear snow from your rig regularly with a soft-bristled snow rake or a foam brush to help prevent excess weight and the formation of ice dams. This simple proactive step prevents strain on your roof's structure and leaks. Avoid sharp tools that can puncture the roof's membrane and cause expensive damage. Before temperatures drop, inspect and reseal areas around vents, skylights, and AC units to guard against freeze-thaw cycles that expand cracks and compromise seals. If you use a cover, choose a breathable, snug-fitting option. Generic tarps can trap moisture and cause abrasion. Whenever possible, undercover or interior storage offers the best protection against the elements, preserving your roof's integrity and extending the life of your rig.
Insulation and Skirting
Insulation and skirting are essential for retaining heat and blocking cold air beneath your rig when winter RVing. Installing RV skirting — whether foam board, custom vinyl, or inflatable options like AirSkirts® — creates a thermal barrier that dramatically improves comfort and energy efficiency. Using thermal curtains, rugs, and reflective insulation inside helps keep floors and windows warm, and sealing gaps around doors and slide-outs prevents drafts and heat loss. A little inside and outside prep can help turn your RV into a cozy winter retreat.
Hay bales might seem like a convenient or rustic solution for RV skirting or insulation, but they come with serious risks. They're notorious for attracting rodents, which can quickly lead to infestations, chewed wiring, and contamination inside your rig. Hay is also highly flammable. Next to your RV propane lines, heaters, or electrical components, it's a significant fire hazard. In dry winter conditions, even a small spark can turn into a dangerous blaze. For winter RVing, it's far safer to opt for purpose-built skirting materials, like foam board, vinyl, or inflatable systems, that effectively insulate without attracting pests or compromising safety.
Moisture and Ventilation
Proper moisture control and ventilation are vital for winter RVing. Cold temps in your tightly sealed RV create just the right, or wrong, condition for condensation to build. Maintaining healthy airflow without compromising warmth requires the use of vent covers that allow circulation while keeping out the snow and rain.
You can also use dehumidifiers and place moisture absorbers throughout your RV. They are tremendous aids in preventing mold, mildew, and that musty feeling that creeps in during long camps. And don't forget to clean your roof regularly and trim the branches hanging over your rig. Preventing this debris from accumulating and trapping extra moisture can help avoid rot. A well-ventilated RV stays drier, warmer, and far more comfortable through the winter months.
System Protection
Protecting your RV's internal systems should always be a cornerstone of safe and comfortable winter RVing. Exposed water lines are vulnerable in freezing temperatures. Pipes can burst and lead to costly repairs. To prevent this, use heated water hoses and apply heat tape to exposed plumbing. Keep your holding tanks full so they are less likely to freeze. Try dumping your tanks on warmer days to avoid frozen valves and connections.
Cold weather also drains batteries more quickly, so closely monitor your power levels and ensure that shore power connections are secure. A well-protected system keeps your rig running smoothly and your winter adventures stress-free.
Chasing Your Wonderland
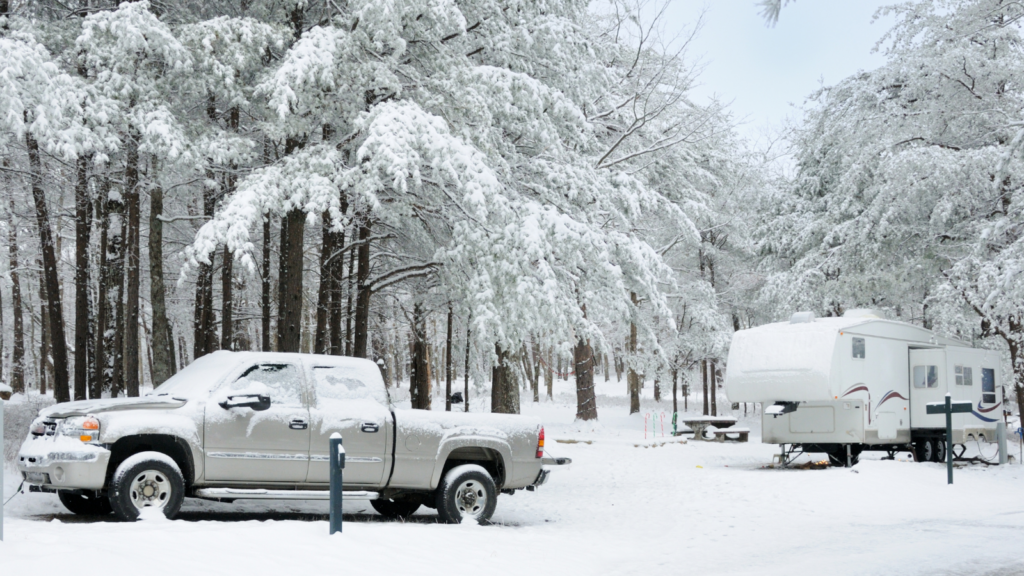
From climbing the mountains to parking long-term for work, winter RVing is more common than you may think. Cold-season camping can be magical, but it demands preparation and a clear understanding of what your setup can handle.
The season comes with its own set of challenges. Even if you find a campground that stays open year-round, many shut off water hookups overnight or during deep freezes to prevent pipe damage. That means you'll need to plan ahead with heated hoses, onboard water storage, and a solid freeze-prevention strategy.
Winter RVers quickly learn that their comfort and safety depend on careful consideration of the smallest details when traveling in colder climates. But, anyone can successfully navigate the snowy season if they embrace it with the right gear, mindset, and perseverance. With the right strategy in place, your RV can be a warm, resilient home base.
You might also like
RV Roofing Solutions' Blog