

RV Roof Maintenance Checklist for Mid-Summer Road Trips
Fifteen minutes on the roof now can save you a ruined trip later. Here's exactly what to check.
You're in the thick of it — the trip you planned all winter, the campground you've been dreaming about, the open road.
Mid-summer is peak RV season, and it's also peak season for something you're probably not thinking about: your roof.
Summer sun, heat, and sudden storms are the hardest conditions your RV roof faces all year. UV rays break down roofing membrane faster in July than any other month. Sealants that were fine in May can crack in June heat. And the leak you don't catch on a sunny afternoon becomes the leak that ruins a rainy night.
The good news: most roof failures don't happen out of nowhere. They show warning signs first. This checklist walks you through exactly what to look for — so you can catch a small problem while it's still a small problem.
Grab a ladder, a flashlight, and about 15 minutes. Here's what to check.
The Mid-Summer RV Roof Checklist
1. Check for Soft Spots
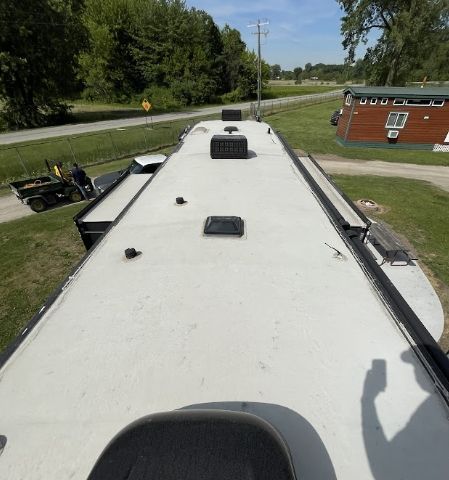
Walk the roof slowly (if it's rated for foot traffic) or press firmly with your hand across the surface. Any give, sponginess, or flex under pressure is a sign of water intrusion into the roof decking underneath — even if you haven't seen a drip inside yet.
2. Look for "Sticky" or Tacky Membrane
Run your hand across the roof surface. If it feels tacky, sticky, or leaves residue on your fingers, that's a sign the membrane's protective top layer is breaking down under UV exposure. This is one of the earliest warning signs of roof failure — and one of the most commonly missed.
3. Inspect All Seals and Seams
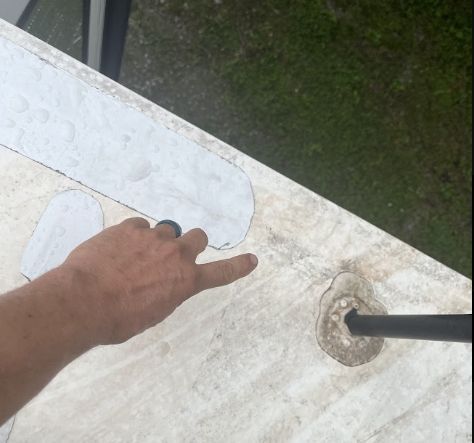
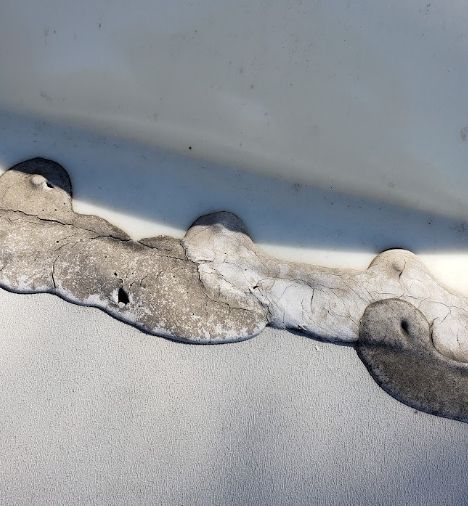
Check around every roof penetration: vents, air conditioner units, antennas, skylights, and slide-out seals. Look for cracking, gaps, peeling, or sealant that's shrunk away from the edge. Summer heat accelerates sealant breakdown faster than any other season.
4. Check for Discoloration or Chalking
A white, powdery residue (chalking) or uneven discoloration across the membrane is a sign of UV degradation. This doesn't mean immediate failure, but it does mean the clock is running.
5. Look for Standing Water or Drainage Issues
After your next rain or wash, check whether water is pooling anywhere on the roof instead of draining off. Standing water accelerates every other problem on this list.
6. Inspect the Edges and Trim
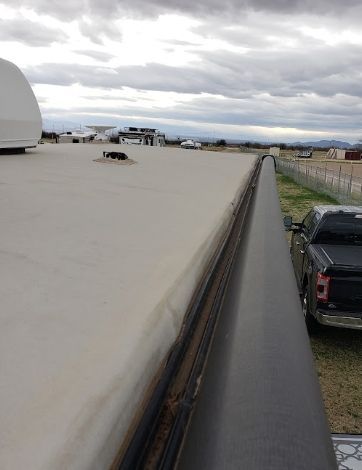
Check where the roof membrane meets the RV's side walls, especially at corners. Peeling, lifting, or gaps here are common entry points for water — and often invisible from the ground.
7. Check Roof-Mounted Equipment for Movement
AC units, solar panels, and vents that have shifted, loosened, or show gapping around their base can compromise the seal around them even if the roof membrane itself is fine.
8. Inspect Your A/C Gasket Closely
This one's easy to overlook, but it's one of the most common failure points we see. Most factory A/C gaskets are glued together at the four corners rather than molded as a single piece. Summer is exactly when that matters most: your A/C runs harder and drips more condensation in the heat, and water is very good at breaking down glue over time. Once a corner seam separates, you've got a direct path for water into your roof — often with no visible sign from the ground.
It's a small detail, but it's why every gasket we install is a single-piece, punched EPDM gasket instead of a glued one. No seams, nothing for water to work loose.
9. Note the Age of Your Roof
If your roof is 7+ years old and has never had a maintenance-free system installed, that alone is worth flagging — even if it passes every check above today. Most roof systems have a lifespan, and age is often the biggest predictor of failure, regardless of visible symptoms.
What to Do If You Find a Problem
If you find a soft spot, sticky membrane, or failing seals mid-trip, don't wait it out. A small issue found on a sunny Tuesday is a manageable repair. The same issue found during a storm three weeks later is a ruined weekend and a much bigger bill.
RV Roofing Solutions is a veteran-owned, mobile RV roofing company. We come to you - at your campground, storage facility, or driveway, anywhere in the U.S. whether it is for a full roof replacement, repair, or a seamless maintenance-free srv roof system on your current roof. No dealership. No drop-off. Lead times do vary during summer months.
The RV Roofing Solutions system also has UV protection built directly into its proprietary formula, which helps keep your RV cooler on hot summer days — and a cooler roof means your A/C doesn't have to work as hard, which ties right back into that gasket issue above. It's a low-VOC formula, too, so it's safe for your family and pets.
Get a Free Roof Assessment with a one on one consultation →
Frequently Asked Questions
How often should I check my RV roof in the summer? Check your RV roof at the start of every major trip and at least once a month during heavy summer travel. UV damage and seal breakdown happen faster in summer heat than any other season.
What does a sticky RV roof mean? A sticky or tacky feeling on your RV roof membrane means the protective top layer is breaking down from UV exposure. It's one of the earliest warning signs of roof failure and should be checked by a professional before it worsens.
Can I do RV roof maintenance myself? Basic visual and touch inspections (like the checklist above) are safe for most RV owners to do themselves. Repairs, resealing, or roof replacement should be handled by a professional to avoid voiding warranties or missing underlying damage.
How long does an RV roof last? Most RV roofs last 7–12 years depending on material, climate exposure, and maintenance, though roofs in high-UV or storm-heavy regions can fail sooner without a maintenance-free system installed.
Why does my RV A/C unit leak in the summer? Most factory RV A/C gaskets are glued together at the four corners rather than made as a single piece. Summer heat means your A/C runs more and produces more condensation, and that moisture gradually breaks down the glue at those seams — eventually creating a leak path into the roof. A one-piece, punched EPDM gasket eliminates the glued seams entirely and is a more durable long-term fix.
Your RV roof works hardest exactly when you're using your RV the most. A quick mid-summer check now is the cheapest insurance you'll buy all season.
If anything on this checklist raised a flag, don't wait for it to get worse on the road. Reach out for a free phone assessment today.
Keep the wheels turning, & your roof dry.
You might also like
RV Roofing Solutions' Blog